
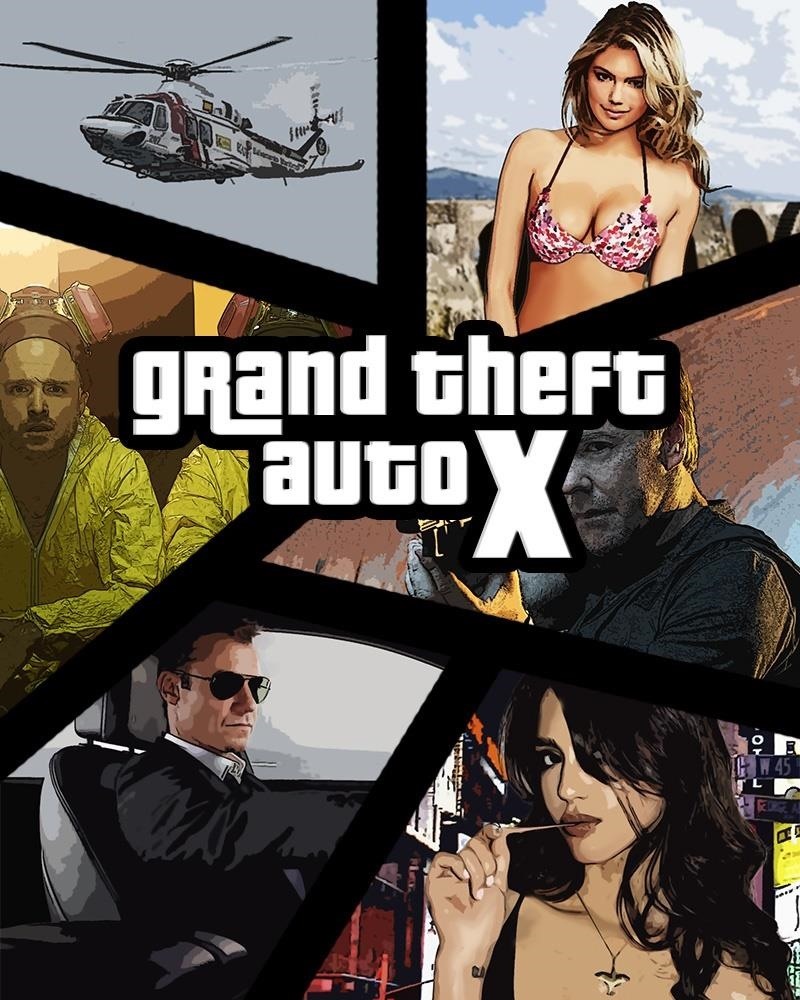
Since this saga of video games has been improving his graphics and his characters, giving them a great realism.
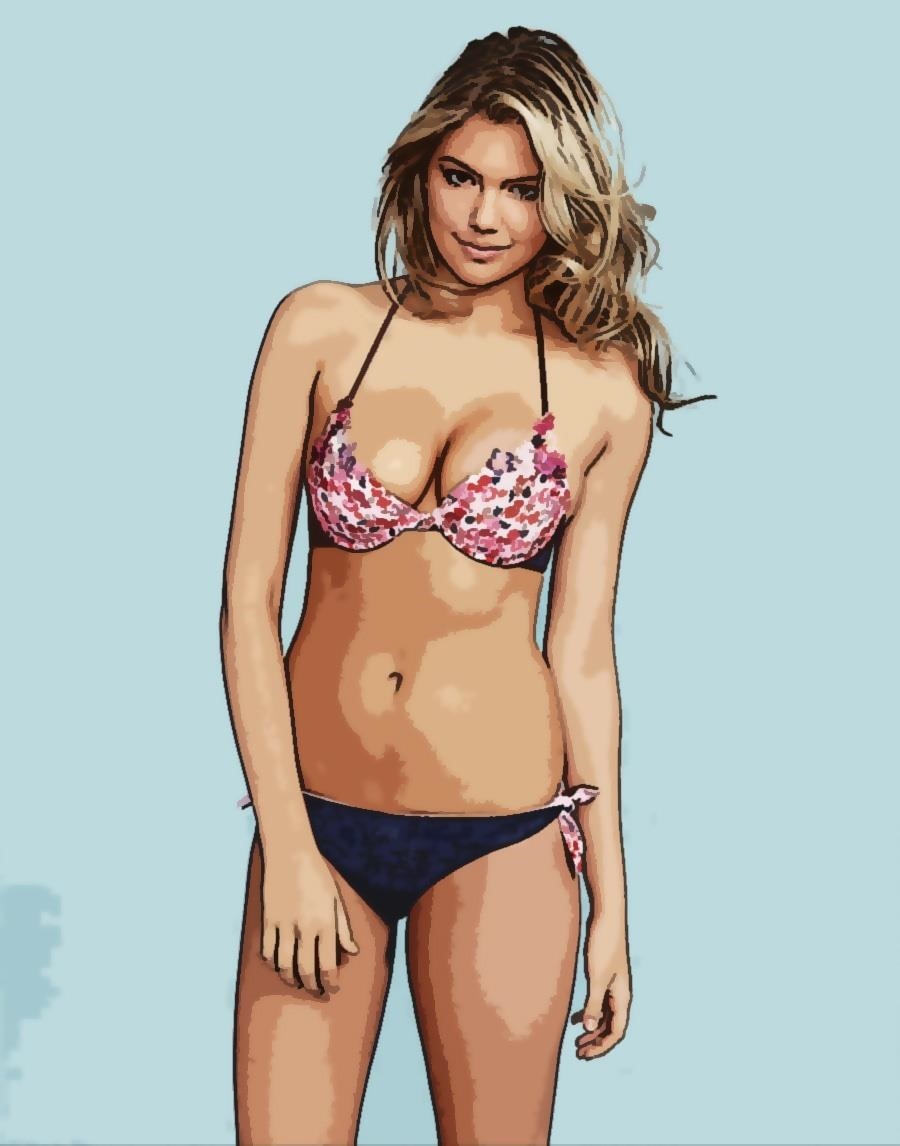
To get this effect without too many effort, you have to use a well illuminated photo. It's very important that the image has the minimum black zones or high detailed zones with small shadows.
We have to repeat this tutorial with each image which belongs to the image.
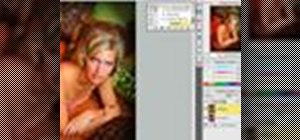
Step 1: Cleaning High Detailed Zones
Open the original image in Photoshop. Make sure that the image is good illuminated and the high detailed zones are minimum.

Go to Filter> Blur> Smart Blur and use a 3px radio and a 15px Threshold. Now, you're blending the colors and eliminating or blurring details replacing the tonal range and change the previous colors with an flat cartooned style color.
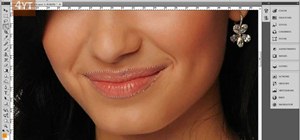
Step 2: Applying the Effect
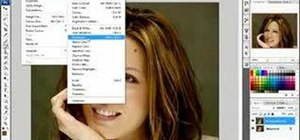
Now, we're going to convert the image into a cartooned one. Go to Filter> Filter Gallery and select the effect in Artistic> Poster Edges. Select 3px of thickness edge, 1px of depth/brightness and 5px of poster edges.
Then, go to Filter> Filter Gallery and select the effect in Artistic> Cutout. Select a high number of levels and a low simplified edge.
Step 3: Improving the Image
Soon.


4 Responses
Great start would love to see how to improve this
Love me
hay quá :D
To improve it you need experiences! I spent 5 or so minutes to do this, I'm sure I can do better i.imgur.com/PIAPLy9.jpg
Share Your Thoughts