

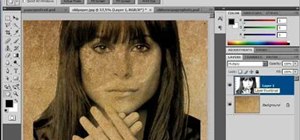
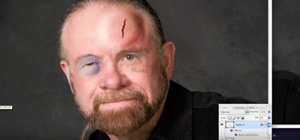
This video is about how you can change someone's eye color. The first thing to do is to load up a picture in which you want the eye color to change. The next step is to zoom in the eye that you're interested in working on. Just simply press "D" button on the keyboard and draw a rectangular shape on the eye. Now that you've zoomed in, make a selection of the iris, the part that we want to change the color on. The first thing is, you need to set up colors found on the lower left of the window. Then, the next step is to click on the brush button found on the left side of the window and select the right size of the brush. Once you have selected the right size of the brush, press "Q" on the keyboard and start painting around the iris. After doing the last step, press "Q" on the keyboard again. The next step is to zoom the picture out and you can see that the selection is pretty much everything except the iris. To inverse this, press "Select" and click "Inverse". Once you've done the last step, zoom the eye in again. Then, press the alt key down while clicking the button with a black and white circle found on the lower right of the window. Then select "Black and White". Once you have selected it, check the button which says "Use Previous Layer to Create Clipping Mask". After wards, a new window will appear and just simply check "tint". Adjust the hue to change the color and the saturation as well. Then you're done!
Just updated your iPhone? You'll find new emoji, enhanced security, podcast transcripts, Apple Cash virtual numbers, and other useful features. There are even new additions hidden within Safari. Find out what's new and changed on your iPhone with the iOS 17.4 update.


Be the First to Comment
Share Your Thoughts