

This video is a tutorial on creating an Icon Logo in Photoshop Cs4.
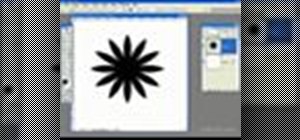
Go to File and open a new document. In the Layer option, set up a new layer and give it a name. Using the pen tool, create a shape for your logo, it can be anything you like. When you have the shape you want, right click and select Make Selection. Now you can fill the shape with a color. Press ctrl+U for the Hue/Saturation option to get the exact color that you want.
The next step will be creating a glossy appearance with a gradient. For this you will set up another layer. Use the Elliptical Marquee tool to create a circular shape for the gradient. Take the gradient tool and change the foreground color to white, then drag the tool down through the selection vertically to create the gradient fill. You can adjust the gradient any way that you like with the Free Transform tool.
Now create another new layer. Press Ctrl and click on the picture to select it. Stretch the circular gradient to the bottom. Select Overlay for this layer to adjust the opacity.
Now on the original layer go to Layer Style and choose any blending options that you like. When you have it the way you want it, add a background. Then with your text tool type in the text that you want to include in your logo.
Just updated your iPhone? You'll find new emoji, enhanced security, podcast transcripts, Apple Cash virtual numbers, and other useful features. There are even new additions hidden within Safari. Find out what's new and changed on your iPhone with the iOS 17.4 update.


Be the First to Comment
Share Your Thoughts