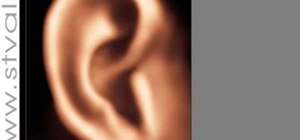
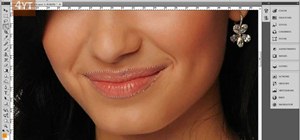
StephanieValentin teaches you how to draw a realistic ear in Adobe Photoshop. You create a new document of 1300x1900 pixels and then create 9 layers named L00, L01 and so on until L08. The first layer should be black. On Layer 01 use a soft round brush with a white color, 100 pixels width and 50% opacity. This is the base sketch of the ear. You then apply a gaussian blur of 30 pixels. For Layer 02 you use a soft round brush with a white color, 50 pixels width and 50% opacity. Apply a gaussian blur of 20 pixels. For Layer 03 use a soft round brush with a white color, 200 pixels width and 10% opacity. You then merge layers L00+L01+L02+L03 with Ctrl+E. Use the soft eraser with a width of 75 pixels and 100% opacity to clean the edges. On Layer 04 use a soft round brush with a white color, 200 pixels width and 10% opacity. Apply a gaussian blur of 35 pixels. On Layer 05 use a soft round brush with a black color, 200 pixels width and 10% opacity. On Layer 06 use a soft round brush with a white color, 100 pixels width and 20% opacity. On Layer 07 use a soft round brush with a black color, 45 pixels width and 5% opacity. Apply a gaussian blur of 15 pixels. On Layer 08 use a soft round brush with a white color, 100 pixels width and 2% opacity. Create a new adjustment layer using a Gradient Map, as shown in the video.
Just updated your iPhone? You'll find new emoji, enhanced security, podcast transcripts, Apple Cash virtual numbers, and other useful features. There are even new additions hidden within Safari. Find out what's new and changed on your iPhone with the iOS 17.4 update.












Be the First to Comment
Share Your Thoughts