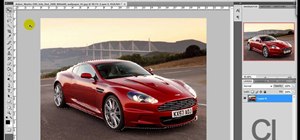
1. To make tilt shift take one picture which is taken from high angle with any content like car and buses. Now open the picture in Photoshop and change it to quick mask mode to create and edit the selection.
2. Now select the Gradient tool and choose Reflected gradient and start your line at every point you want to focus to draw gradient and the red gradient will appear, now exit the quick mask mode to disappear the marching ends.
3. Now open Filter->>Blur->>Lens blur, now you can use radius to increase or decrease the blur and click ok to apply lens blur. To increase saturation open Image->>Adjustments->>Hue/Saturation.
4. Finally to make the curved appearance open Image->>Adjustments->>Curves and in the curved line drag up the line on top and drag down the line on bottom slightly. You can see the difference before and after the curves.
Just updated your iPhone? You'll find new emoji, enhanced security, podcast transcripts, Apple Cash virtual numbers, and other useful features. There are even new additions hidden within Safari. Find out what's new and changed on your iPhone with the iOS 17.4 update.







Be the First to Comment
Share Your Thoughts