


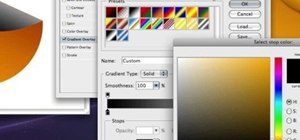
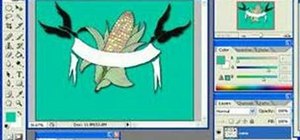
This video shows how to make a real 3d text in Photoshop. First open up Photoshop. Create a new document File > new. Then select width then OK. Fill the background with black. Then go to the text tool and write whatever we want. Choose a font with fat letters. Right click on the text layer and go to "Blending options". Then edit the text in our way. We can create a Gradient Overlay, Contour, Stroke and Outer Glow. We can add any effect we want. Again right click on the text layer and click "Rasterize type". Select the "Move Tool" in the Tool box. Now stretch the bottom of the text by hold the control key and pull down the lower points. Click the Accept button to save the changes. Move the mouse on the thumbnail of the text layer, hold control key and click it to select the text. Then Go to "Edit" > "Define Brush Preset". To deselect the text press Control+D. Make sure we selected the background layer. Then go to 'Brush Tool' in the tool box. Then search the brush on the bottom. Go to the "Brush Settings". Go to "Brush Tip Shape" and uncheck the spacing option. Choose the color of the Brush. Keep the brush exactly on the text.Then hold the Shift key while dragging the brush down. Now it looks 3d.
Just updated your iPhone? You'll find new emoji, enhanced security, podcast transcripts, Apple Cash virtual numbers, and other useful features. There are even new additions hidden within Safari. Find out what's new and changed on your iPhone with the iOS 17.4 update.


Be the First to Comment
Share Your Thoughts