


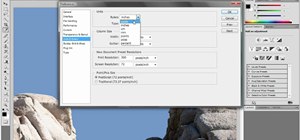
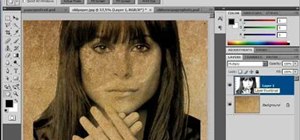
Ash Davies teaches us how to Photoshop digital bokeh with this tutorial. First, open up Photoshop and create a new canvas with your width at 1920 and your height at 1200. Now, create a new layer and set your background layer as invisible. Now create a medium size circle and reduce the fill to 50%. Now enter blending options and add a stroke of 10 pixels to the inside with the color set to black. Now define the shape as a brush and then click "edit" and "define brush preset" name this, "bokeh". You can now hide your bokeh brush layer. In order to paint, select the paint pallet and find your newly defined brush. First, turn the visibility of the background to "on" then change the color to 26,26,26. Now apply this color to your background. Now add a new layer and rename it "colors". Go to blending options and select "gradient overlay". Click on "gradient" and add in your colors: ffff85, 1bdaeb, 9b3b81, and d27e34. Now click "ok" and change blend mode to overlay and angle to 45 degrees. Now, create a new folder and call it "bokeh" and make the layer "color dodge". Now select your bokeh brush and you will have the scattered effect!
Just updated your iPhone? You'll find new emoji, enhanced security, podcast transcripts, Apple Cash virtual numbers, and other useful features. There are even new additions hidden within Safari. Find out what's new and changed on your iPhone with the iOS 17.4 update.


Be the First to Comment
Share Your Thoughts