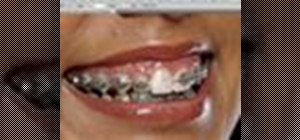
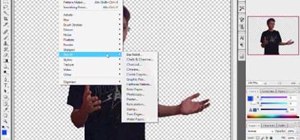
Learn how to remove braces with Photoshop. First find a photo with some visible teeth; you don't want a picture with no visible teeth because you would need to redraw an entire set of teeth. Now select the first layer and duplicate it (command control J). Grab the patch tool from the toolbar and set it to "source". Zoom in on the teeth and make sure you are working on the new layer. Select around one part of the braces and drag it to a skin area. Now grab the clone tool and begin cloning the lines away (the metal bars). Now grab the smudge tool and smudge the tooth to give them a more realistic look. Now grab the sharpen tool and sharpen the tooth. Now use the dodge tool on the tooth. Repeat these steps for each tooth. Now use the clone tool to remove the bars between the braces. Finally use the healing tool and the smudge tool on the near finished teeth!
Keep in mind that settings for these individual tools will vary depending on the image, and if shading is necessary for a realistic look, the burn tool is usually the best option.
Just updated your iPhone? You'll find new emoji, enhanced security, podcast transcripts, Apple Cash virtual numbers, and other useful features. There are even new additions hidden within Safari. Find out what's new and changed on your iPhone with the iOS 17.4 update.











1 Comment
great job, very informative. I will try it on a subject with braces
Share Your Thoughts