

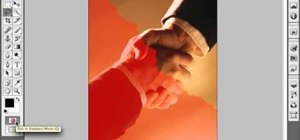
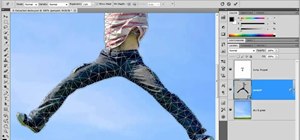
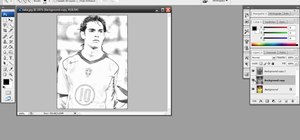
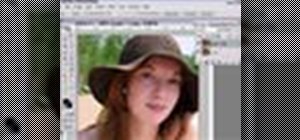
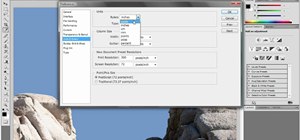
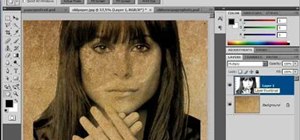
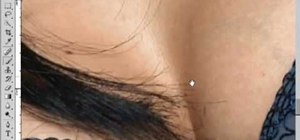
In this video we learn how to make it seem like your photo is torn in half using Adobe Photoshop. The first step is to decide how you would like to have your photo "torn" up. The second step is to select the lasso tool and draw the tear line through the photo. The third step is to select the rest of the image you want to keep. The fourth step is to go into Quick Mask mode and select Filter, Brush Strokes, then Splatter. This creates the jagged edge torn effect. Finally select a smoothness between 10 and 15. After exiting the layer mask mode you want to transform the layer into a regular layer and add a layer mask. Finally add another layer and you will see the effect of the photo being shown. From here you can change your background color to either white or black as you see fit.
Just updated your iPhone? You'll find new emoji, enhanced security, podcast transcripts, Apple Cash virtual numbers, and other useful features. There are even new additions hidden within Safari. Find out what's new and changed on your iPhone with the iOS 17.4 update.


Be the First to Comment
Share Your Thoughts