

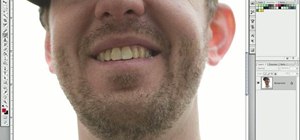
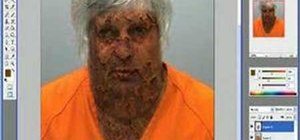
It's not brain surgery, but teeth whitening systems still hits the pocket books hard. However, there is a cheaper alternative to have the whitest teeth in the neighborhood, and it's called Photoshop. With Adobe Photoshop, you can have whiter teeth in seconds! Really. It's definitely the best tooth whitening remedy for those behind the camera lens. But remember… Photoshop is only a digital cure. You still might have to hide that smile in public… or consult a dentist.
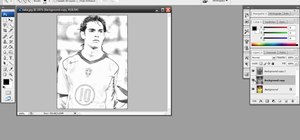
To whiten teeth in Photoshop, simply open up the photograph you're going to do some dental work on, and…
1. Create a duplicate layer.
Then, go to the menu bar up top and select…
2. Image.
3. Adjustments.
4. Hue / Saturation.
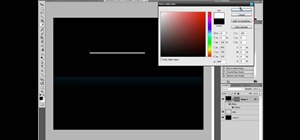
When the Hue/Saturation box appears, in the Edit drop-down menu, select…
5. Yellows.
Now…
6. Desaturate the heck out of it.
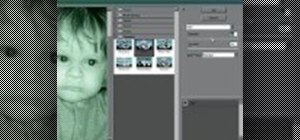
Okay, so that does the trick, but it does the trick to the whole entire picture, not just the pearly whites your trying to remedy. Now…
7. Click on the Add Layer Mask icon while holding down the Alt Key.
A black box now appears next to your duplicate layer. And now for the fun part… painting.
8. Change the paint color to white.
White reveals… black conceals.
9. Select the Paintbrush at 100% Opacity.
10. Paint over the teeth to make them choppers sparkling whites.
And that's it. You have now successfully whitened teeth in mere seconds. Sure beats the heck out of peroxide. Coffee stains and cigarette damage won't stand a chance against the power of the palette!
Just updated your iPhone? You'll find new emoji, enhanced security, podcast transcripts, Apple Cash virtual numbers, and other useful features. There are even new additions hidden within Safari. Find out what's new and changed on your iPhone with the iOS 17.4 update.


Be the First to Comment
Share Your Thoughts