

Everything Else


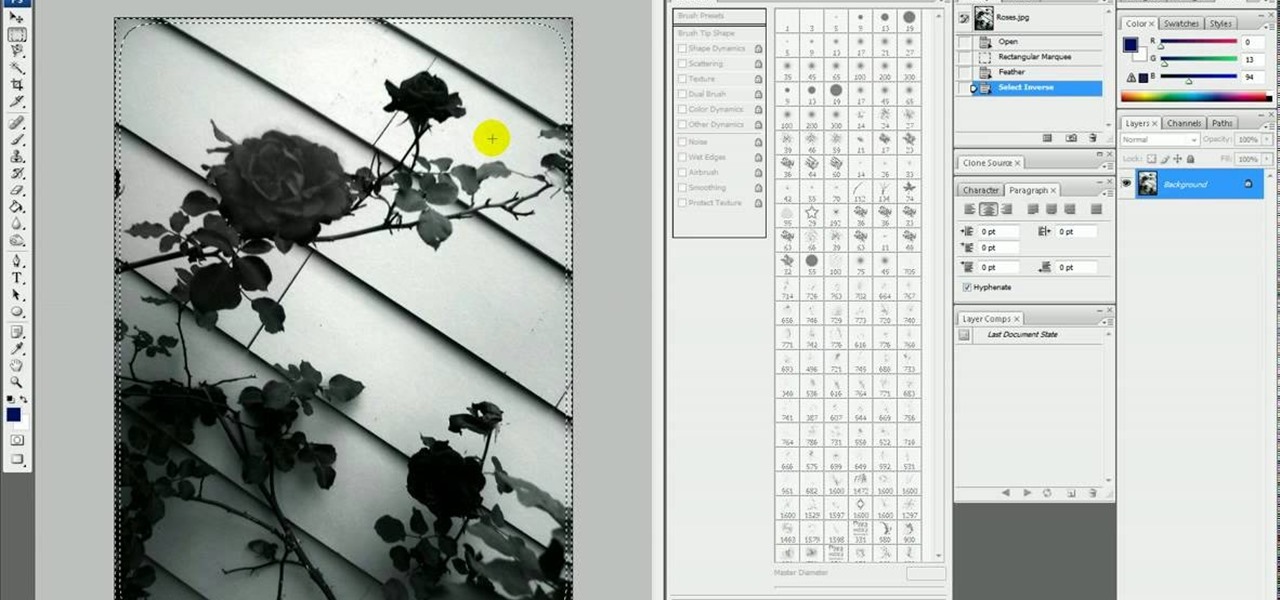
How To: Fade the edges of a black and white photo in Photoshop
If only we could fade bad memories of bad exes as easily as we could fade photos. But we digress. If you have a special photo memory you'd like to visually enhance and preserve for posterity, then one of the best tricks you can do is to fade the photo edges using Photoshop.
How To: Create a soft fade around an object in Photoshop
We don't know why exactly, but somehow fading the edges of a photograph makes it look more sentimental. Maybe it's because faded edges remind us of old timey photographs that have yellowed and softened with age, or maybe it's because faded eges endow a sort of dream-like atmosphere to your picture.

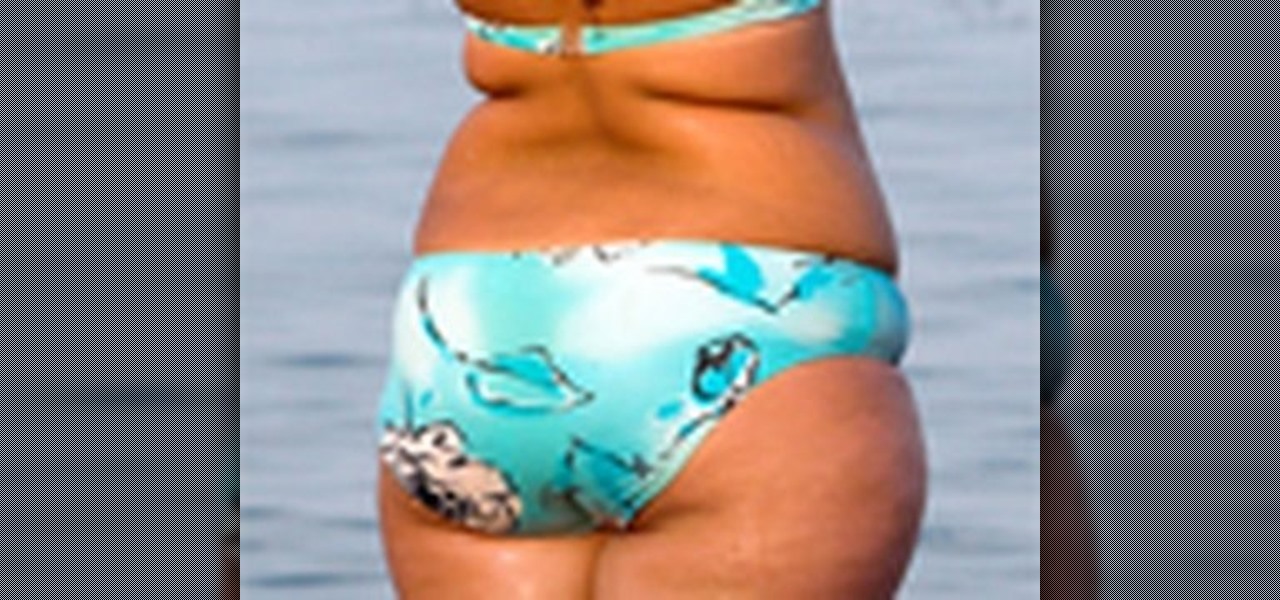
How To: Fade the edges of a color photograph in Photoshop easily
Have you taken a photo that's perfect in just about every sense other than one? Like, for instance, that picture of you and your newly minted husband dancing at your wedding reception with your husband's drunken brother getting freaky with one of the waitresses on the side?
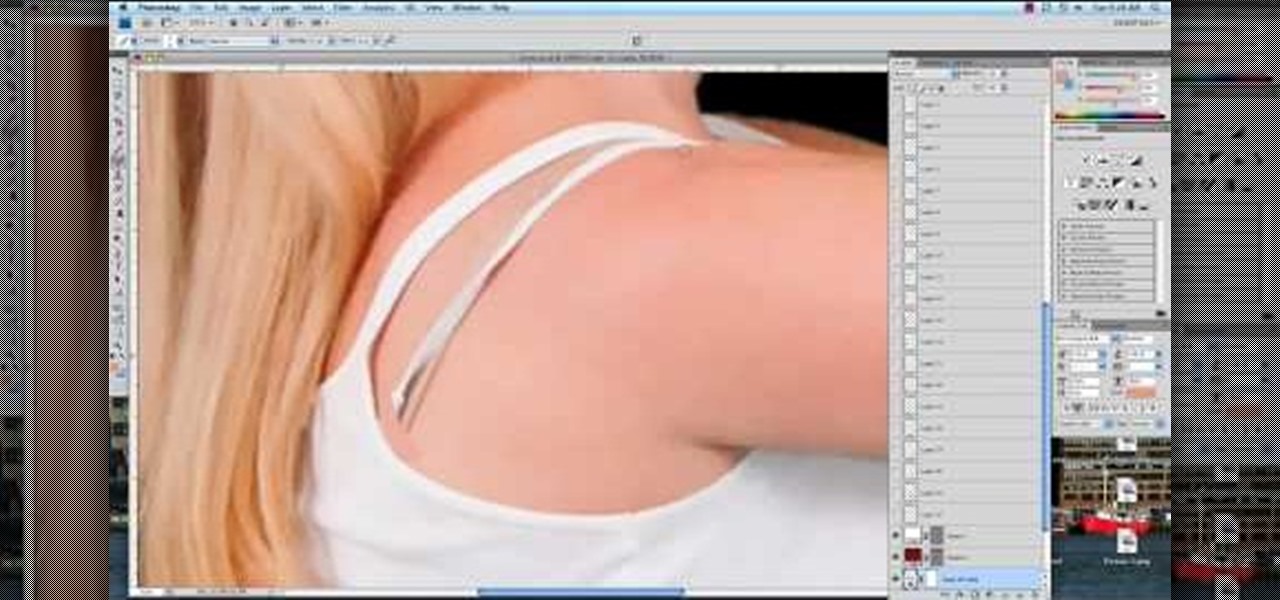
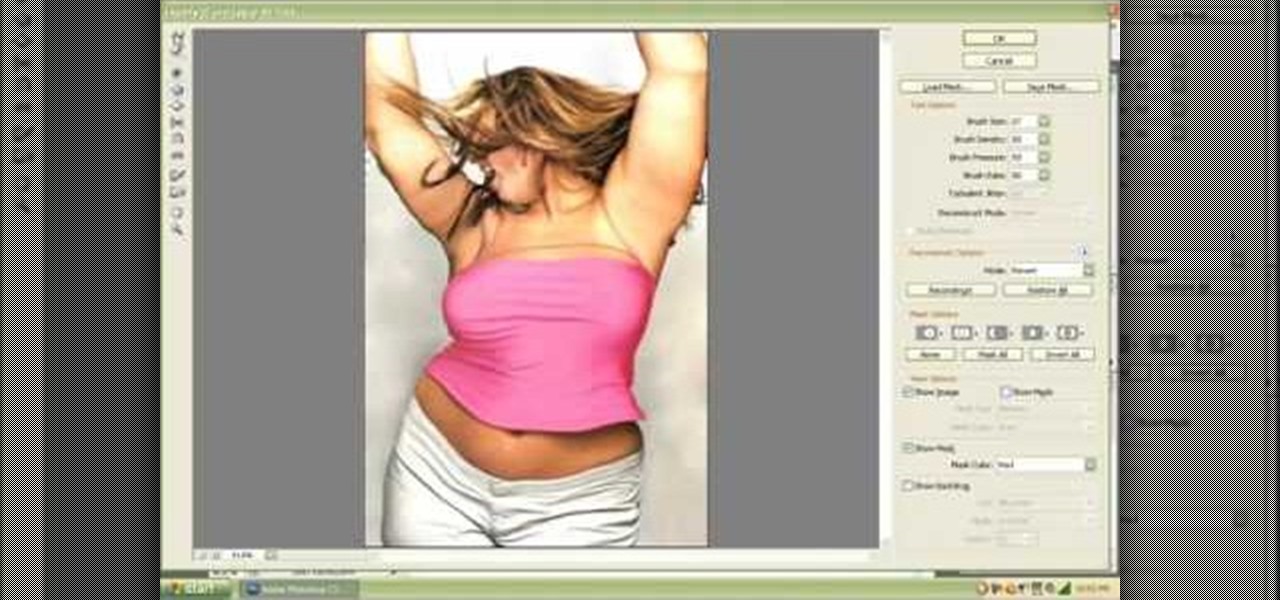
How To: Remove a bra strap using Adobe Photoshop
Bras are such wonderful inventions. Without them, our twins would stray and wander right out of our clothing, and cold weather would prove rather uncomfortable - not to mention awkward - anytime we take our sweater off (if you catch our drift).

How To: Turn a photo into a watercolor style sketch in Photoshop
Start with a basic photograph in Adobe Photoshop, and then apply the filters and processes outlined in this video to end up with a watercolor sketch effect. This is a great treatment to give portraits a unique and memorable look. Turn a photo into a watercolor style sketch in Photoshop.
How To: Make a text watermark with a transparent background in Adobe Photoshop
If you're serious about your video creations you're going to want to watermark them. To do this, you'll need Adobe Photoshop to create, in this case, a text watermark with a transparent background. It's not hard to do with this simple tutorial, so get going!

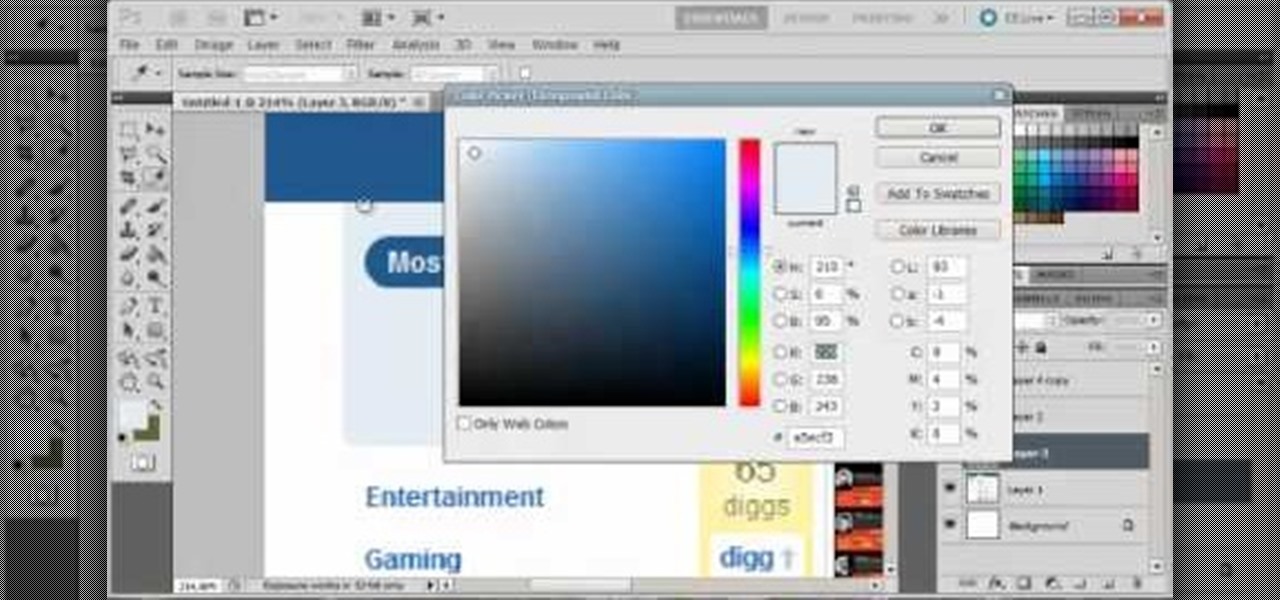
How To: Create a web-ready image using Adobe Photoshop
This tutorial shows you how to use some of the basic functions in Adobe Photoshop, including the ability to save an image in multiple file formats, to create a picture that you can easily use on your website or blog.
How To: Build a website layout using Adobe Photoshop
This tutorial takes a screencap of a popular website, and then shows you how you can use the tracing tool and use some of the principles of web design to create an effective layout for your own website using Adobe Photoshop.

How To: Make a realistic ribbon in Adobe Photoshop
This is a pretty basic tutorial that will help you learn most of the core features of Adobe Photoshop, like shapes, pen tools and layers. Start with a blank file and create your own realistic piece of soft, wavy ribbon.
How To: Touch up images and photographs using Adobe Photoshop
Start with a photograph of your subject and maybe there are a few things slightly wrong - perhaps the skin tone is off, or you want to accentuate certain features. This video shows you a few basic touch ups you can use when photo editing in Adobe Photoshop.
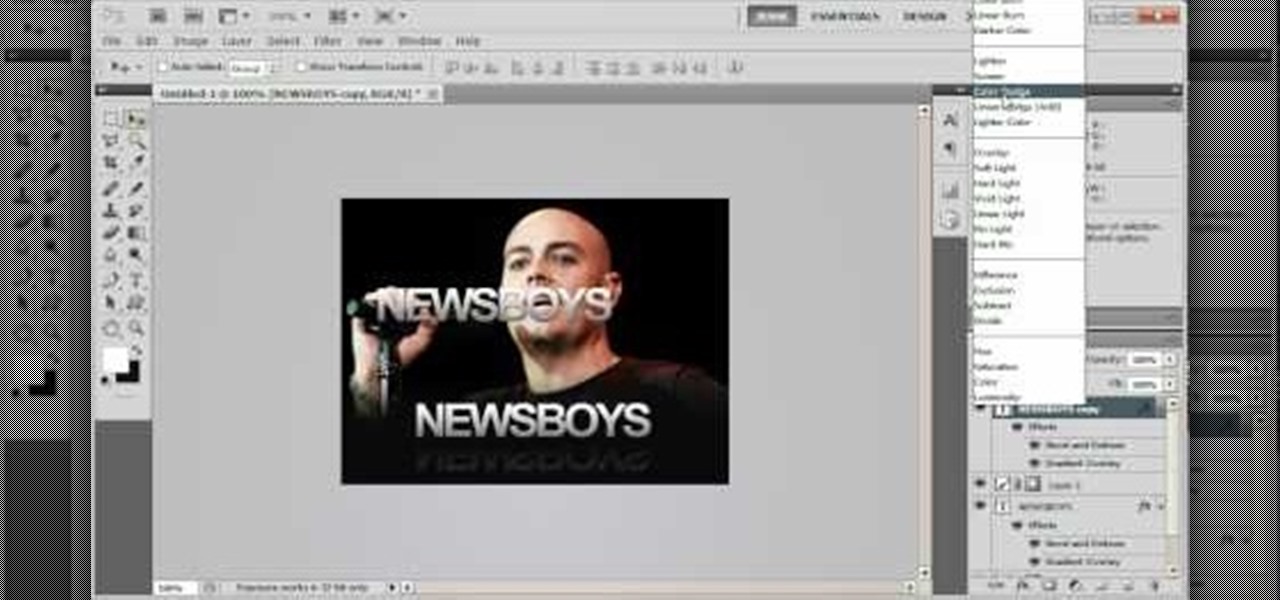
How To: Use some of the different image effects and layer styles in Adobe Photoshop
Start with a basic photograph, and then use the various image effects to subtly alter it until it's precisely how you want it. This tutorial also goes briefly into layer styles, and some easy and effective ways to work with layers in Adobe Photoshop.

How To: Use the new Puppet Warp feature in Adobe Photoshop
You can find Puppet Warp under the Edit Menu. You'll also need to use this without a background. Use a pin tool to add joints to your chosen puppets, then drag and manipulate them to get some really funny effects and distortions.
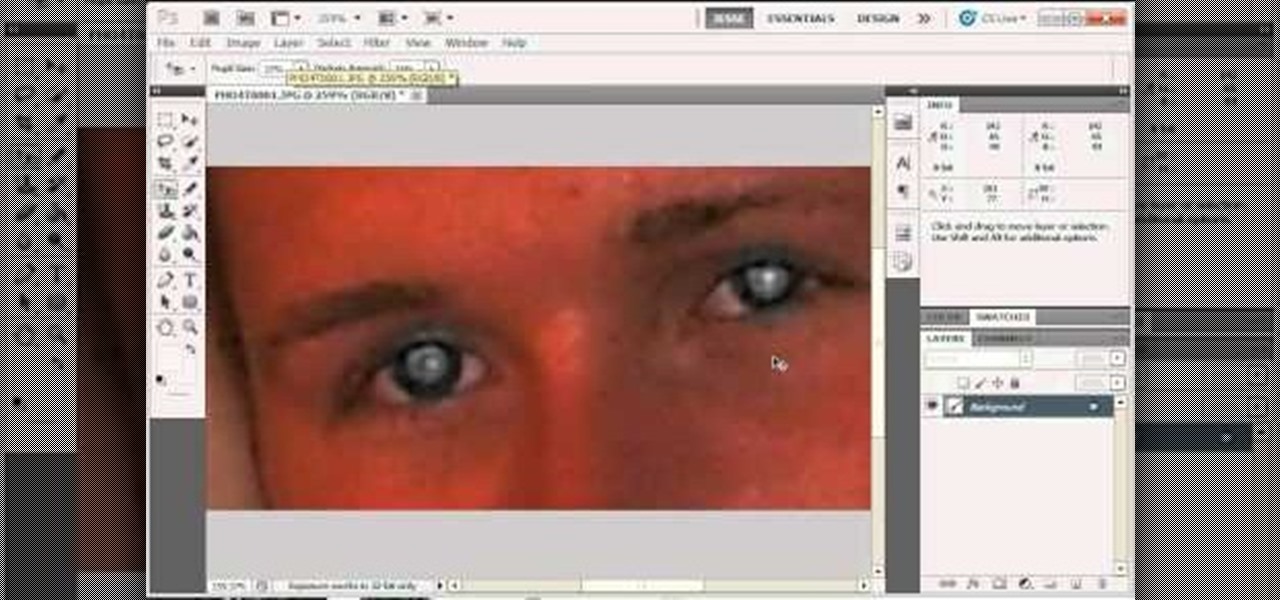
How To: Remove severe cases of red eye in Adobe Photoshop
For most instances of red eye, the built in tool that comes with Adobe Photoshop is enough. But in some cases, the tool might not be enough, especially if it changes the skin tone. Here's a good way to get rid of especially severe cases of red eye on your photos.
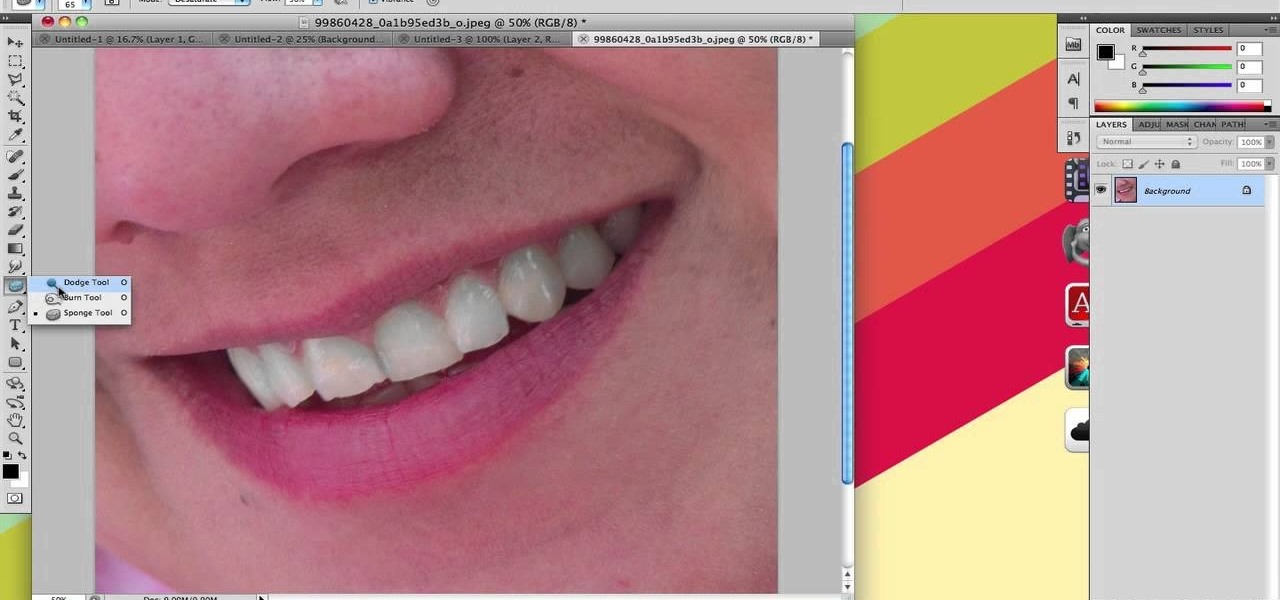
How To: Make teeth look whiter in a digital photo using Photoshop
If you're looking to remove those nasty nicotine stains without actually quitting smoking, here's a great Photoshop trick for you. In this nifty little photo retouching tutorial, you make make those pearly whites shine. This trick will work with Photoshop, GIMP or any other photo manipulation software.
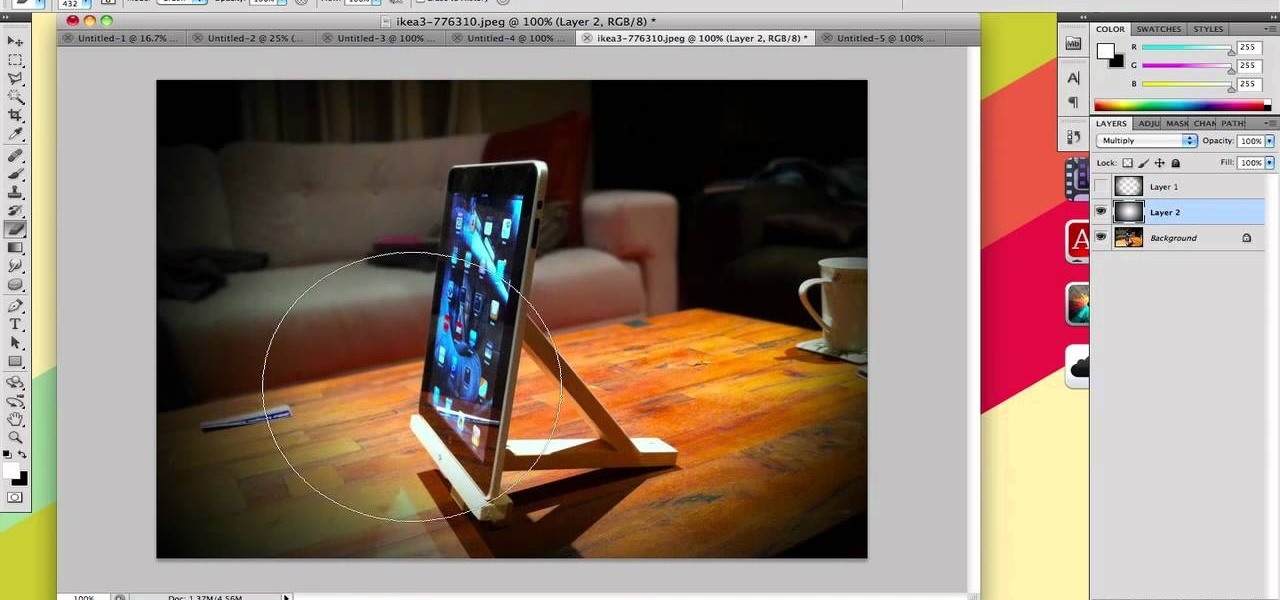
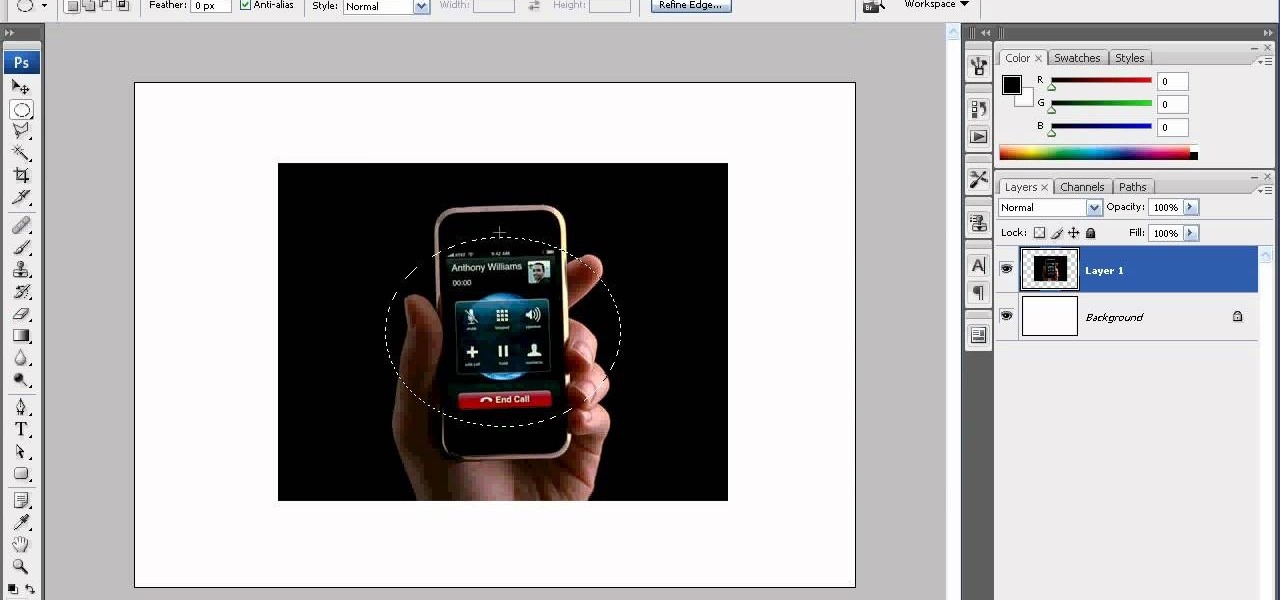
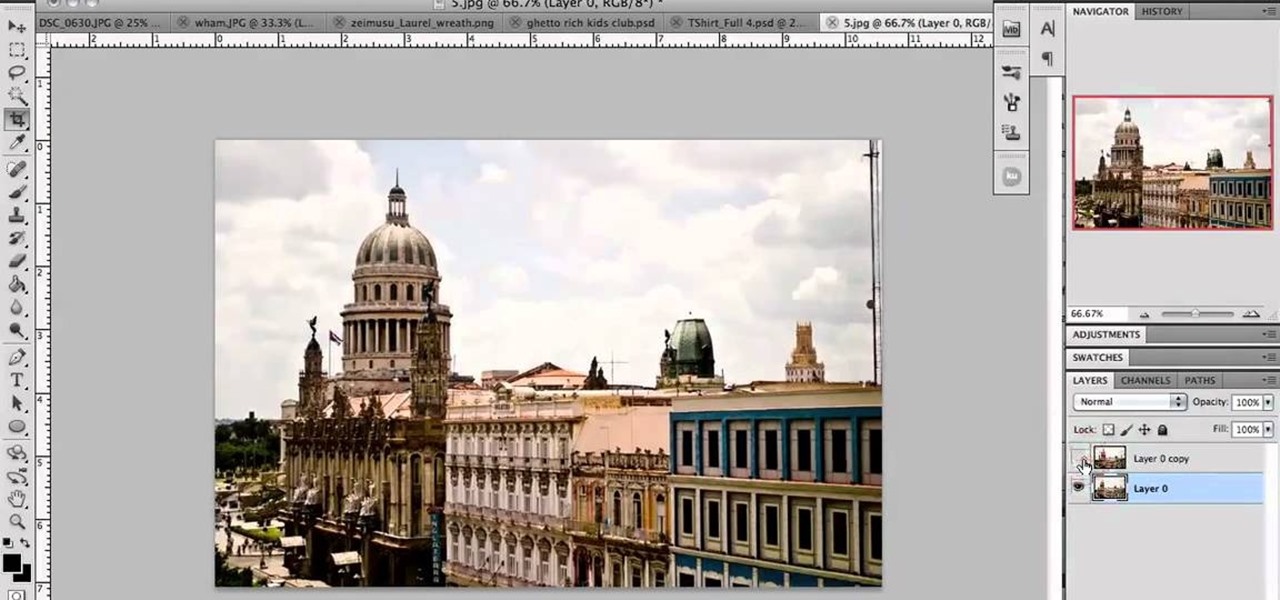
How To: Make your photos look like they were taken with a great camera
If you take a lot of photos with your smartphone or cheap digital camera, you can see the difference compared to results from a pro camera. So, if you want to get a professional camera look without dropping the money, check out this video to learn how to enhance your pics. This trick works with Photoshop, or any photo editing software that has a selection tool, a gradient tool and a gaussian blur filter.

HowTo: Make Your New Year's Cell Phone Pictures Look Like They Were Taken With a Good Camera
If you missed our tips on taking top-notch photos New Year's Eve, you may want to tune in for Lifehacker's tutorial on making your smartphone pictures look like they were taken with a quality camera. Below, learn how to:

How To: Remove unwanted objects with the Spot Healing Tool in Photoshop Elements 9
Use the Spot Healing Brush Tool in Photoshop Elements 9 to remove power lines, trees, cars, even your Aunt Marge. If it's in the picture and you want it out, this simply tutorial will show you how to do it.
How To: Create 8-bit style icons in Photoshop
Create 8-bit style icons and portraits in Photoshop with this hilarious and informative video from the guys at eightbit. This video shows exactly how to make the whimsical low-tech icon-style images using Adobe Photoshop and a little bit of creativity.

HowTo: Make Your Own 3D Images
There's the simple, headache-inducing method, and then there's the slightly more complicated, pain-free method. All you'll need is a digital camera, Photoshop (or any image-editing software), 3D glasses, and the tutorial below. For step-by-step text instructions, click through to Open Tutorial.

How To: Make swirling rays of light around an object in Adobe CS5
This tutorial uses the example of a guitar on fire, but this will work for anything. Use the options open in Adobe Creative Suite 5 to make it look like there are swirling rays of light surrounding an object or person.

How To: Create blinking cat eyes animation in Adobe Photoshop CS5
Got a cute cat? In this video you'll be using Adobe Photoshop CS5 to create cat eyes that blink and open and close. You'll be animating them with the tools from Adobe Photoshop CS5. Watch this video to learn more! Create blinking cat eyes animation in Adobe Photoshop CS5.

How To: Make Mona Lisa's Eyes Blink in Photoshop (GIF Animation)
If you loved The Da Vinci Code by Dan Brown, then listen up— there's been a new discovery found hidden within Leonardo da Vinci's most famous painting— the Mona Lisa.
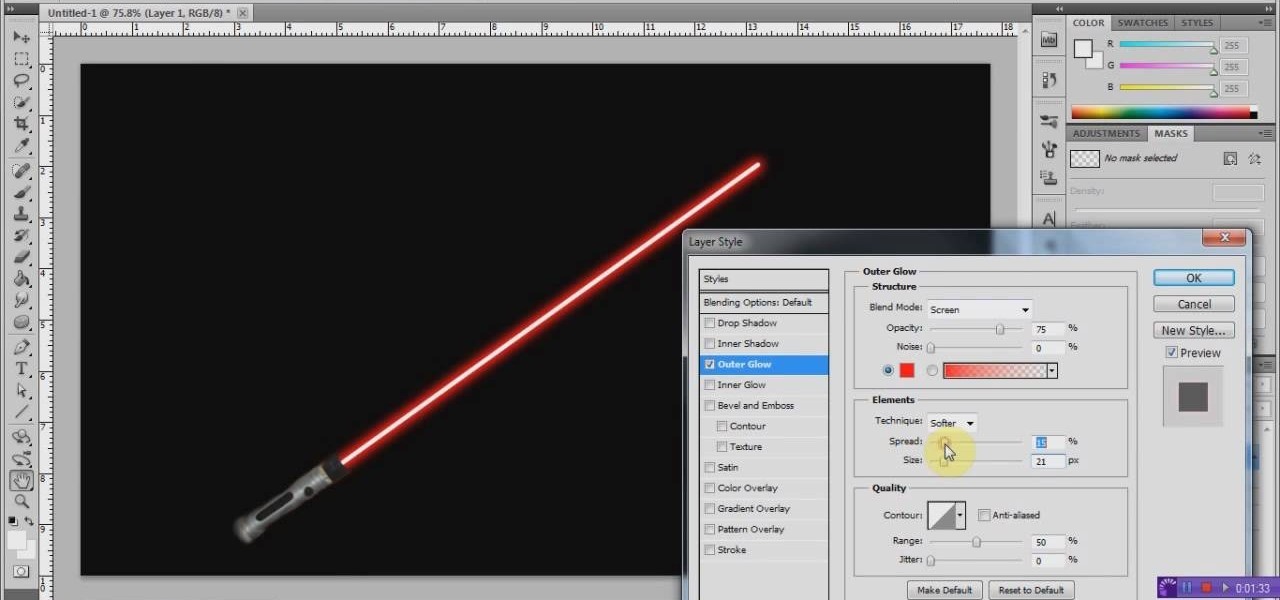
How To: Create a realistic, glowing Jedi lightsaber in Photoshop
We all know what lightsabers are. If you don't— you need to go see the Star Wars movies— NOW! At least, the original ones. Everyone needs to see those ones.

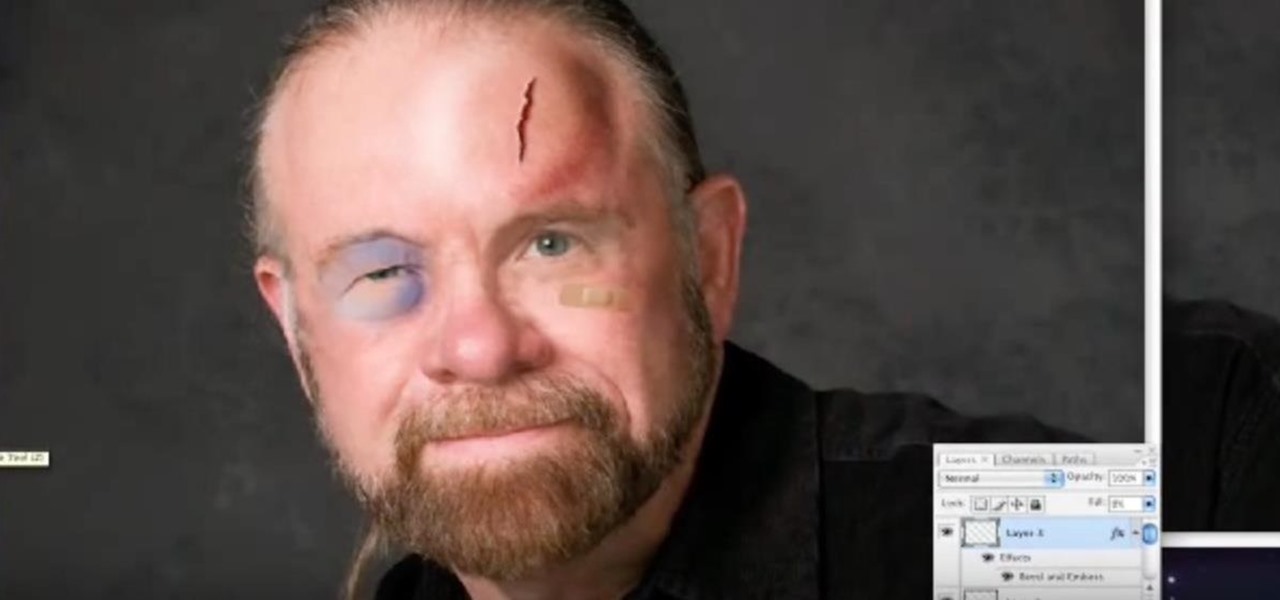
How To: Remove wrinkles from photos using Photoshop
Wrinkles are one of the facial features that people most want to cleanse themselves of, be that via facelifts or simply by retouching their photos. This video demonstrates how to do the latter using Photoshop, using Hillary Clinton's face as a model. Remove your wrinkles without making yourself look like a porcelain doll!
How To: Isolate one color in a photo using Photoshop
Many professional photographers and artists use various techniques to emphasis a certain color and make it stand out by completely isolating it. In this video, we will use photoshop to leave one color while converting the rest of the picture in to grayscale. After watching this brief tutorial, you too, will have this powerful tool in your arsenal.
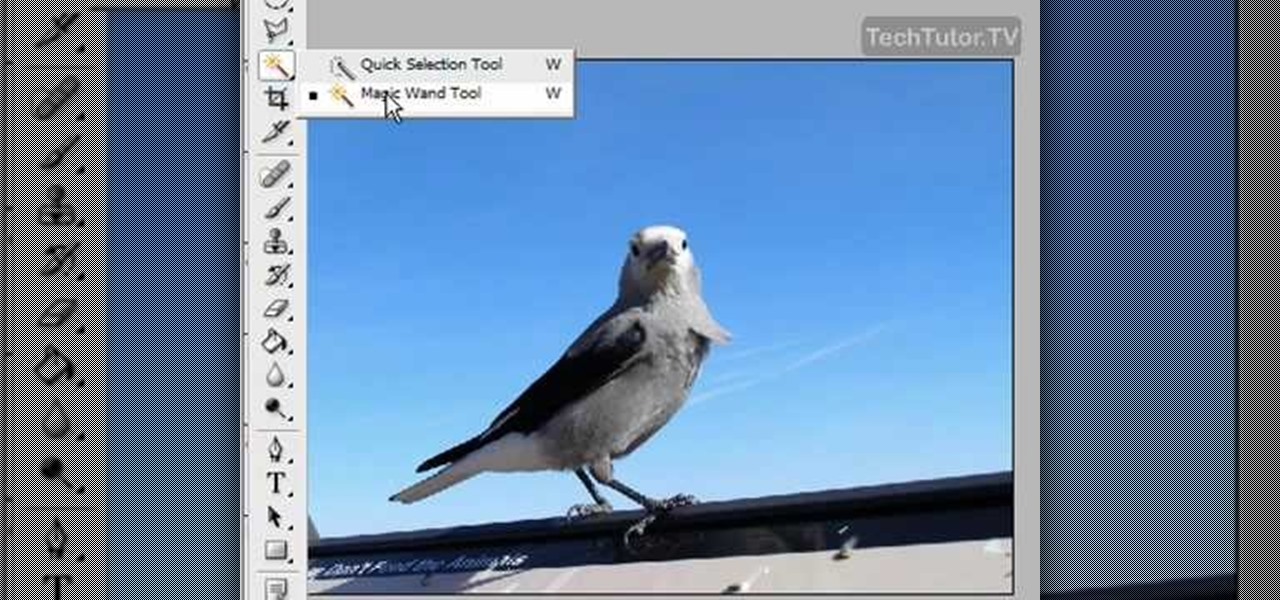
How To: Delete the background of an image in Photoshop CS3
In this video tutorial, you'll learn how to delete the background of an image in Adobe Photoshop CS3.
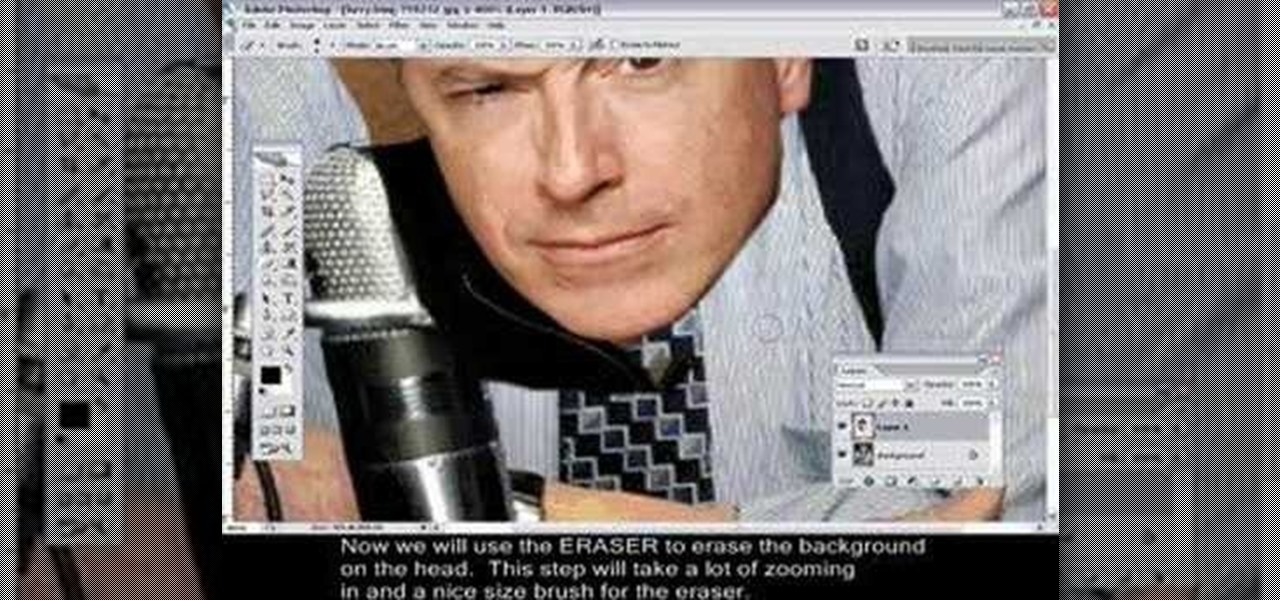
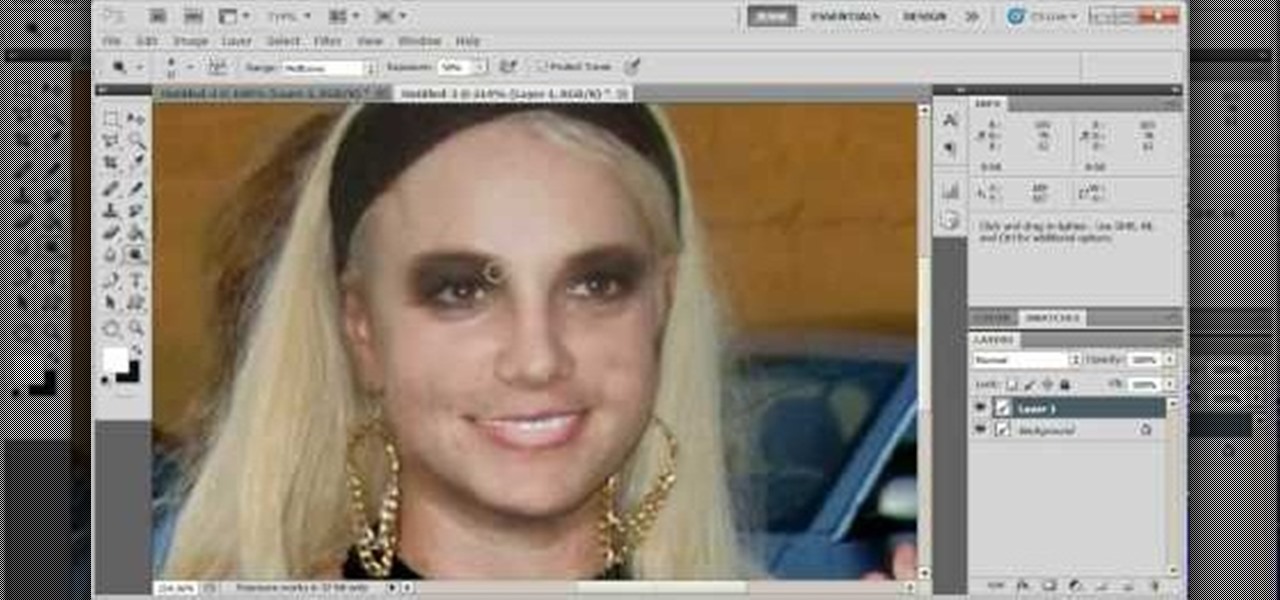
How To: Change heads in Photoshop
Changing heads is a fun, easy, and valuable technique for beginners that can help build up their confidence in Adobe Photoshop. This Photoshop video tutorial will walk you through the process of extracting the head from one body, resizing it, and blending it on to the body of another picture. By the end of this tutorial, you will become familiar with some basic tools used in Adobe Photoshop, and at the same time, you will learn how to successfully switch heads from one body to another.
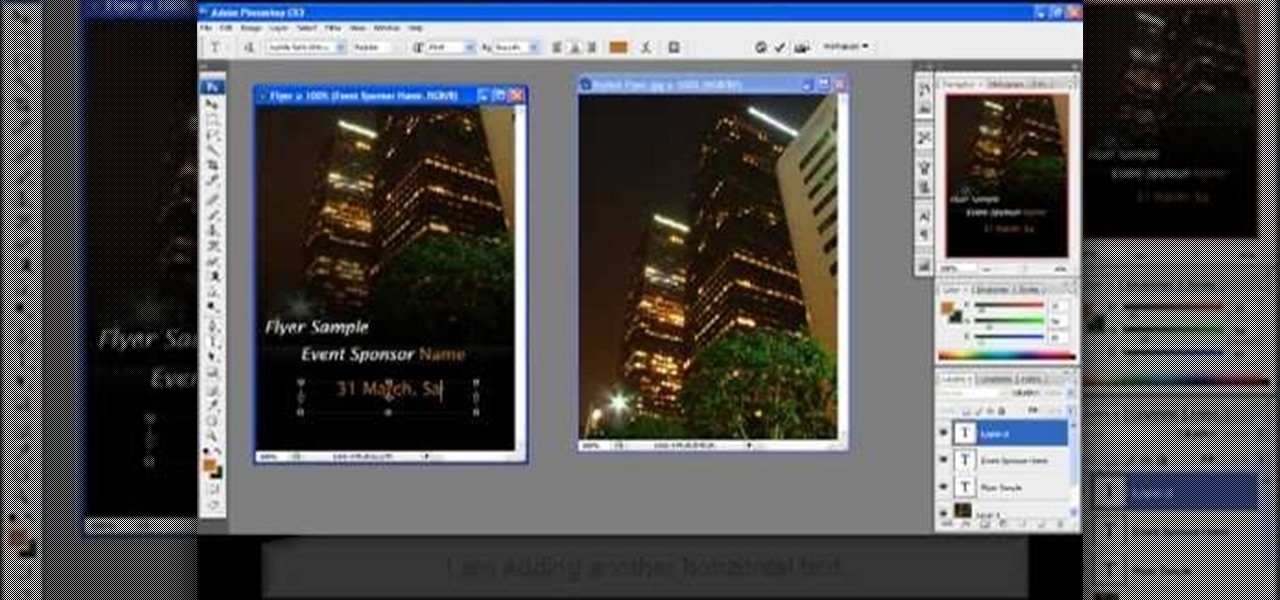
How To: Create a clean and stylish flyer in Photoshop
Having a clean, stylish, and visually appealing layout is the key to effectively conveying information on flyers. In this Photoshop tutorial, we will plan, layout, and construct a good looking flyer that can be used for virtually anything. Learning how to create a flyer is a skill that can come in handy often, and after watching this tutorial, you should be able to create your own.
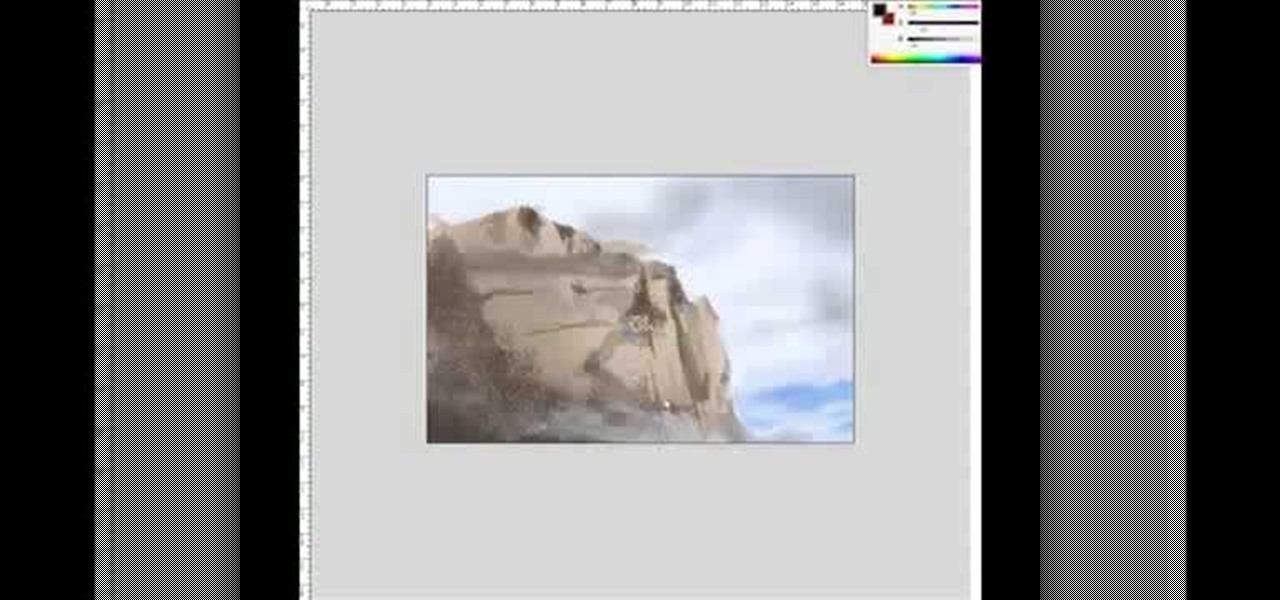
How To: Draw and paint rock cliff mountain cliff environment
How to draw and paint rock cliff mountain environmental concept background. This landscape scene is created in a video demonstration using Photoshop. his step by step video shows you laying down the base color, blocking in shape for painting, assigning value and color composition, and refining detail for the final concept painting.
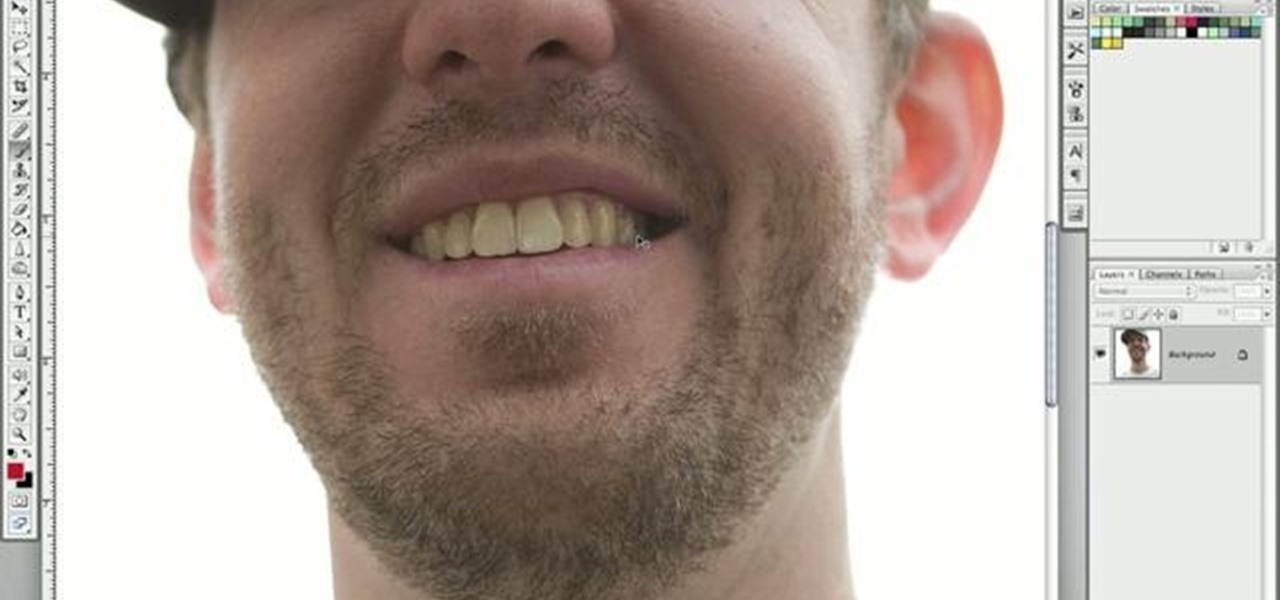
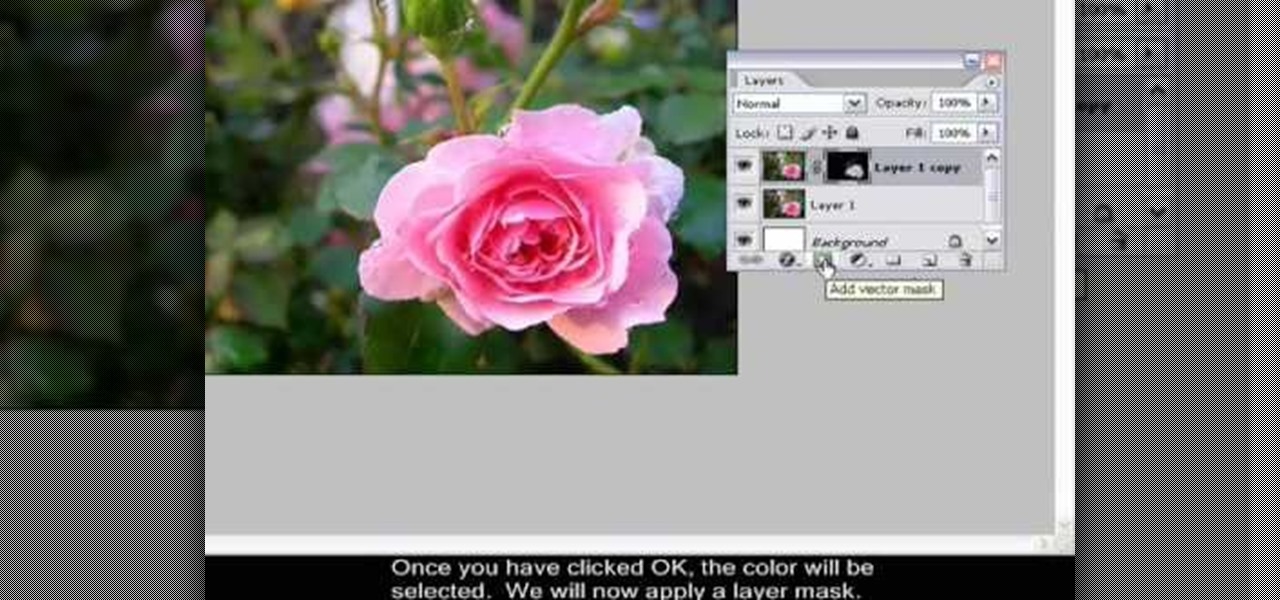
How To: Turn yellow teeth into perfect pearly whites using a layer mask in Photoshop
It's not brain surgery, but teeth whitening systems still hits the pocket books hard. However, there is a cheaper alternative to have the whitest teeth in the neighborhood, and it's called Photoshop. With Adobe Photoshop, you can have whiter teeth in seconds! Really. It's definitely the best tooth whitening remedy for those behind the camera lens. But remember… Photoshop is only a digital cure. You still might have to hide that smile in public… or consult a dentist.

How To: Use the note tool in Photoshop
This video will show how to use the note tool using the program Photoshop. Using notes makes pulling up previous projects or leaving brief bits of information easy to obtain. Notes in Photoshop can be pulled up by using the keyboard short cut button N button on your keyboard. After opening up an image you can access the note panel by right-clicking and selecting attach note. to pull previous notes up you must right click the image and select the show note option. Using the add note setting wi...
How To: Create a 3D anaglyph effect in Adobe Photoshop CS5
In this clip, we learn an easy technique for generating anaglyph 3D images in Adobe Photoshop CS5. It's easy! So easy, in fact, that this video can present a complete overview of the process in about two and a half minutes. For all of the details, take a look.

How To: Change hair color in Photoshop CS3 and CS4
In this video, we learn how to change hair color in Photoshop CS3 and CS4. First, open up your image and zoom in on the hair. From here, you will click on the selection tool with a circle to select your image. Now, make sure this is the perfect size for the entire image. Right click and make sure it's sized out right. Now, select the hair and a red marker will appear. Select the whole surface of the hair, and as you get to the short hair use a smaller circle tool, don't worry about the smalle...

How To: Change image size in Photoshop CS3
In this tutorial, we learn how to change image size in Photoshop CS3. First, go to your pictures folder and then open up your picture. From here, reduce the image to 50% of what it is by opening up Photoshop. Load the picture to this, then go to the edit menu of the image and zoom in and out of it to see the image larger or smaller than what you want it. You can also crop it if you want to remove something from the image. When you're finished changing the size, save this to your computer and ...
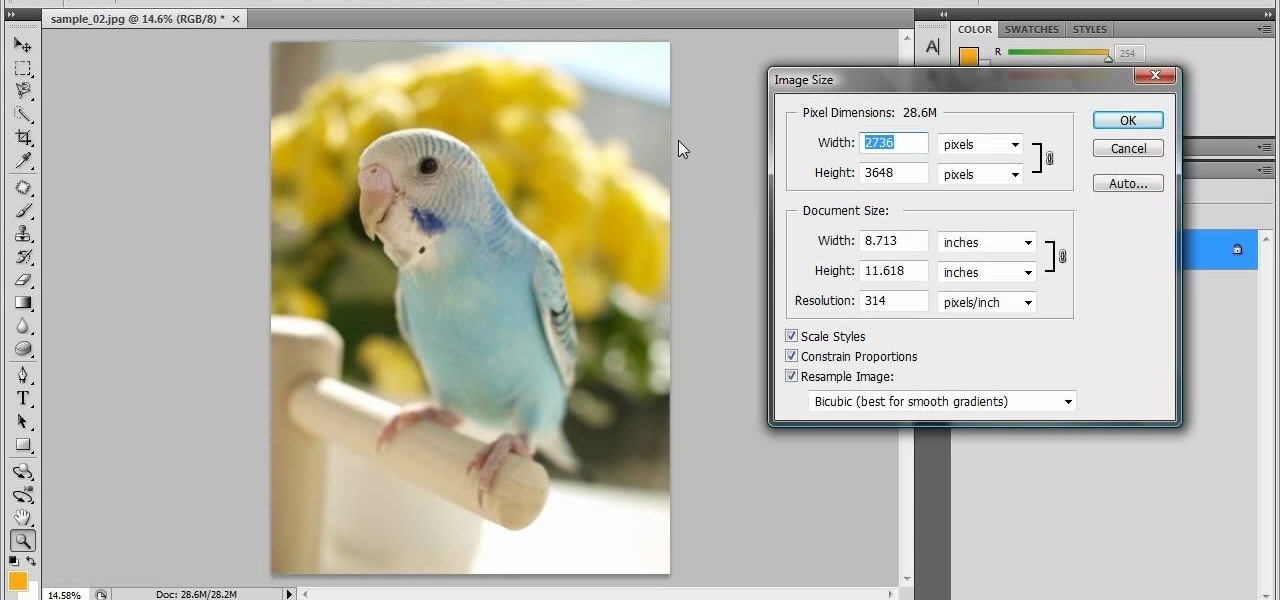
How To: Resize photos in Photoshop CS4
In this tutorial, we learn how to resize photos in Photoshop CS4. First, open up Photoshop and then open up your picture. The quality of your picture will effect the outcome of what it looks like when you resize, so use a high resolution picture for the best outcome. Now, go to image and then image size. From here you will change the width and height to what you need it to be. Then, you will need to click on the boxes at the bottom, click on all of them. When finished, you will save this and ...

How To: Draw Sonic the Hedgehog in Photoshop
In this video, we learn how to draw Sonic the Hedgehog in Photoshop. First, draw a circle on the page and then draw the eyes onto him. After this, draw on his ears and then his hair around his head. After this, draw in the rest of his body and his feet. From here, use a darker paint brush to create the final outline of the character. Draw in the lines around Sonic to make him appear more realistic. Then, color him a dark blue color with red on his shoes. When finished, save this drawing and y...
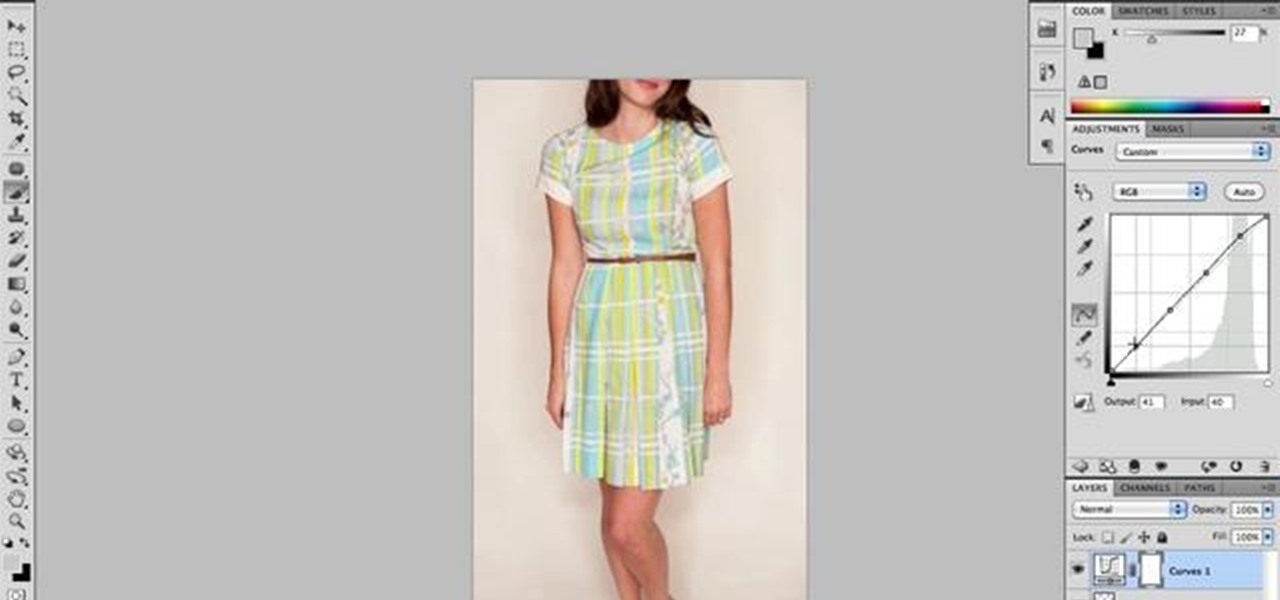
How To: Color correct a product photograph in Adobe Photoshop CS5
In this free video software tutorial, we learn how to color correct a product photograph within Adobe Photoshop CS5. Whether you're new to Photoshop or are a seasoned user looking to better your understanding of Photoshop CS5, you're sure to be well served by this quick video guide.
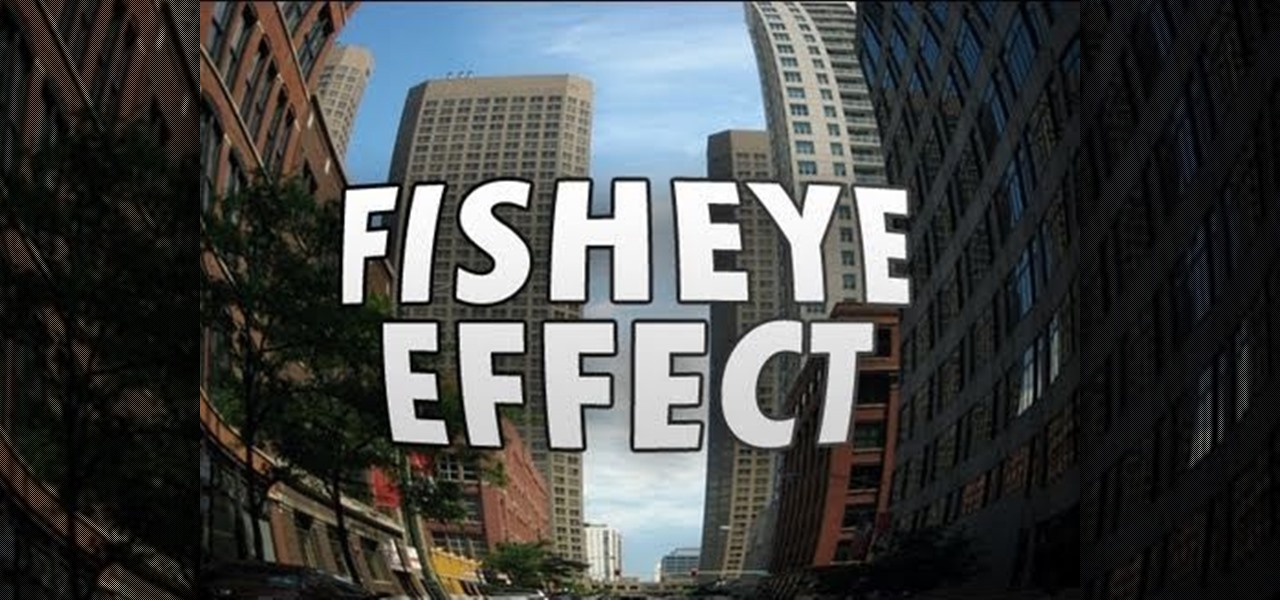
How To: Create a fisheye effect in Adobe Photoshop CS5
In this video tutorial, we learn how to create a fisheye or fish-eye effect in Adobe Photoshop CS5. Whether you're new to Adobe's popular vector graphics editor or are merely looking to pick up a few new tips and tricks, you're sure to be well served by this clip. Take a look.
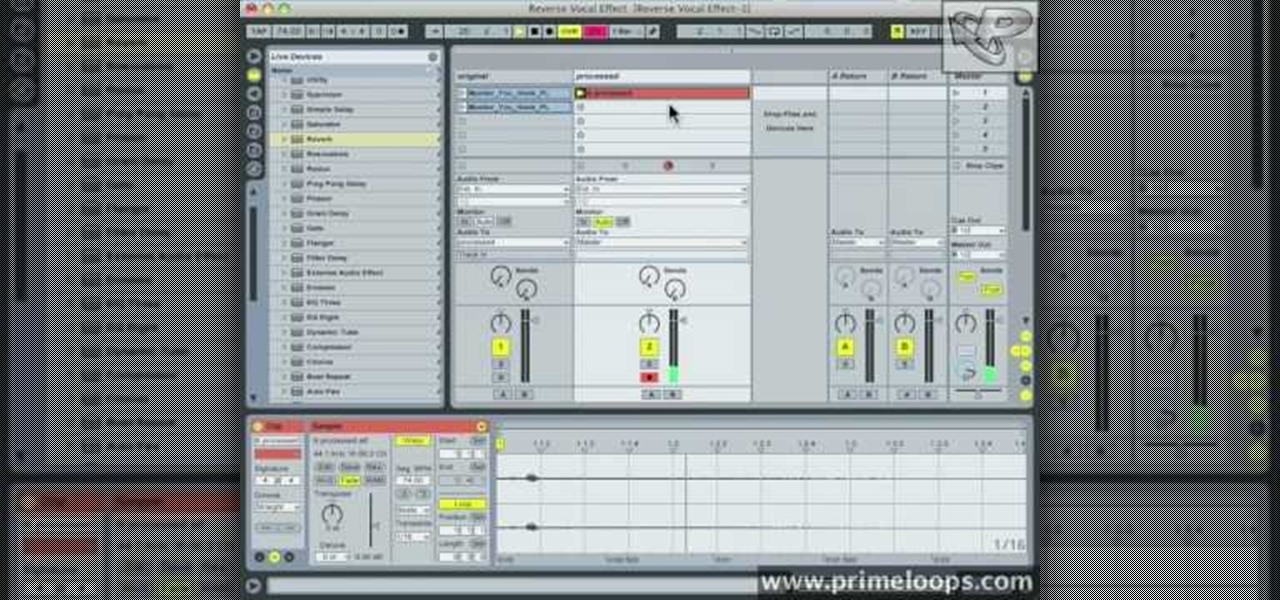
How To: Use the reverse vocal effect in Ableton
In this video, Nick shows us how to use the reverse vocal effect in Ableton. This is great to use as a lead in to the beginning of a track. Start out with your vocal, take out part of it that you want to use as the effect. Copy this down and then reverse it. Run this through a reverb and then record it to another track. Then, take this audio track and then reverse it again. Once you are finished, you will get the ghostly sound for the reverse intro to the song. Save this when you're done and ...

How To: Make A Cartoon From Your Photo With Photoshop CS4
Here I'm going to show you the most easiest and quickest way to make a cartoon from your photos. the photo can be anything, but must be well focused. so let's start with it.