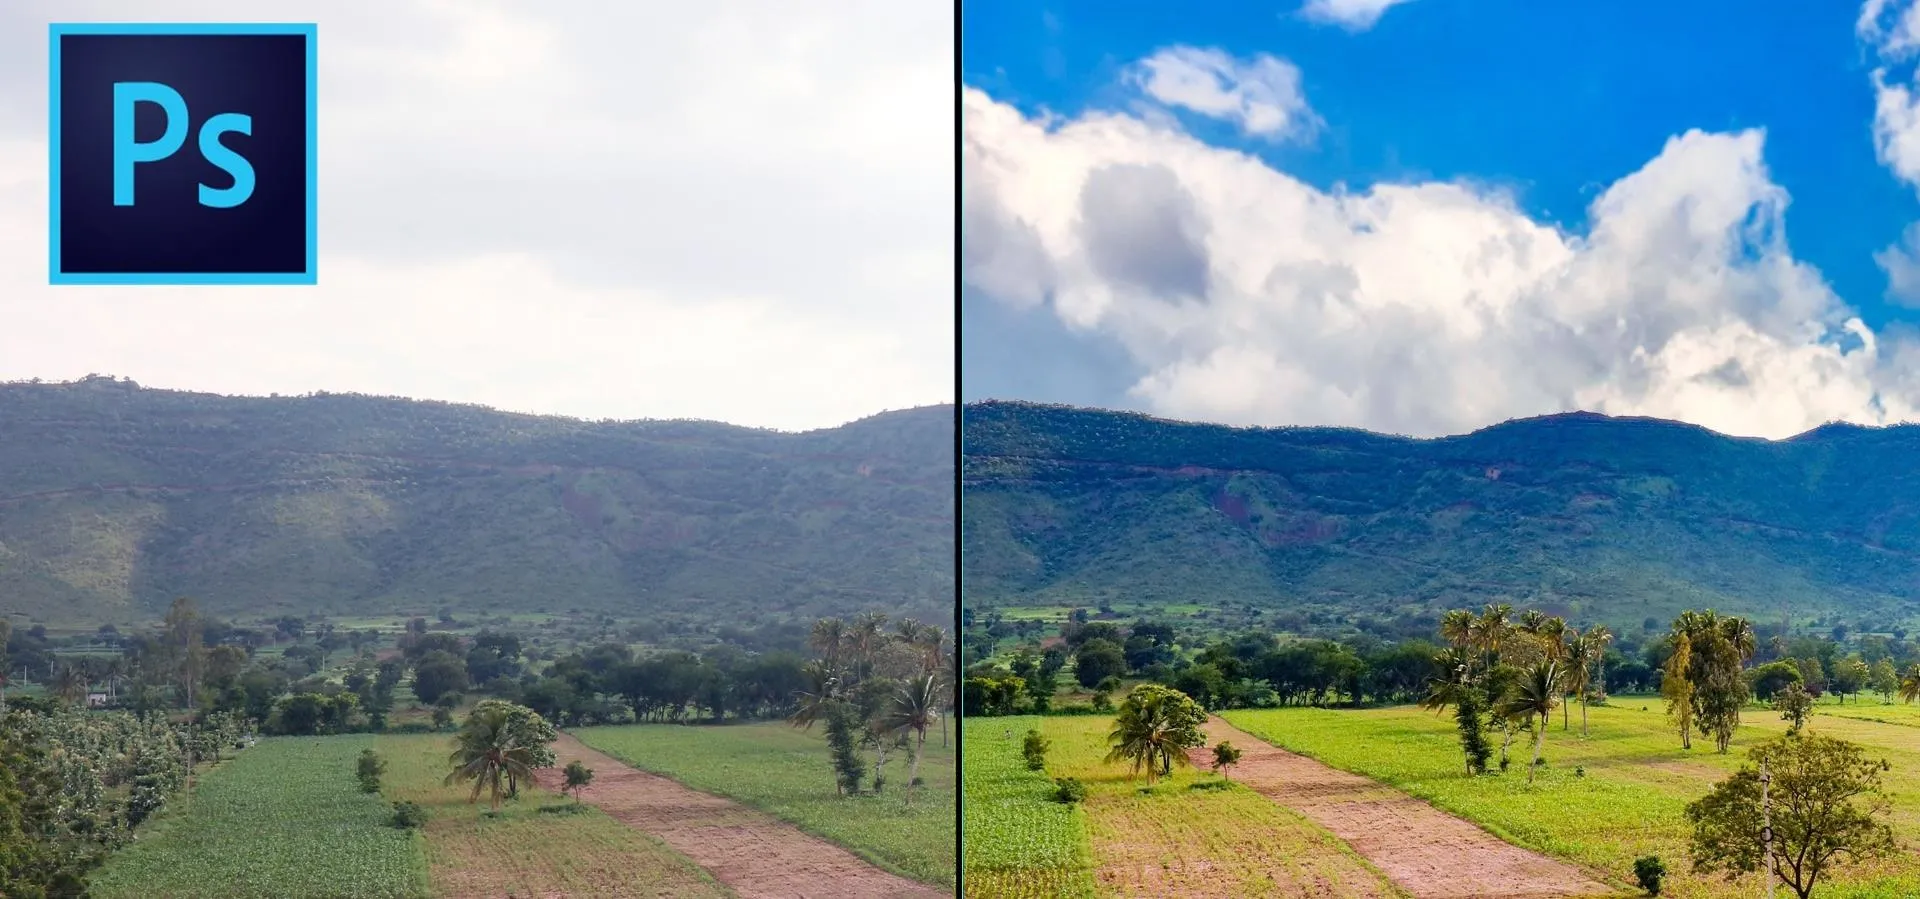
This informative video tells you how to use the variations panel in Adobe Photoshop to correct color issues in your photo. Too much yellow in your picture? Learn how to use the variations setting to instantly fix this with the corresponding opposite color. With simple clicks and easy preview-able pictures, you can correct color over-exposures with a click of the mouse. First go to the Images drop down and select the variations option. The original photo on the top can be clicked to revert you back to the picture you started out with. The photo beside the original is your corrected photo. You alter the corrected photo by clicking the picture "wheel" in the center of the panel. To correct an overage of the color yellow, in this example, click the opposite corner to add more blue, which tones down the yellow color with blue.
Apple's iOS 26 and iPadOS 26 updates are packed with new features, and you can try them before almost everyone else. First, check Gadget Hacks' list of supported iPhone and iPad models, then follow the step-by-step guide to install the iOS/iPadOS 26 beta — no paid developer account required.








Comments
Be the first, drop a comment!