how to
How to Add Fireworks to Any Night Picture in Photoshop
how to
How to Change Skin Tone in Photoshop
how to
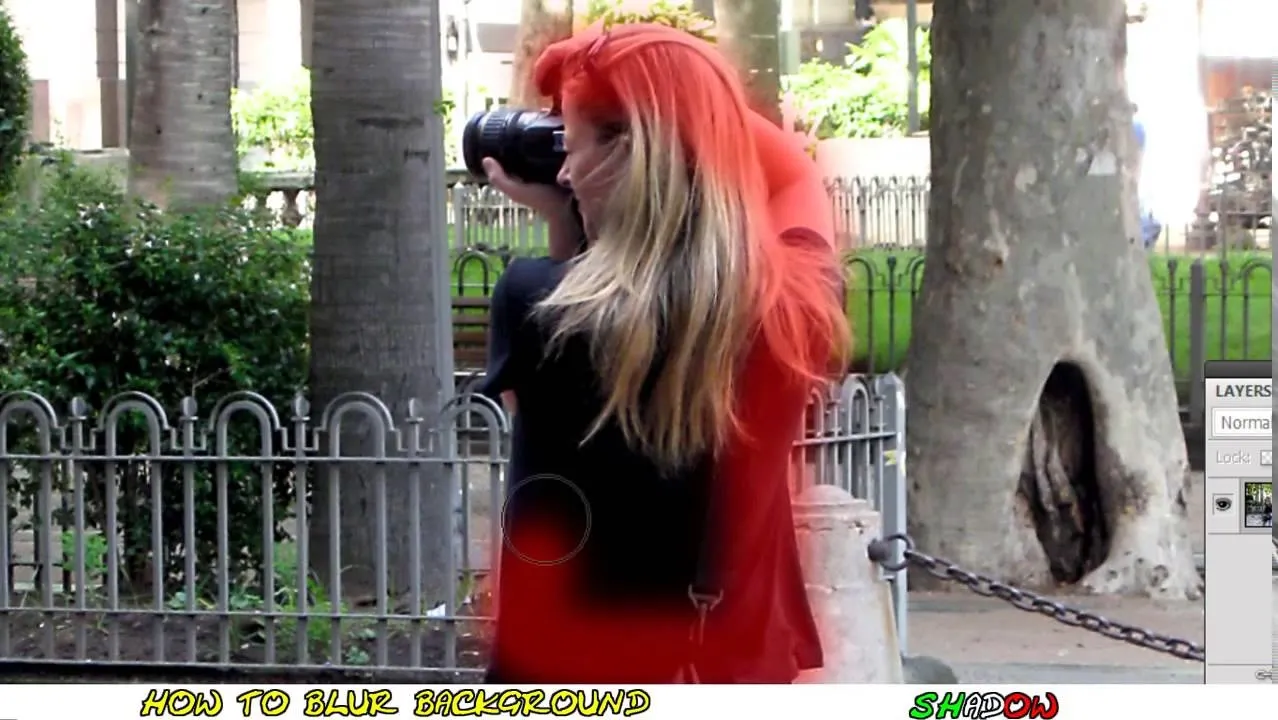
How to Fix Blurry Photos in Photoshop


Featured On WonderHowTo:
Productivity & Shortcuts


Featured On WonderHowTo:
Music & Audio


Featured On WonderHowTo:
Augmented Reality


Featured On WonderHowTo:
Gaming