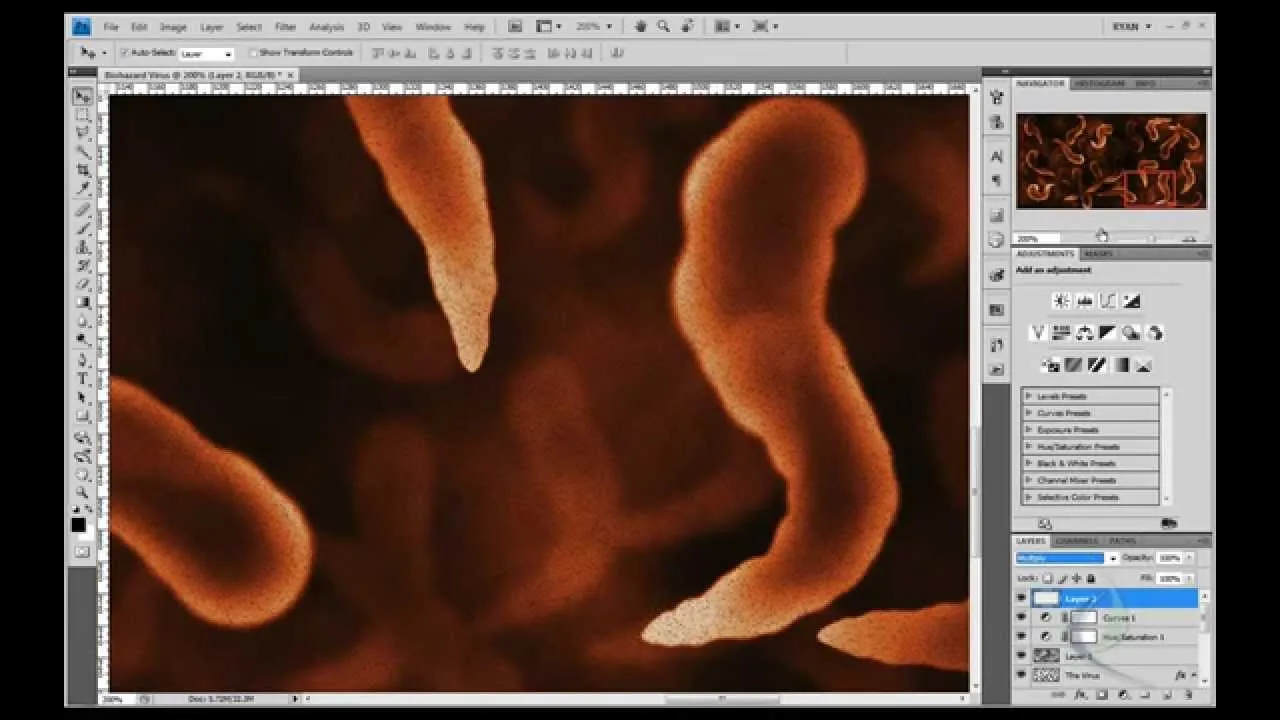
In this video, we learn how to add ray so flight through trees in Photoshop. First, open up Photoshop and open up your picture. Now, go to your channels and choose the one with the most contrast by looking at all of the options. Now, duplicate the layer and go to "image", "adjustments", and then "levels". Now, make the image a lot darker, looking at the image preview as you go. When finished, click "ok", then select this layer and press "control", then click". Go back to the regular image, then go to the layers palette, create a new layer, then fill in with white. Next, deselect and duplicate the layer, then go into "filter", "blur", and "radio blur". Apply around 60, then make sure it's on zoom instead of spin. Now you will see a burst of light going through your tree, save and you're finished! You can continue to tweak this as you need, so continue to edit the image as you see necessary.
Apple's iOS 26 and iPadOS 26 updates are packed with new features, and you can try them before almost everyone else. First, check Gadget Hacks' list of supported iPhone and iPad models, then follow the step-by-step guide to install the iOS/iPadOS 26 beta — no paid developer account required.










Comments
Be the first, drop a comment!