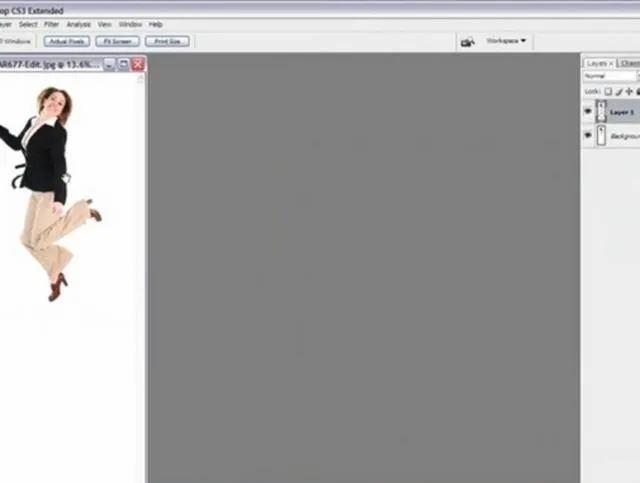
Yanik Chauvin shows viewers how to add a reflection using Photoshop. This tutorial focuses on how to do a reflection on a white background. You can do this with objects as well as people. Bring up your image with a white background to add the reflection to. First, you should press ctrl+j to add a second layer. In order to do a reflection, you need room, so you need to increase your canvas size. To do this click image, click canvas size, and click the bottom arrow so it can expand downward. You should double the length of your image and click enter. When doing this, make sure you choose the background color as white. Next, you need to duplicate your image. Use your selection tool to select your image and click rtrl+c to copy the image. Next, paste the copy by clicking ctrl+v. This will create a 3rd layer. You'll want to flip this layer so click edit, transform then flip vertical (this will flip the layer). Move this layer down, and to perfectly align it, hold the shift key down while you move it down. You should now have your image and a copy of that image flipped directly under it. Now, you need to reduce the opacity on the bottom layer. to do this, click on the layer and decrease the opacity to about 20 - 30%. Now, you need to add a gradient. To do this, select white as your foreground color. Select your gradient tool, and in the panel select the second option, white to transparent. With this selected, go to your flipped layer, and click where you want the gradient to start and holding the shift key, make a straight line up. It is trial and error. If you like it, keep it, if not, re try it again until you get an image you like. Now you can add reflection to any white background photo using Photoshop!
Apple's iOS 26 and iPadOS 26 updates are packed with new features, and you can try them before almost everyone else. First, check Gadget Hacks' list of supported iPhone and iPad models, then follow the step-by-step guide to install the iOS/iPadOS 26 beta — no paid developer account required.








Comments
Be the first, drop a comment!