If you're not much of a drawer, you can still get the look of a detailed drawing simply by taking a picture and using Photoshop's tools and filters to transform it into something that looks drawn by hand.
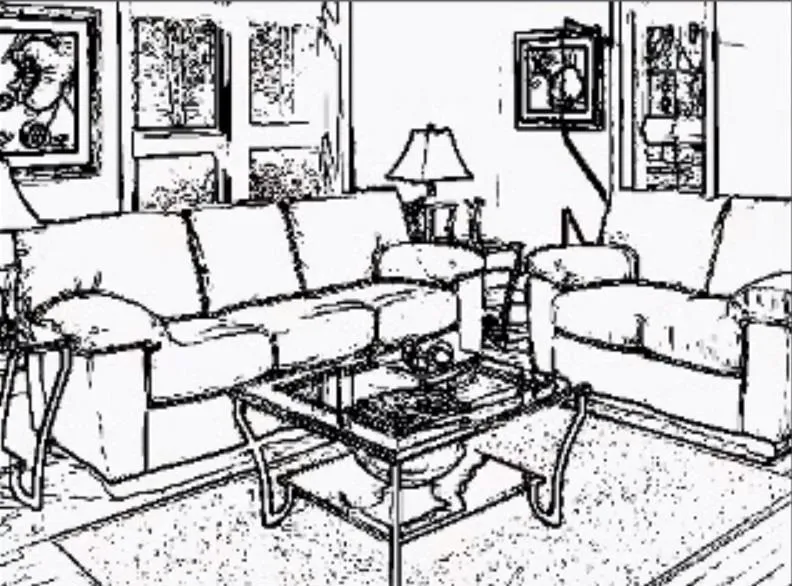
There are actually many ways to do this, but in this how-to, we'll focus on line art in particular, which will turn your photo in a realistic black and white sketch.

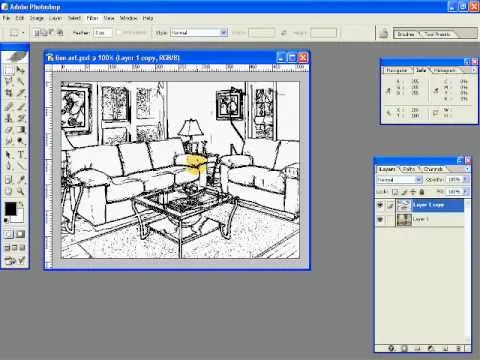
Just open up your selected photo in Photoshop, create a duplicate layer, then go to Image -> Adjustments -> Desaturate. This will turn your image into black and white.
Next, go to Filter -> Stylize -> Fine Edges and you've got a pencil drawing effect. Now, go back to Image -> Adjustments and choose Brightness/Contrast. Adjust the brightness and contrast to your liking, then go to Filter -> Sharpen -> Sharpen More.
Now you have your line art!

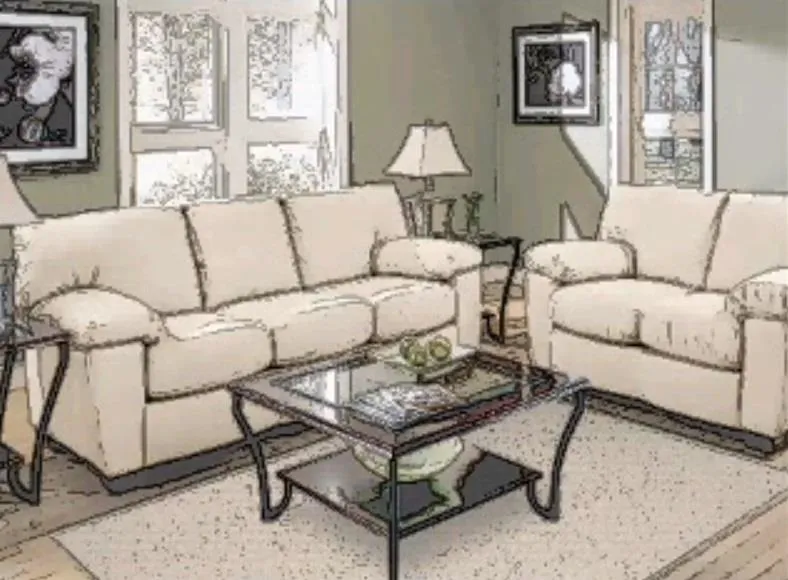
You can adjust the opacity of the duplicate layer to create an interpolated rotoscope type effect (only they aren't moving images). This is a good option if you want a realistic color cartoon look, instead of the hand drawn black and white line art.

This process works pretty much the same for all versions of Adobe Photoshop, but if the technique varies slightly for an older version, please share it below in the comments.


Comments
Be the first, drop a comment!