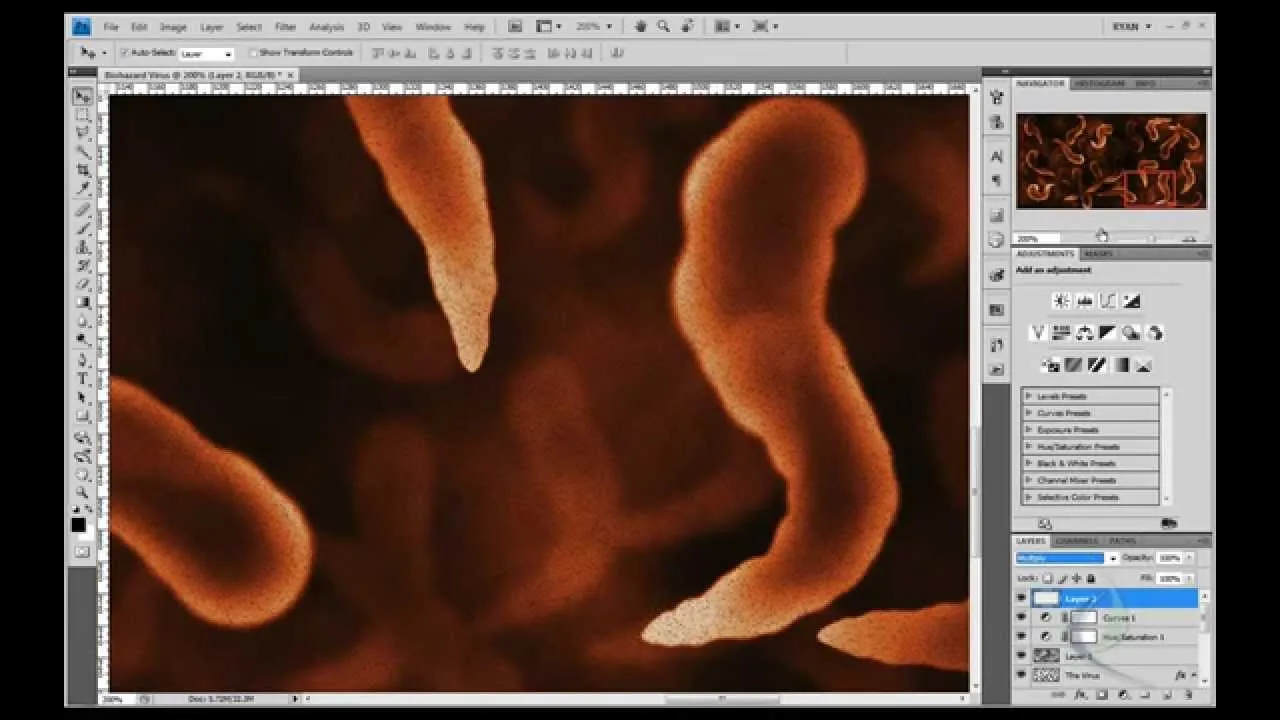
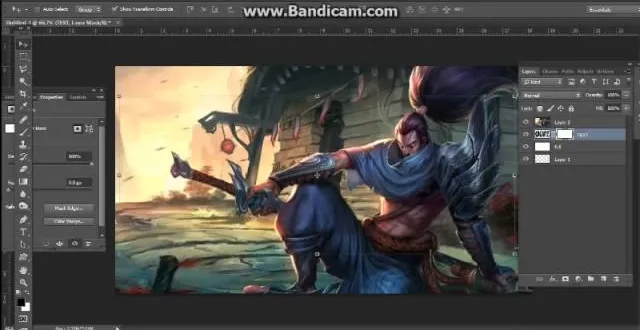
TutCast shows viewers how to create the blood spatter from Watchmen in Photoshop! First go to TutCast.com/watchmen and download the given file that will provide you with the layers needed for this project. First, click layer and click bevel and emboss. First, start with Inner Bevel, Keep it smooth and leave depth at 100. Direction is up and change the size to 8 and soften to 10. Now, set the angle to -70 and altitude to 30. Now, the gloss contour you should pick the fourth option and the highlight mode should be overlay. Change opacity to 100% and shadow at mulitiply and change this one to 30%. Go to inner shadow and set this to linear burn and opacity at 35% angle should be -160 and turn off global light. Set distance to 8, choke to 0 and size to 21. Contour should be on the 2nd option cone. Now, go to inner glow and change blend to overlay at 1005 and change the color to white. Soften to center and change the size to 8 and select the last contour on the front row. Change overall opacity to 90% and now click okay! You should have your blood splatter. Now, you can highlight your blood splatter to stylize it. Fill in circles with white color and turn them down! Now you have your blood splatter from watchmen!
Apple's iOS 26 and iPadOS 26 updates are packed with new features, and you can try them before almost everyone else. First, check Gadget Hacks' list of supported iPhone and iPad models, then follow the step-by-step guide to install the iOS/iPadOS 26 beta — no paid developer account required.


Comments
Be the first, drop a comment!