Learn how to create a warm, grungy background in Photoshop.
- Open up a brand new document at 1280 x 720.
- Fill the document with a muddy brown color.
- Using the elliptical tool, creates a shape in the center.
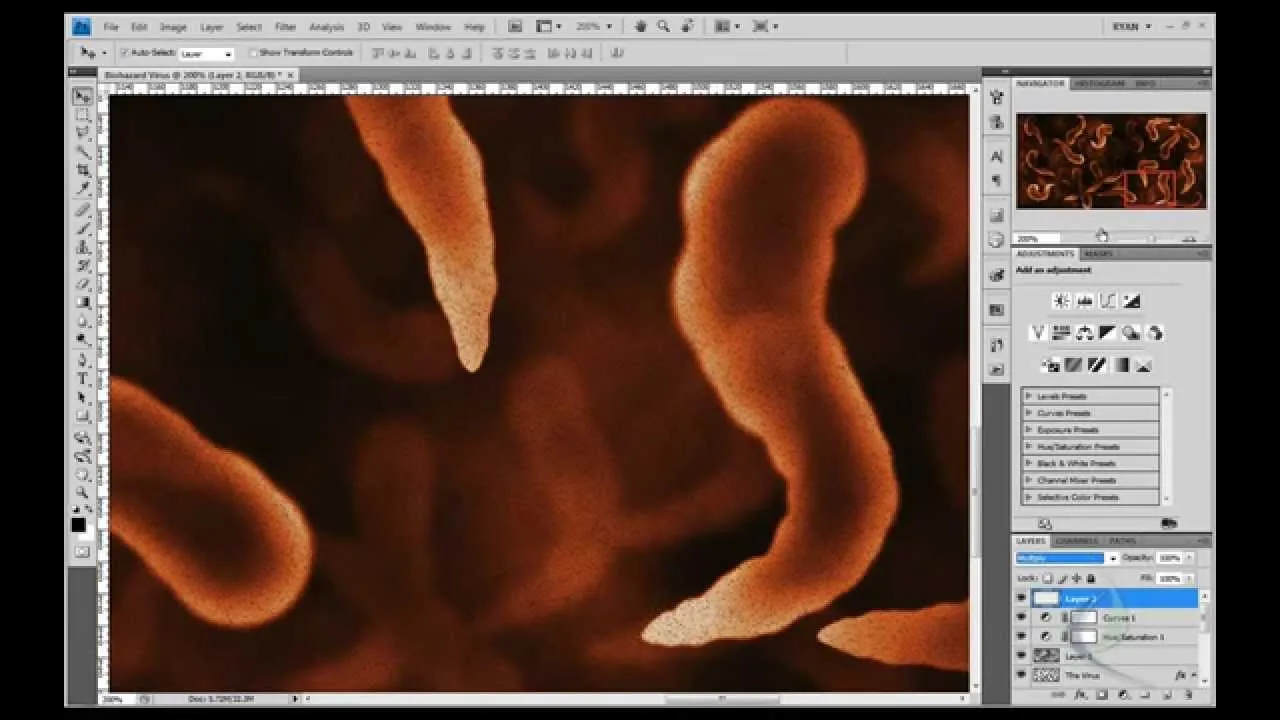
- Go to Layer -> Adjustment layers -> Levels and click okay.
- Grab the black slider on the bottom of the levels gradient which is going to give you a nice glow in the center.
- Set the levels adjuster to Overlay.
- The next thing is to bring in a texture. It can be any texture you want, the image being used here is a metal texture.
- Command J to duplicate the layer.
- Copy and paste the texture on top of the original document so that it is placed on top.
- Change the level adjuster to Soft Light.
- Add -> New Adjustment Layer -> Curves
- You can darken things up by playing around with the curves which will affect the light and dark spots.
- Create brand new layer and name it "Trees"
- Go to brushes and set the foreground color to white.
- You can download different brushes to use for this and would load into brushes tool.
- Place the brushes anywhere on the document.
- Set level adjustment to Overlay.
Video not playing properly? Click here to see the original video









Comments
Be the first, drop a comment!