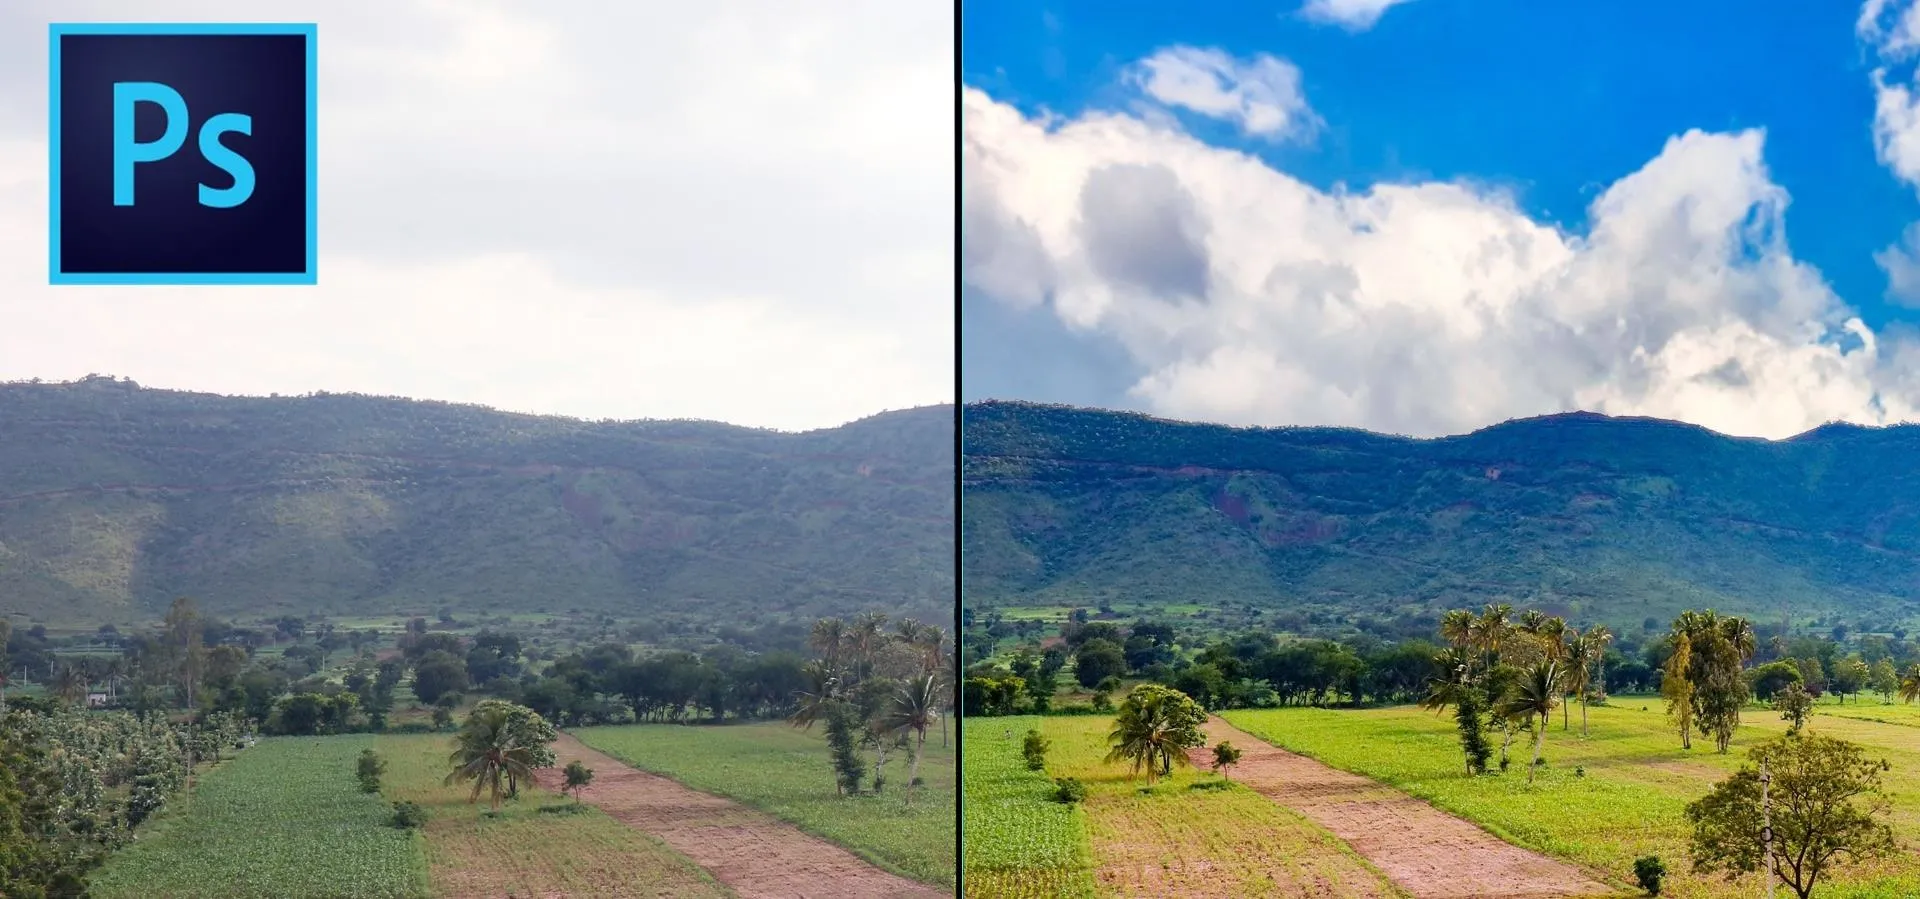
This how-to video is about how to darken an over exposed image in Photoshop.
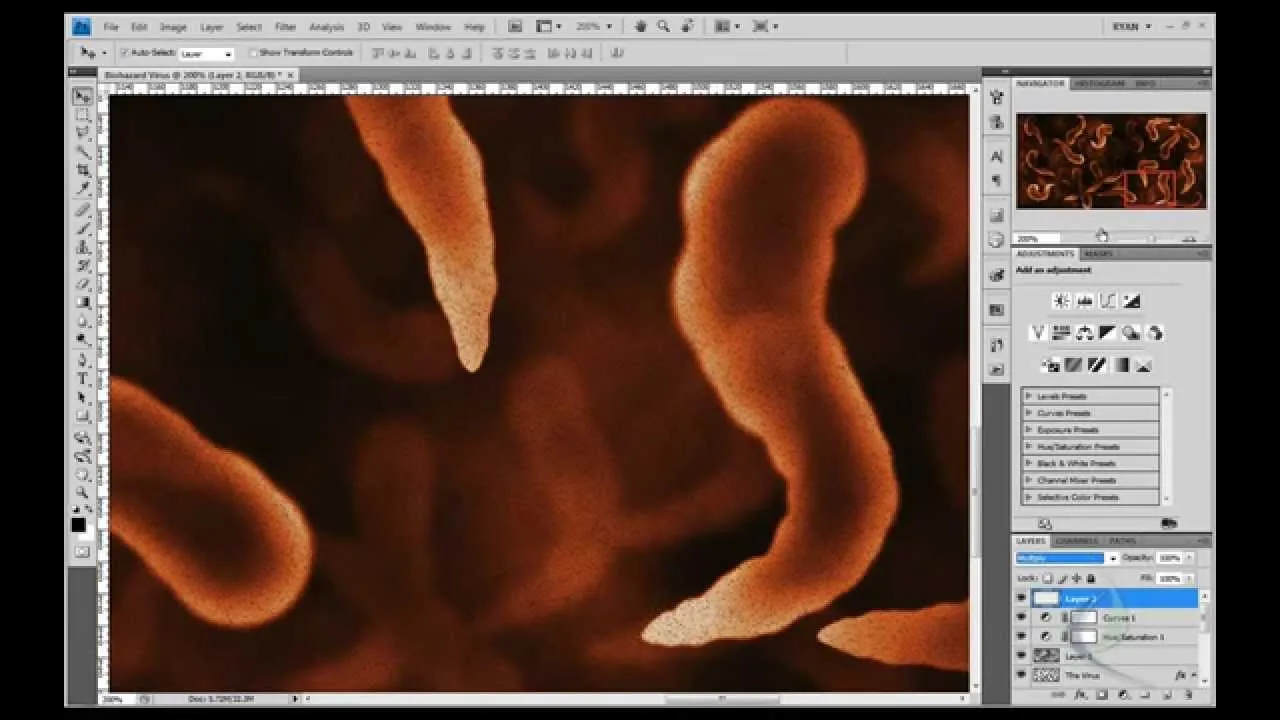
Sometimes the pictures gets washed out because they get over exposed and we are really confused over this problem, here is solution for this overexposed photographs, by using the "blending mode" option in Adobe Photoshop we can darken the exposed image and can give them a new standard appearance. In the "blending mode" open the "layers palette" and take a copy of the image by dragging the image until the "new layer" icon and make it as the second layer of the image. Now change the "blending mode", choose from "no blending mode" to "multiply", this option will double up the pixels and will darken the image, if the image becomes too dark, then use the option "opacity", use the slider below this option to adjust the amount of lighting adjustment, we can move the slider until we get the desired lighting for the image, once getting the desired opacity hit "enter", this will fix the image to the normal clarity. Then we can merge the layers using "standardize layer" option under "layer" option, and make them into a single corrected image.
This video is very simple and tells us the easy method to darken an over exposed image using "Adobe Photoshop".


Comments
Be the first, drop a comment!