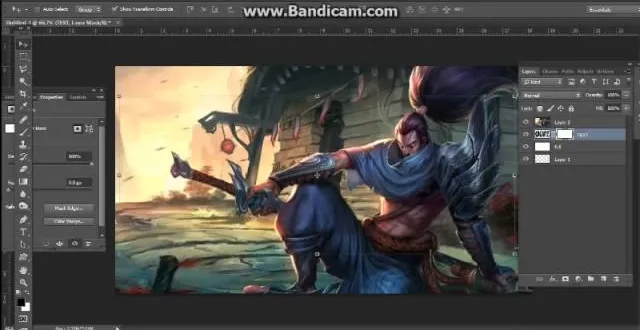
Stephanie Valentin teaches us how to draw a stone angel in Photoshop. You create a new document of 1100 x 200 pixels. You sketch the character with a black brush of 5 pixels and 100% of opacity on a new layer. Keep this layer of the whole painting process. Then create a new layer, filling the shape with a dark color. Use a hard brush of 25 pixels and 100% opacity. Create a new layer Light 1, apply large lights with a soft round brush of 20 pixels and 35% opacity. Apply a Gaussian blur of 8 pixels. A new layer is called Light II. Apply more defined lights with a soft round brush of 10 pixels and 35% opacity. Apply a Gaussian blur of 4 pixels. You can merge all the layers except the sketch. The first tool is the smudge tool. Use a width between 10 and 40 pixels and strength between 50% and 70%. Use two soft round brushes, white and black, to add more lights and shadows. The width should be between 10 and 20 pixels and opacity between 5% and 10%. Always remember the source of the lights. Create a dark background with effects like smoke.
Apple's iOS 26 and iPadOS 26 updates are packed with new features, and you can try them before almost everyone else. First, check Gadget Hacks' list of supported iPhone and iPad models, then follow the step-by-step guide to install the iOS/iPadOS 26 beta — no paid developer account required.




Comments
Be the first, drop a comment!