It's very easy to get a slightly blurry photograph due to a moving subject, camera shake, or just an incorrect auto-focus, but you don't have to let that ruin an otherwise terrific picture. All it takes is a little finesse in Photoshop or another photo editing software. This guide covers sharpening a blurry image using Photoshop specifically.
Adjust the image's color and lighting aspects before you sharpen. Sharpening should be the last thing you do to the image before you save it. Since you will lose pixels during the sharpening process, do it only after cropping and tweaking the other parts of the photo.
Keep resolution as high as possible before sharpening. Some digital cameras take pictures with high resolutions. This is beneficial when sharpening because you have more pixels to manipulate. Resist scaling down resolution until after you sharpen.
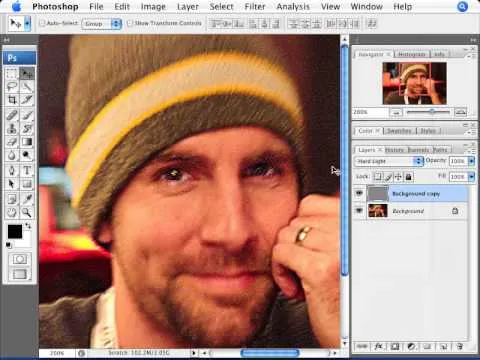
Flatten layers of your image when you finish adjusting it and make a copy of the new layer. Turn off visibility on bottom layer. You'll keep that one in case you don't like your changes.
Select new layer and start sharpening. Open the Sharpen menu from the drop down Filter list. You'll see a few different sharpening tools and each one has its own merit. Choose the Sharpen one at the top first. Click it and the menu will disappear and your image will be slightly sharper.
Click on the next sharpening tool from the list, Sharpen Edges. This tool identifies the change in pixel patterns and adds contrast to the darker tones at the edges of objects. When you apply this filter, you may notice a distinct change in your image.
Sharpen your image if you took people pictures with the Smart Sharpen filter. This sharpening tool gives you more control over your image by using algorithms to remove previous blurring options. In addition, you can choose the advanced tab and sharpen only highlights or shadows for a custom look. This is a good sharpening filter for faces.
Try Unsharp Mask to control the amount of sharpening while monitoring your image in a preview window. Choose the radius of the sharpening effect as well as the threshold.


Comments
Be the first, drop a comment!