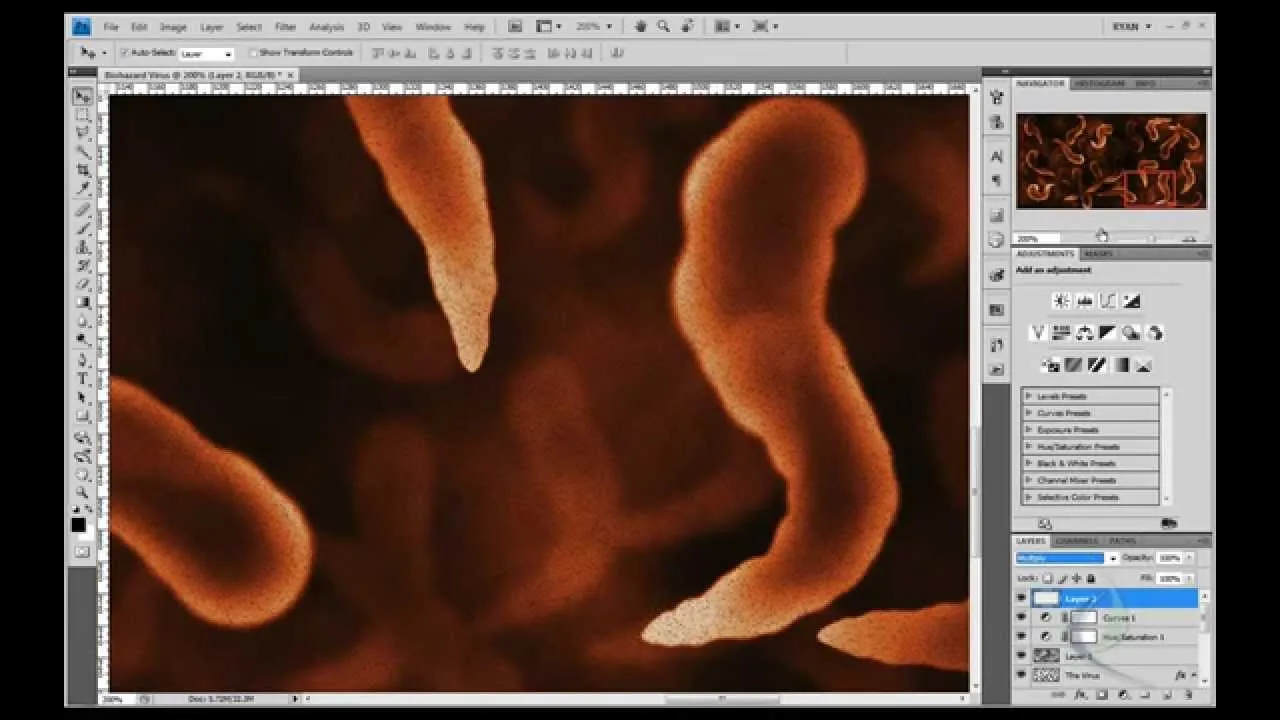
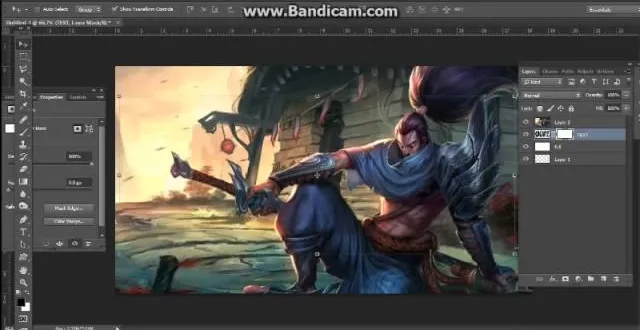
In this how to video, you will learn how to liquify an image using Photoshop. First, open the image in Photoshop. Next, go to filter and select liquify. Use the forward warp tool to press pieces of the photo. Use the reconstruct tool to bring the image back to the original state. The twirl clockwise tool can be used to twirl pieces in the photo. You can adjust the pressure to twirl more. The pucker tool can be used to push sections into the image. The bloat tool can be used to pinch sections in the image. The push left tool will push the section the opposite way of the brush direction. The mirror tool can be used to mirror pieces in the photo. The turbulence tool can be used to push things away in the image. The freeze mask tool allows you to select an area that you do not want to distort or transform. If you brush an area with this tool and select another tool, the area selected will not be affected by the new tool. The thaw tool allows you to erase these masks. Now you know the basics of liquify.
Apple's iOS 26 and iPadOS 26 updates are packed with new features, and you can try them before almost everyone else. First, check Gadget Hacks' list of supported iPhone and iPad models, then follow the step-by-step guide to install the iOS/iPadOS 26 beta — no paid developer account required.









Comments
Be the first, drop a comment!