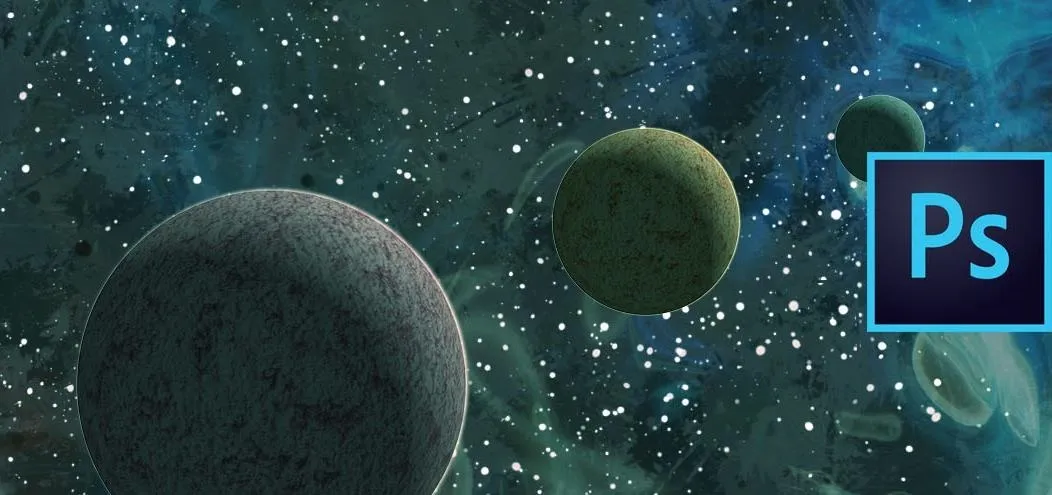
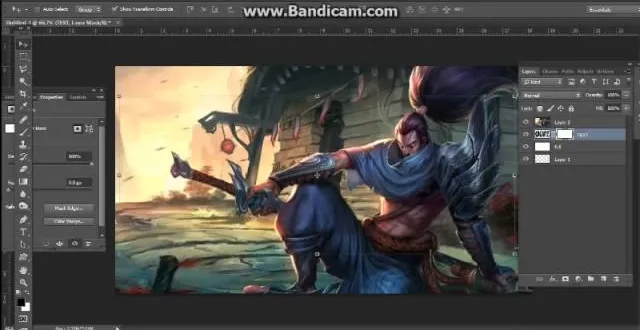
This how to video shows you how to create a nebula star scene in Photoshop. First, create a new image in Photoshop. Fill the background with black. Next, create a new layer and call it stars. Go to filter and select noise. Choose Gaussian and click monochromatic. Click okay to add the noise. Once that is done, go to adjustments and levels. Change the settings so that you have less clutter. Next, make a selection in the middle. Copy and paste it as a new layer. Go to edit and select free transform. Make the image larger. Set the layer to screen mode. Next, merge the background and stars together. Create a new layer and call it clouds. Fill it with black. Go to filter, render, and clouds. Change the layer to overlay mode. Make a new layer and call it gradient. select the gradient tool and choose your colors of choice. Next, create the gradient and change the mode to overlay. Create a new layer called brush strokes above the stars layer. Change the brush to 5 percent opacity, choose a white color, and click around the image. Once this is done, go towards the middle and make it brighter. You can increase the opacity and keep brushing around the center for a more vivid effect. Once that is done, go to the starts and use the eraser tool to erase some of the stars out. Once that is done, your nebula is complete.
Apple's iOS 26 and iPadOS 26 updates are packed with new features, and you can try them before almost everyone else. First, check Gadget Hacks' list of supported iPhone and iPad models, then follow the step-by-step guide to install the iOS/iPadOS 26 beta — no paid developer account required.




Comments
Be the first, drop a comment!