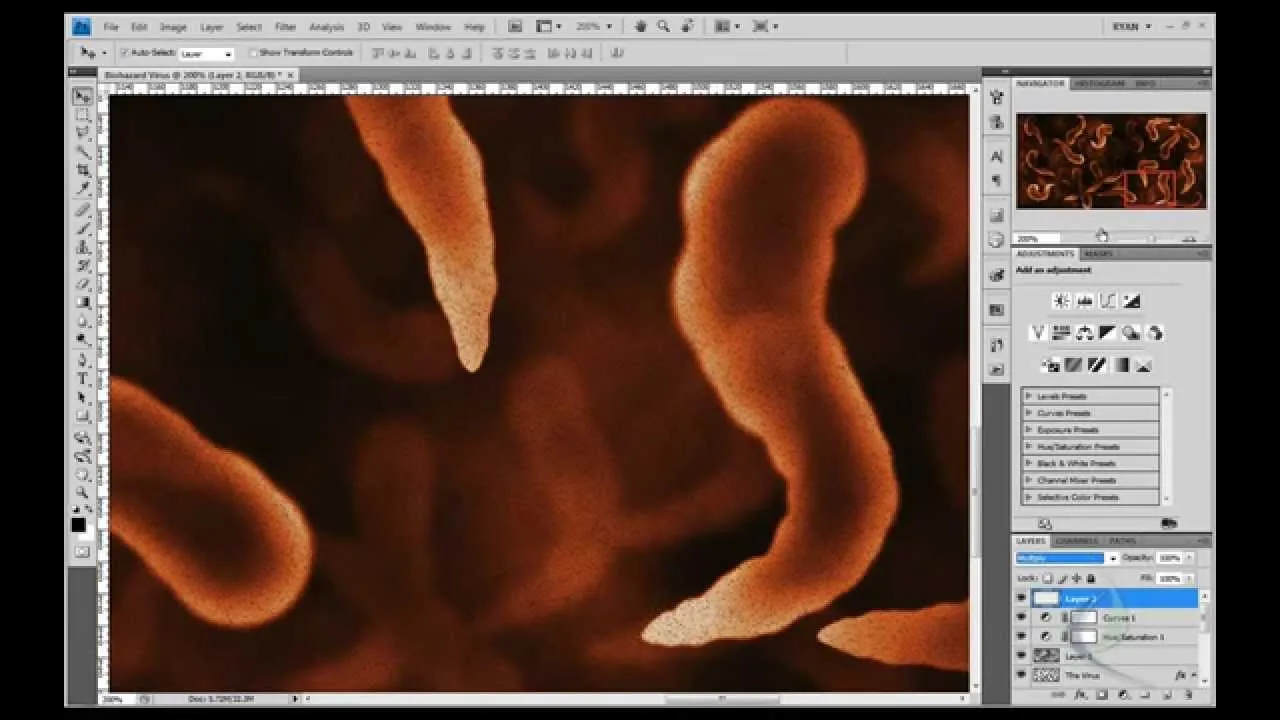
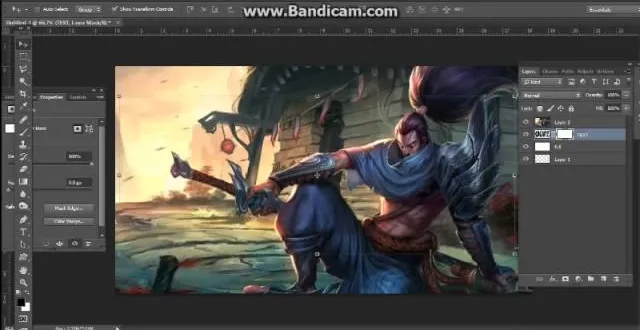
Open an image and on the layers panel add a new layer by clicking on the fifth icon below the layers panel. A new layer is created with the name 'layer 1' and your previous layer would have the name 'background'. These names can be changed by you. For now we'll leave them as they are.
With the new layer selected click on Filter>Render>Clouds. Change the Opacity to 63. (This is present on the top right of the layers panel.)
Click on Filter >Noise> Add Noise. Your image looks grainy! Don't panic. We'll turn these grains to rain drops in a moment. Give the settings as in the image on the left.
Amount - 60
Distribution - Gaussian
Check Monochromatic
Click on Filter >Blur >Motion blur. The motion blur window appears. Give the values Angle - 73 and Distance 10 as seen in the snapshot below. You can try varying the values and when a suitable image appears you can click OK.
With 'layer 1' still selected, move your mouse over the Layers panel. There is a drop down menu on the top left of the panel, this is used to set the blending mode for the layer, now set the blend mode to 'screen'.


Comments
Be the first, drop a comment!