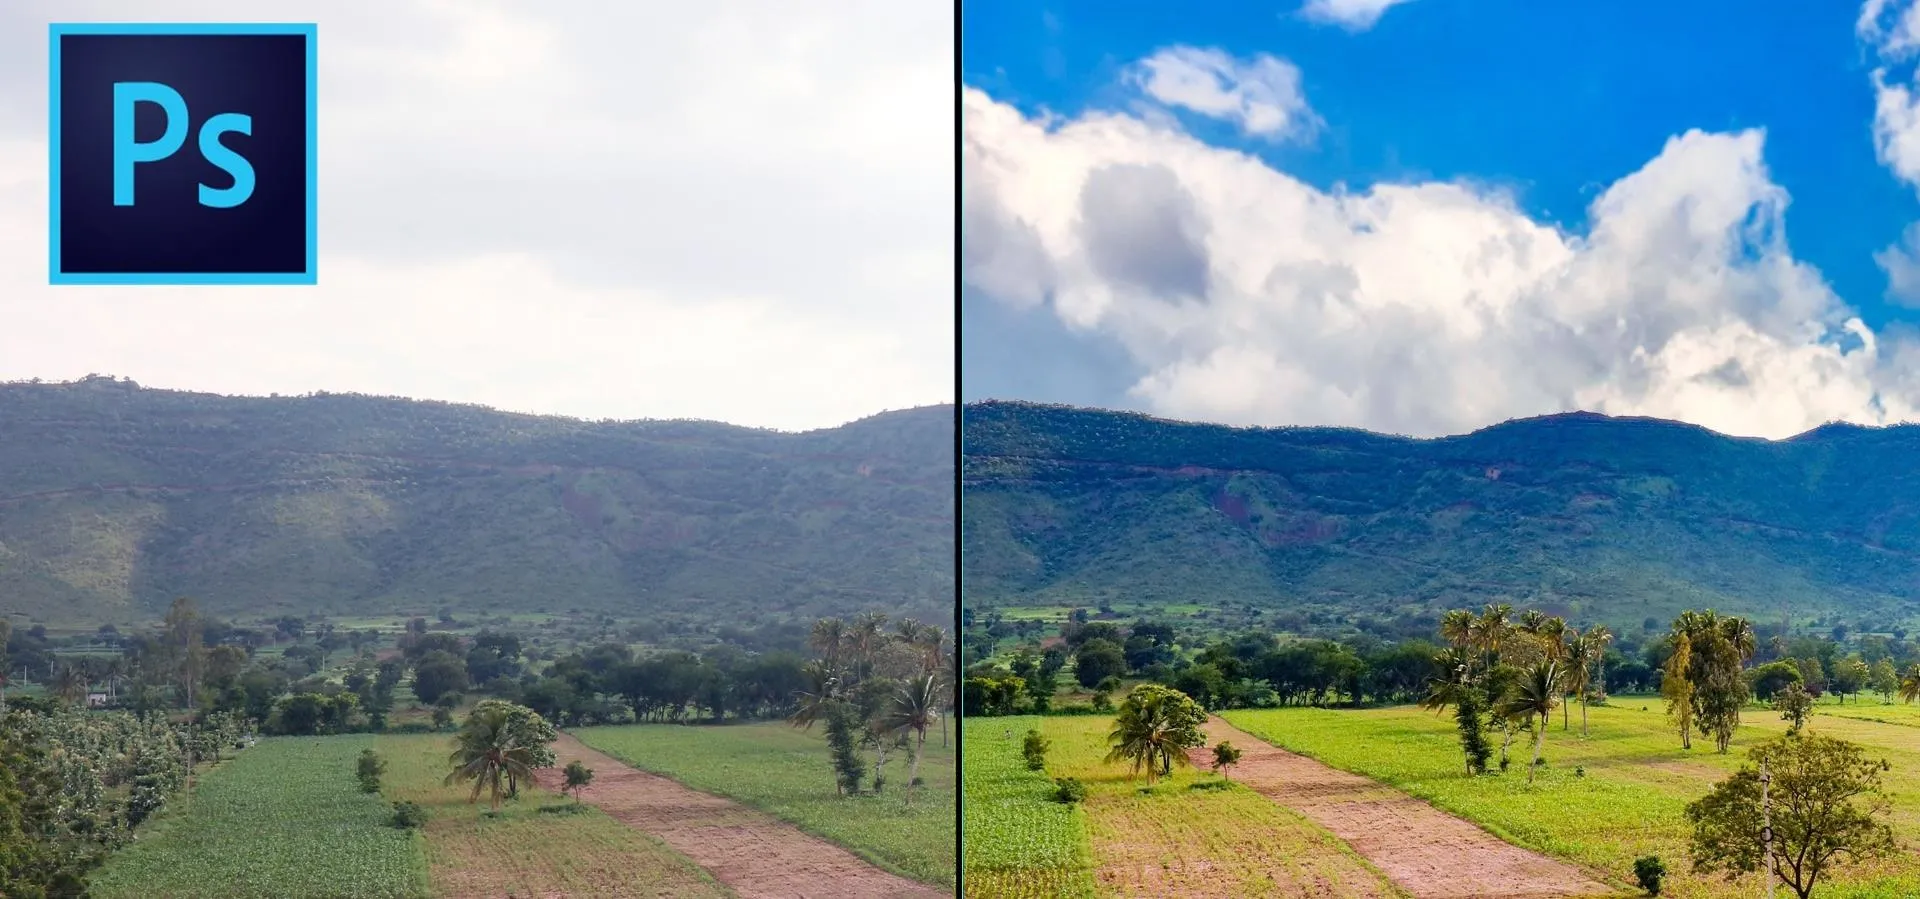
This software tutorial shows you how you can blend three differently exposed images using Photomatix, and then demonstrate how to use some basic Photoshop techniques to touch-up the resulting image. [Note: the Flash overlay in this video doesn't sync completely with the audio; pausing for a second and then resuming it fixes the problem.]
Most digital SLR sensors don't have sufficient dynamic range to properly expose the shadows and highlights in scenes where the contrast between the brightest and darkest areas of the scene differ by more than 4 stops of light. HDR (high dynamic range) imaging helps to remedy this situation (among other things) by blending several images that have been exposed for different light values in the scene. This involves, for instance, taking a 'normal' exposure (i.e., default auto-setting for beginners), another that has been underexposed by at least 1 stop (-1 E/V) and one that has been overexposed by 1 stop or more (+1 E/V). The easiest way to do this is to place your camera on a tripod, and use the "auto-bracket" function on your camera. If your camera doesn't have auto-bracketing capability, you will have to adjust the shutter speed manually between each shot. Once you have at least three images, this tutorial will show you how to combine them and make some quick Photoshop adjustments.






Comments
Be the first, drop a comment!