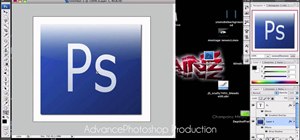
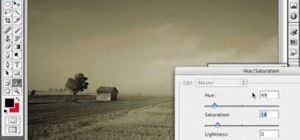
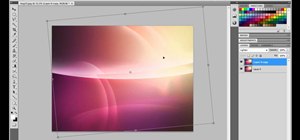
Advance Photoshop shows viewers how to make the Photoshop CS3 icon in Photoshop. First in Photoshop go to File and then click New. Make a new blank at 500 x 500 pixels. Go to your layer button and create a new layer. Next, go to your rectangular marquee tool, hold down shift, and make the rectangle slightly smaller than the canvas itself. Set it from foreground to background and change the background color to a dark blue, enter 15396F for the color. Click on foreground color and enter 3070CA and you have your lighter blue. Hold shift and drag diagonally from the bottom right to the top left of the selection. hit control + d do deselect. Make a text box, type in Ps. Go to character button and you can change the font to Verdana, Regular size and change the font size to how it fits. 50 font should work, Text height 150 and text width 100%. Now, drag the Ps into the middle of the canvas. Change the Layer stile and click gradient and select foreground to background. Foreground color should be CAD2DE. The background should be F7F9FB. Last, click on layer one and change the layer style to a default drop shadow and click okay. Now, you have the Photoshop CS3. To make it look even better, zoom out, on layer one click control + ALT + demand and then go to elliptical marquee tool hold down alt of option and shift, drag this about half way down the icon and go back to your gradient tool , set it foreground to transparent and set foreground to white and hit okay. Hold shift and drag your gradient from just above to the marquee line you made!
Just updated your iPhone? You'll find new emoji, enhanced security, podcast transcripts, Apple Cash virtual numbers, and other useful features. There are even new additions hidden within Safari. Find out what's new and changed on your iPhone with the iOS 17.4 update.












Be the First to Comment
Share Your Thoughts