

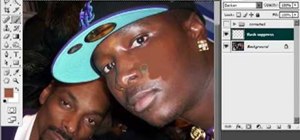
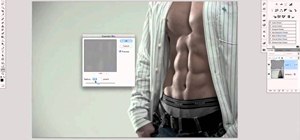
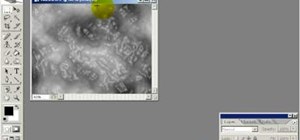
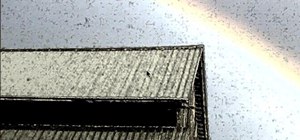
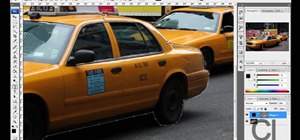
This video gives detailed instructions for removing a hotspot or flash reflection in a photo by using layers and masks. Start by adding a new blank layer and naming it something like Flash Suppress. You will use a special blending mode for this layer called darken. With your paintbrush you will loosely paint out the hotspot, having selected the color tone that you need with the eyedropper tool. Later on you can use layer masks to clean this up. Adjust the opacity of the layer until you have the setting that looks right for toning down the hotspot. You can turn the Flash Suppress layer on and off as you go along to compare the results with the original layer. If it doesn't look quite right, add a layer mask on the Flash Suppress layer. Increase the size and hardness of your paintbrush and gently tone out and blend in the border area between the painted color and the original image. Note that when you paint over and blend, some of the texture details get lost. To remedy this, you can run a special filter called High Pass, which is used in Overlay mode to sharpen images and replace texture details. If details of the image have been inadvertently removed, this can be corrected by using the burn tool to increase the contrast between different areas. This is permanent so it needs to be done carefully. Then go over the area gently with your paintbrush to bring back the missing detail. And there you have your image corrected, texture restored, and details back in place.
Just updated your iPhone? You'll find new emoji, enhanced security, podcast transcripts, Apple Cash virtual numbers, and other useful features. There are even new additions hidden within Safari. Find out what's new and changed on your iPhone with the iOS 17.4 update.


Be the First to Comment
Share Your Thoughts