

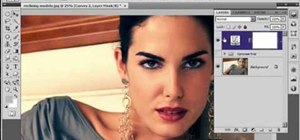
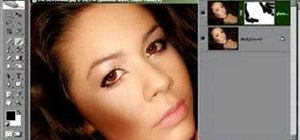
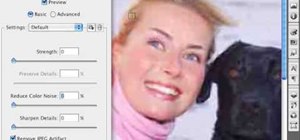
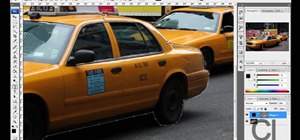
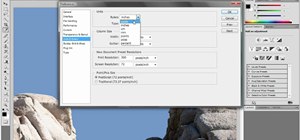
Cross processing is a Photoshop version of slide processing. The result would be you get all these weird color shifts. For reasons best known to people who run the fashion magazines, this look became very popular in the 1990s. Start by adding in a curves layer. Add a new adjustment layer for curves. If you've never used curves before it is recommended that you take a curves tutorial first as for this effect we will need to adjust individual color channels. It is not difficult but if you don't know why you are doing it it can be a bit confusing. Go to the drop down that says RGB and choose the Red channel. Take the lights point at the top, narrowing the red range and ups the highlights. Go to the darkest point which reduces the amount of red in the darker areas. Now select another node and drag it a bit to create lift the reds. Next is the Blue channel. Drag the darks point and drag it up and drag the lights point down, narrowing the dynamic range. The final part is the Green channel. This will fine tune the highlighting in the image. Create a gentle curve. You can adjust the look by changing the blending mode. Select the Color blending mode to get rid of the luminosity shifts if you do not like them. Final thing you can do is add in a Solid Color adjustment layer with a yellowish tinge and set the opacity to around ten percent.
Just updated your iPhone? You'll find new emoji, enhanced security, podcast transcripts, Apple Cash virtual numbers, and other useful features. There are even new additions hidden within Safari. Find out what's new and changed on your iPhone with the iOS 17.4 update.


Be the First to Comment
Share Your Thoughts