

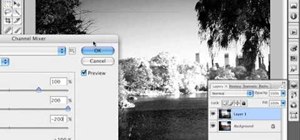
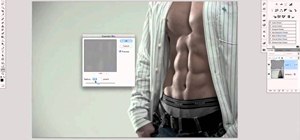
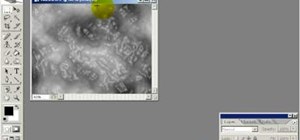
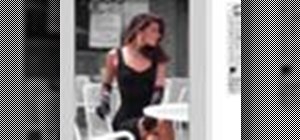
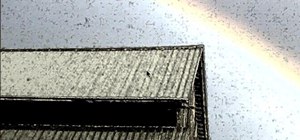
This video tutorial is about adding an infrared effect to an image using Photoshop. First of all, open the image to which you wish to add the effect. After that, create a duplicate layer. Then go to the image option and click on it. A drop down menu appears. From that menu, click on adjustments and from that, select the option channel mixer. In the small window that appears, first tick the monochrome option. The idea of the channel mixer is that the total percentage of the colors must add up to 100.Then put red at 100%,green at 200% and blue at -200% so that the total is 100%.If you have some blown out areas it can be adjusted by moving the constant slider a little. After making the adjustments, click on OK button. Then duplicate the layer again. For the two layers we are going to set two different modes. On the top layer, we are going to set the mode to screen and on the bottom layer we are going to set the mode to linear burn. Thus the infrared effect is added to your photo.
Just updated your iPhone? You'll find new emoji, enhanced security, podcast transcripts, Apple Cash virtual numbers, and other useful features. There are even new additions hidden within Safari. Find out what's new and changed on your iPhone with the iOS 17.4 update.


Be the First to Comment
Share Your Thoughts