

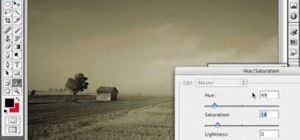
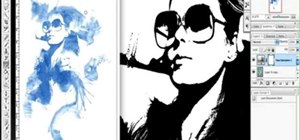
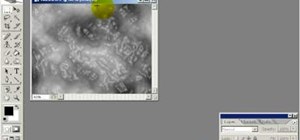
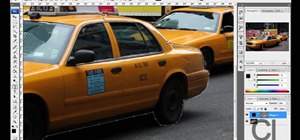
This how-to video is about how to add a color tint to photos in Photoshop.
This can really add some nice effect to the pictures, To do this first select the picture then go to "layers" then choose "adjustment layer" option right click on it and choose "hue and saturation" option, then check box named "colorize" available on the same page, once this option is chosen then immediately we can see a color change on the picture, then we adjust the tint by sliding the hue bar and also we can make the picture black and white by moving the saturation slider, normally a saturation range of 25 is ok, but if we want the picture old set hue to 49 and saturation to 18, then click ok, the best feature of "adjustment layer" is that we can change the tint any time we wish to do. If we want to darken the edges of the picture, then we need to add a layer using the circular elliptical tool, make a selection, also ensure that the edges of the circle are outside the picture, then double click on the selected areas and choose the "selected areas" in the "quick mask option", then click on "ok", then go to "filter", choose blur then choose "Gaussian blur" option, get out of "quick mask mode" and then click "shift+ctrl+I", to invert the selection, and if we press "ctrl+back space" the borders will turn black since gaussian blur is chosen black. Now the image really looks like a aged picture.
Just updated your iPhone? You'll find new emoji, enhanced security, podcast transcripts, Apple Cash virtual numbers, and other useful features. There are even new additions hidden within Safari. Find out what's new and changed on your iPhone with the iOS 17.4 update.


Be the First to Comment
Share Your Thoughts