

Photoshop How-Tos


How To: Animate & use the pen tool in Adobe Photoshop
Created by: http://www.youtube.com/fanaticmuffin1bg

How To: Change hair color in Photoshop the easy way
Open the Adobe Photoshop program. Choose a picture with a head shot. This maybe something that is already in your pictures folder on your computer, downloaded from the internet or transferred from your flash drives, and those photos you may have scanned and saved in your computer.

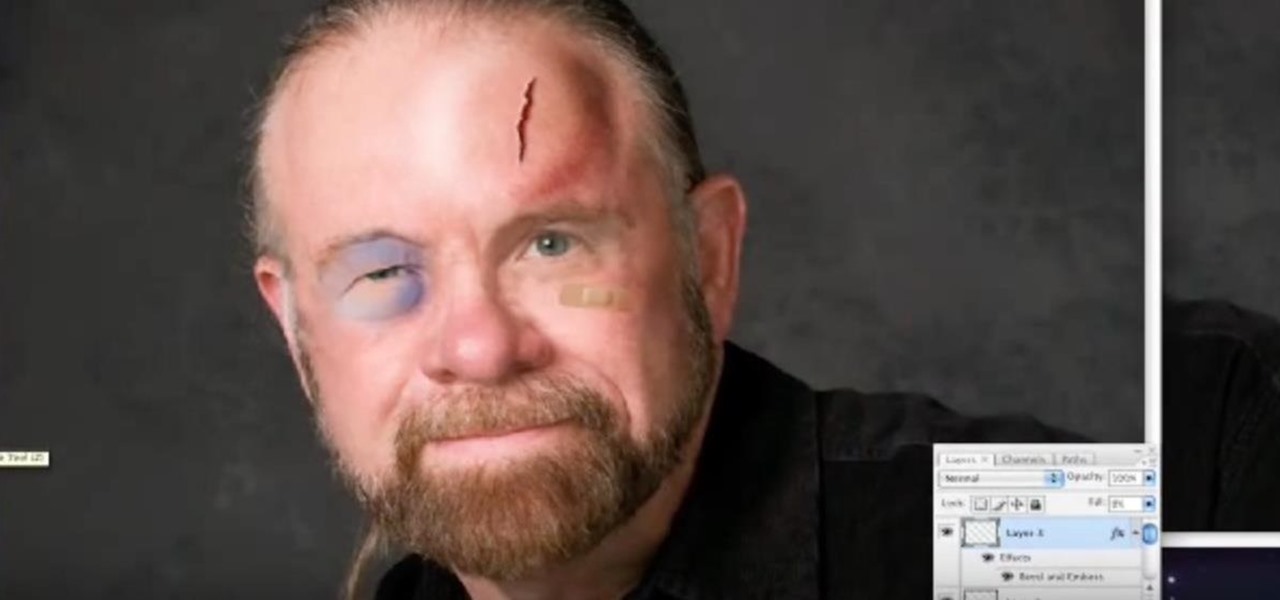
How To: Dodge, burn, & paint in Photoshop
This how to video describes how to use the dodge, burn, and paint in Photoshop. This video is part of the pixel perfect series and is over half an hour long, but thoroughly describes the process to create professional grade effects in Photoshop the proper way. The authors suggest the use of a tablet for better control over the pointer for it is very difficult to draw with a mouse. They then begin to create a full painting in Photoshop to explain how to use all the various Photoshop tools to t...

How To: Create a night vision effect in Photoshop
Don't know how to create the night vision effect using Photoshop? Well, this video is the solution for you. First of all, select the image that you want to create the effect on. Then you need to open up a new black and white adjustment layer. In the setting box that pops up, go under the preset drop down box and select red filter. Next, go down and check the tint box. After wards, the viewers can set their own photo and saturation base on their own preference.
How To: Create a 3D ice effect in Photoshop
In this video, viewers learn how to work with Photoshop CS4 Extended, specifically the 3D construction and editing engine. This video contains voice narration for guidance and a visual demonstration for viewers to easily follow along. Viewers will learn how to create a cool abstract 3D shape which is different every time it is made and some cool techniques on how to convert it to a smooth icy looking shape. This will benefit those viewers who use Photoshop and wish to create an realistic icy ...

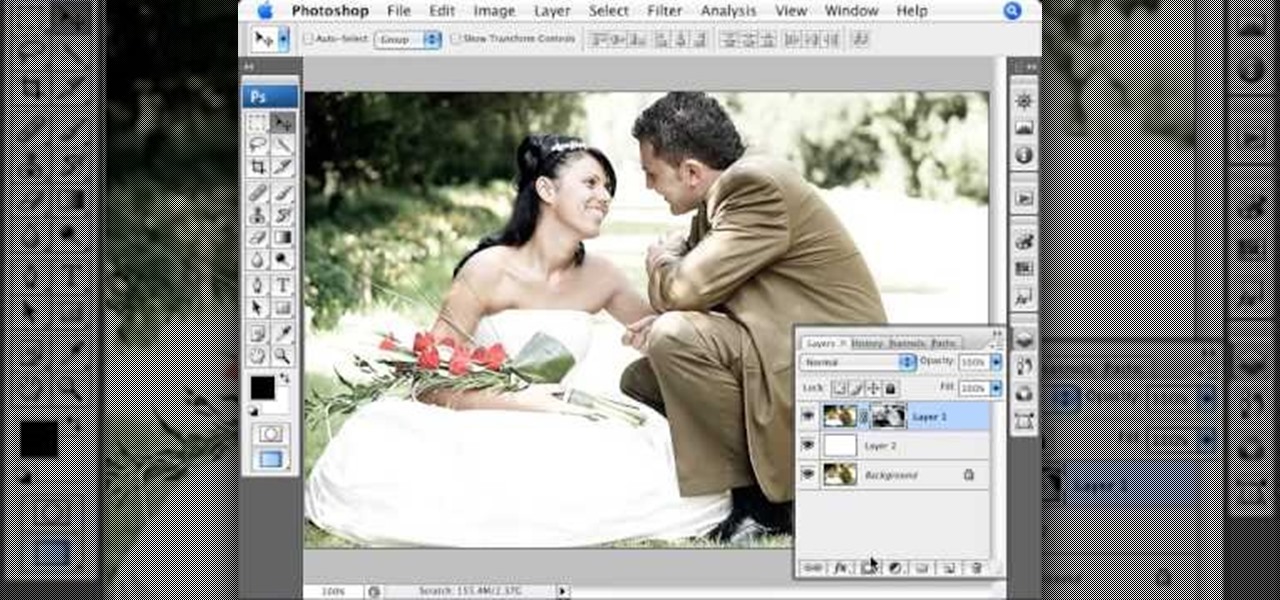
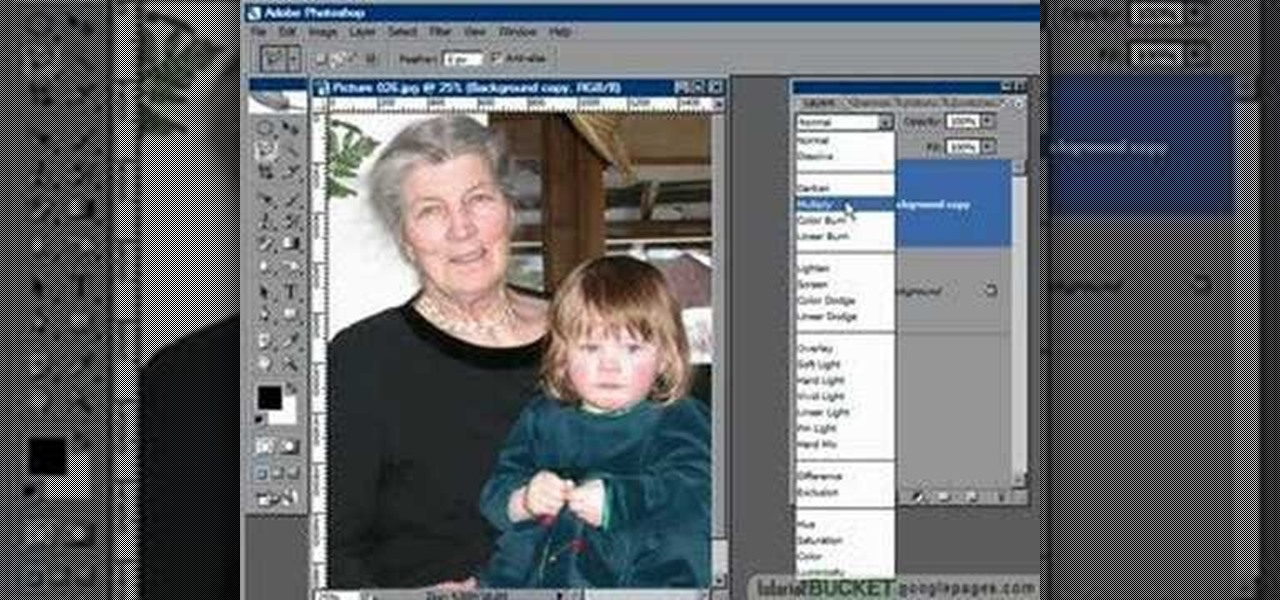
How To: Blend color in images in Photoshop
Simon Plant of ProPhotoInsights.com shows how to use Photoshop to blend colors in images. He uses a photo of his son standing in front of Stonehenge to take us through each layer of the photo to alter the levels of hues, saturation, and opacity. The key to blending colors is a matter of playing with different hues and saturation levels in Photoshop to get the subject in the foreground to match the background. Follow Plant's thorough tutorial to find out how to get professional looking photos ...
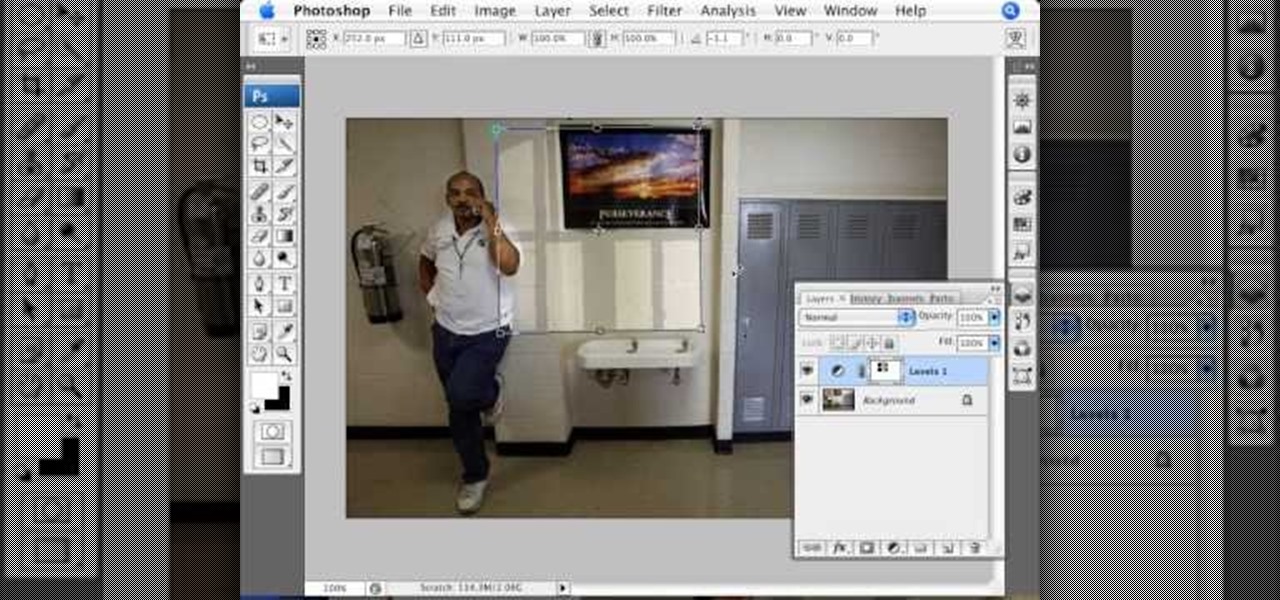
How To: Add a window light cast in Photoshop
In this video we are going to light cast a window so we can add more focus to the photos. First take unremarkable photo, then find a window image to transfer and select all Ctrl+a. After that copy it to the previous image. Click layer 1, then select the white space in the window that allows the sun light to pass by using magic tool quick select the part of the window. Delete the layer, after that go to adjustment layer, select levels. Adjust the level so that the color of the window is darker...
How To: Mask a photo to create a glowing effect in Photoshop
In this Photoshop tutorial the instructor shows how to mask a photo to itself and produce a glowing effect. First open the image in the Photoshop tool and duplicate a layer and add another layer in between filling it with white. Now select and copy the whole layer. Add layer mask to it and alt click it. Now paste the copied layer on the masked layer. Now do the control+I to invert the masking. Now the images gets a glowing effect on which you can apply the glossy effect on it. Now merge all t...

How To: Create a multicolor text effect in Photoshop
This Adobe Photoshop tutorial teaches you how to perform a multicolor text effect for use of logos and graphics. In this example, the graphic artist types each number in 2012 on separate layers. Then he turns down the opacity and overlaps the numbers. He takes the first number on its own layer and creates a red to pink gradient. Then he pastes the layer style on the rest of the numbers and changes the gradient colors so they are all different.
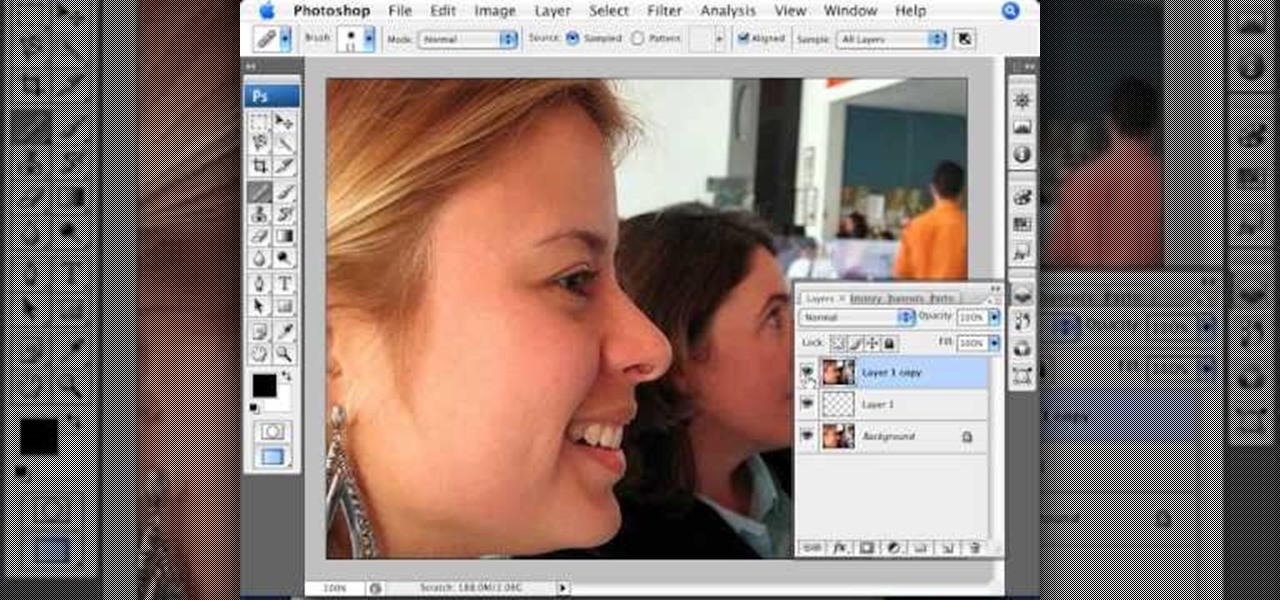
How To: Add smooth skin to portraits in Photoshop
This video explains how we can have a smooth skin in the pictures using Photoshop tools. The healing brush tool is used to delete all blemishes, red spots or black marks from the skin in the photo. While doing this it is important to select smaller portions and then go ahead instead of selecting bigger portions of the skin. Later the median filter is used so that the smoothing is just optimum. This actually helps in getting the right image specially for close up photos.
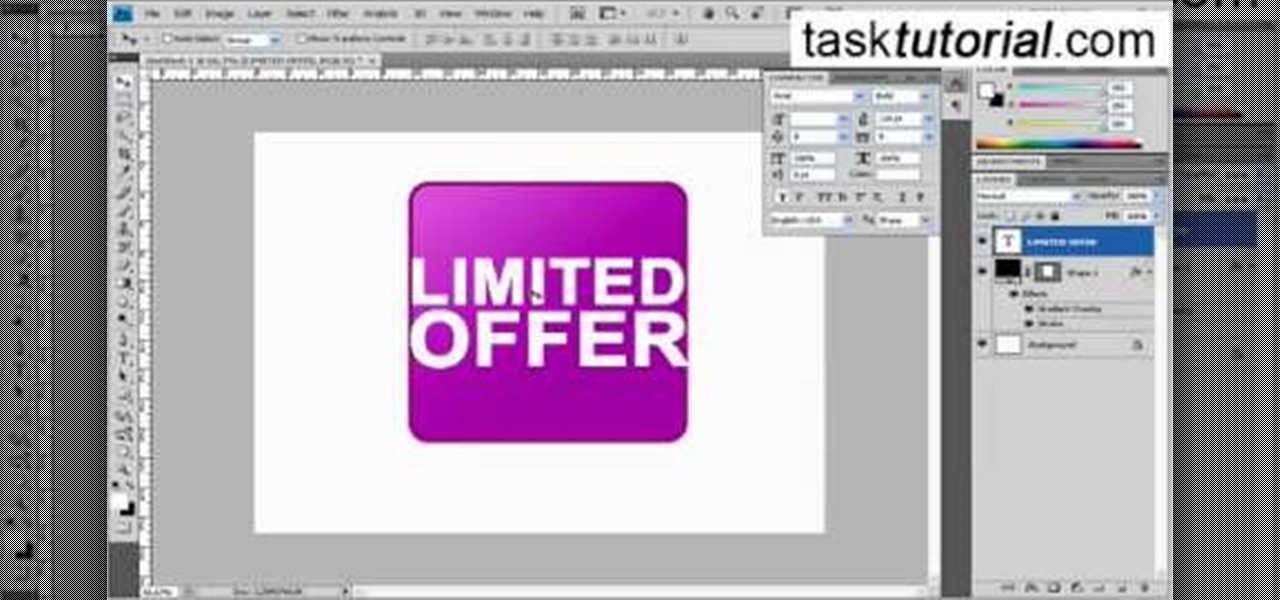
How To: Create a limited offer button in Photoshop
tasktutorial shows you how to create a limited offer button, using Photoshop with this high resolution and informative video. You can learn how to create these buttons, using step-by-step instructions. You never have to leave the comfort of your home, and it's free to learn. This button is a must when you need to bring attention to a customer on your web site, to show a special offer that you may be having. With a variety of layers that must be used, this tutorial still makes it easy.
How To: Use the Photoshop CS4 patch tool
As each new version of the award winning Adobe Photoshop is released certain functions remain the same from prior versions while other functions are changed. In the latest version of Photoshop, Adobe Photoshop CS4, the patch tool works significantly differently than prior versions. In this video we are shown how the patch tool originally worked in Adobe Photoshop CS2 compared to how it now functions in Photoshop CS4. Finally the author gives us step by step instructions on how to operate the ...
How To: Transform a photo into a puzzle in Photoshop
This video from photoshopuniverse shows us how to make your picture look like it's a puzzle by using Photoshop! First you want to open up the layers palette and duplicate the layer. Now add a new layer and bring it down to the middle and fill it in with black. Now to get the puzzle into place, go to Filter---Show Menu Items---Texture---Texturizer. Click the arrow to load texture. Load in puzzle texture. Now you can set the scaling to however many puzzle pieces you want. He put it at 75% and t...
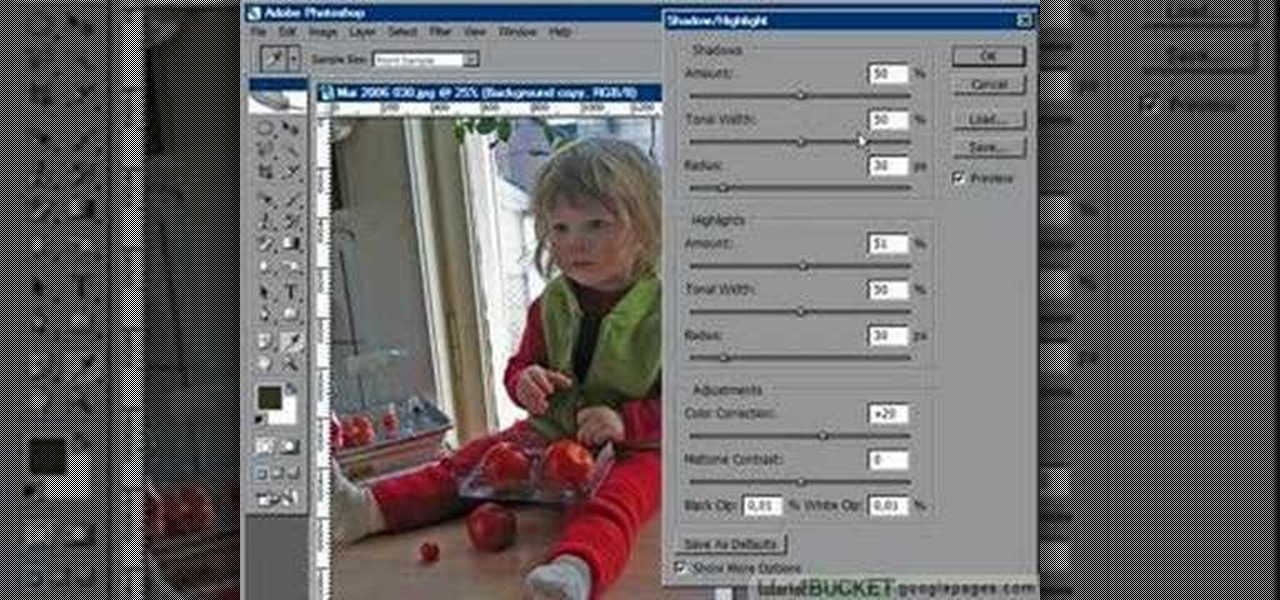
How To: Use shadow & highlight to correct a dark foreground
For anyone who has taken a picture and forgotten to turn on the flash, the result is usually a picture that is too dark. In this video, learn how to use the shadow highlight feature in Photoshop to correct images that are too dark. The tool can be automatically applied and is used specifically to brighten the foreground of a picture. You can play around in Photoshop to lighten the foreground yourself instead of doing it automatically. The next time a picture turns out too dark, don't throw it...
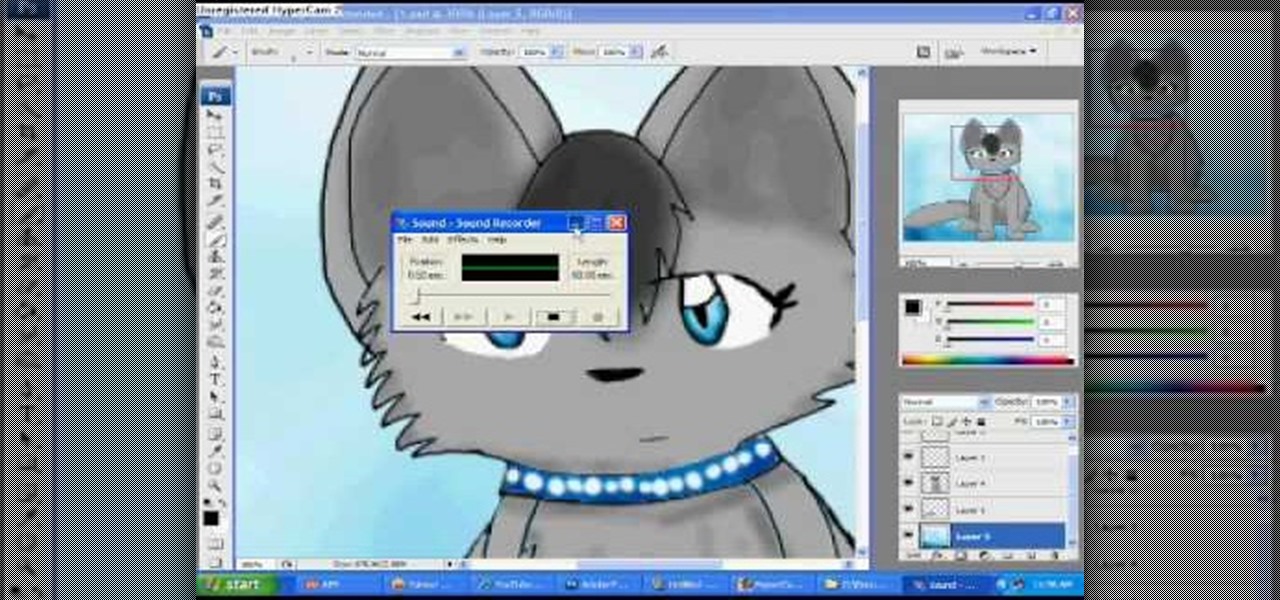
How To: Make a quick cat animation in Photoshop
This video teaches us how to make a quick cat animation in Photoshop, CS3 and Microsoft Movie Maker. She shows us really quickly on the computer. She starts off by drawing the cat itself. A solid knowledge of Adobe Photoshop is needed. You would need to know the different textures, tools, colors and many other features in order to draw the cat. After about 2 minutes of drawing the cat, she begins to narrate the first frame and then moves on to the animation itself. This is a start, watch the ...

How To: Create a glossy sphere in Photoshop
In this Photoshop tutorial the instructor shows how to create a glossy sphere. Now to get started open the tool and select the oval tool. Using the oval tool create a sphere shape. Draw holding the shift key button and set it to green color. Now similarly draw ellipse and give it white color. Create a few more ellipses this way. Now go to filers and then glowers and then Gaussian glower. Now go to shape free and select gradient and set the gradient. Now you can apply color changes to it and g...
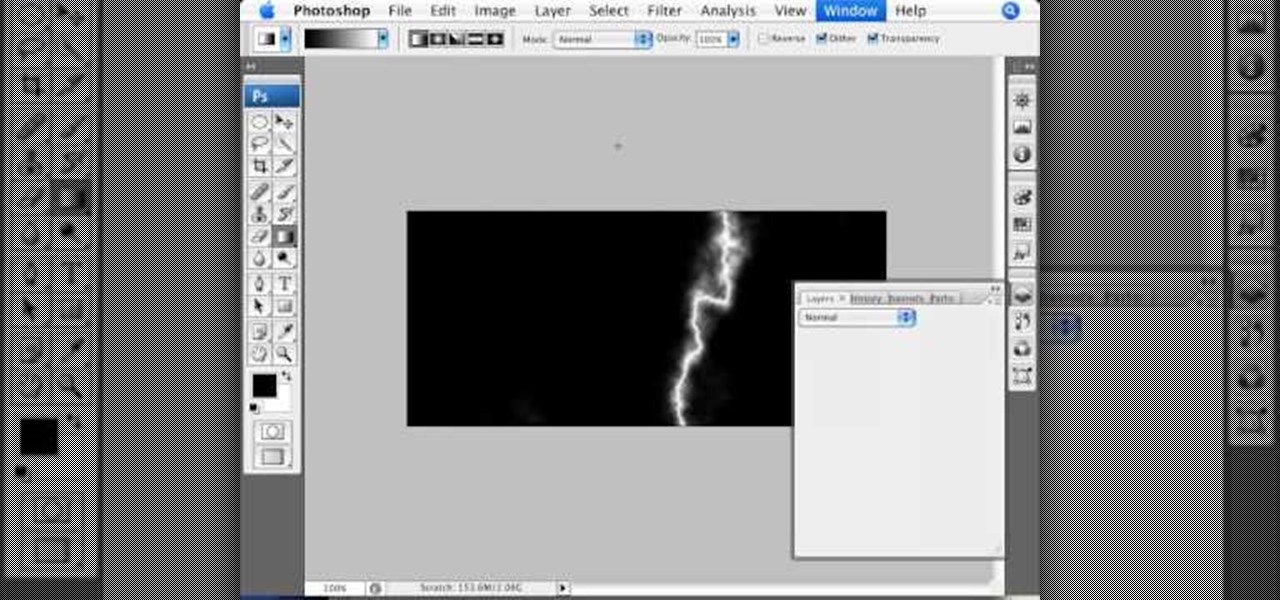
How To: Create lightening in Photoshop
This video by photoshopuniverse shows you how to simulate lightning in a night time scenic photo. For this a night time scene is required. Open the image in Photoshop and create a new layer and with the gradient tool create a gradient as shown from the top left to the bottom right. Apply the filter, difference clouds on the layer and inverse the layer as shown. Exaggerate the lightening by using the adjust levels command. Change the layer mode to stream and tweak the hue and saturation so tha...
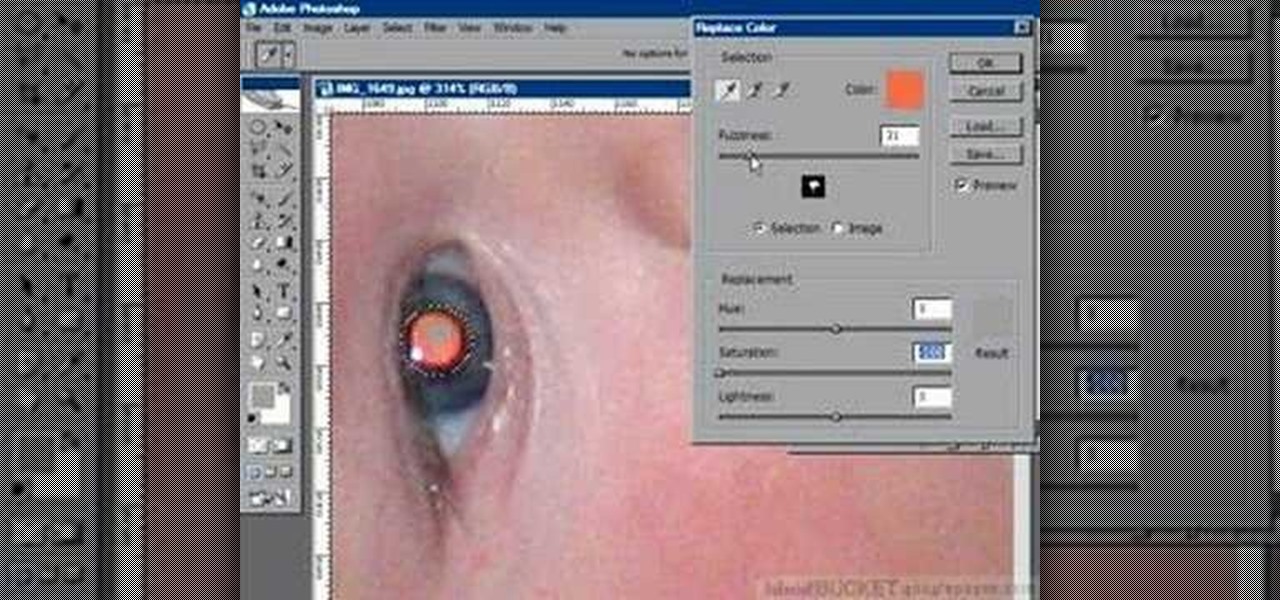
How To: Fix extreme red eye in Photoshop using replace color
If you have a photograph with an extreme red eye problem, then you will have to take steps above and beyond using the built-in red eye reduction tool in Adobe Photoshop. In extreme cases, red eye will actually contain colors outside of the red spectrum of light. Since the red eye tool only works on this spectrum of light, you will have to manually fix extreme red eye by working on tools that are effective across all different wavelengths of light. The most effective tool at your disposal in t...
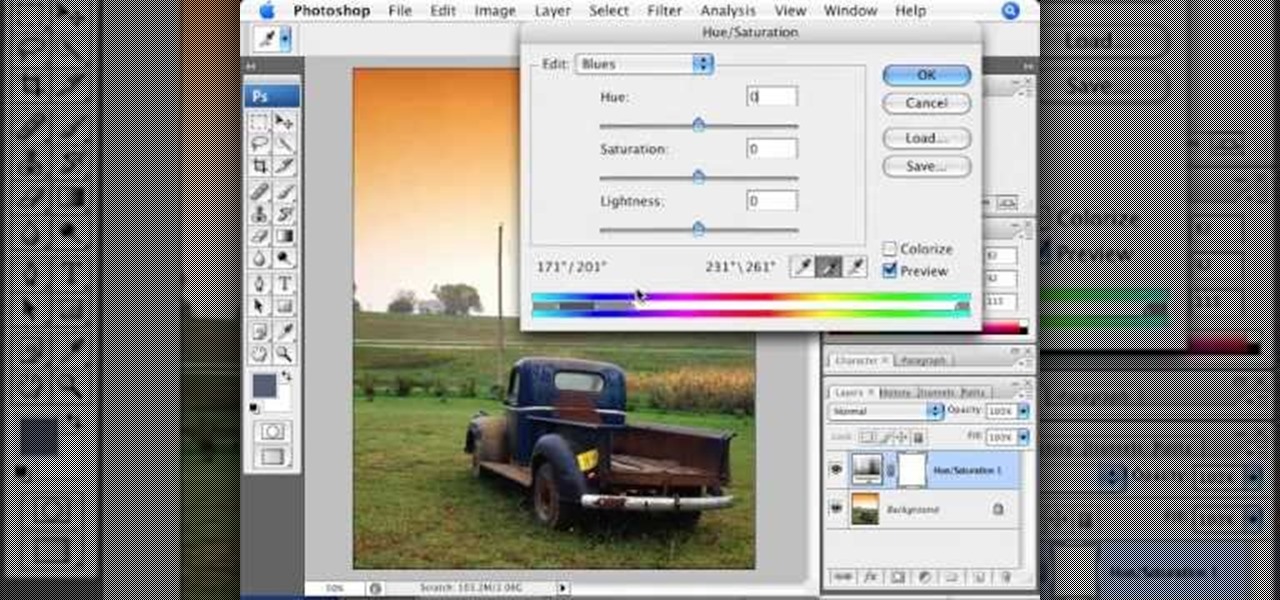
How To: Change color of specific objects in Photoshop
Adjusting the color of specific objects within your images in Photoshop is crucial. Sometimes fine tuning the color of just one component in an image is required. While an image may be adjusted globally at once, this approach lacks flexibility. This tutorial will show you the proper steps from the creation of an adjustment layer to the appropriate and functional calibration of the hue and saturation options. Get the most out of these tools and maximize your productivity in Photoshop.
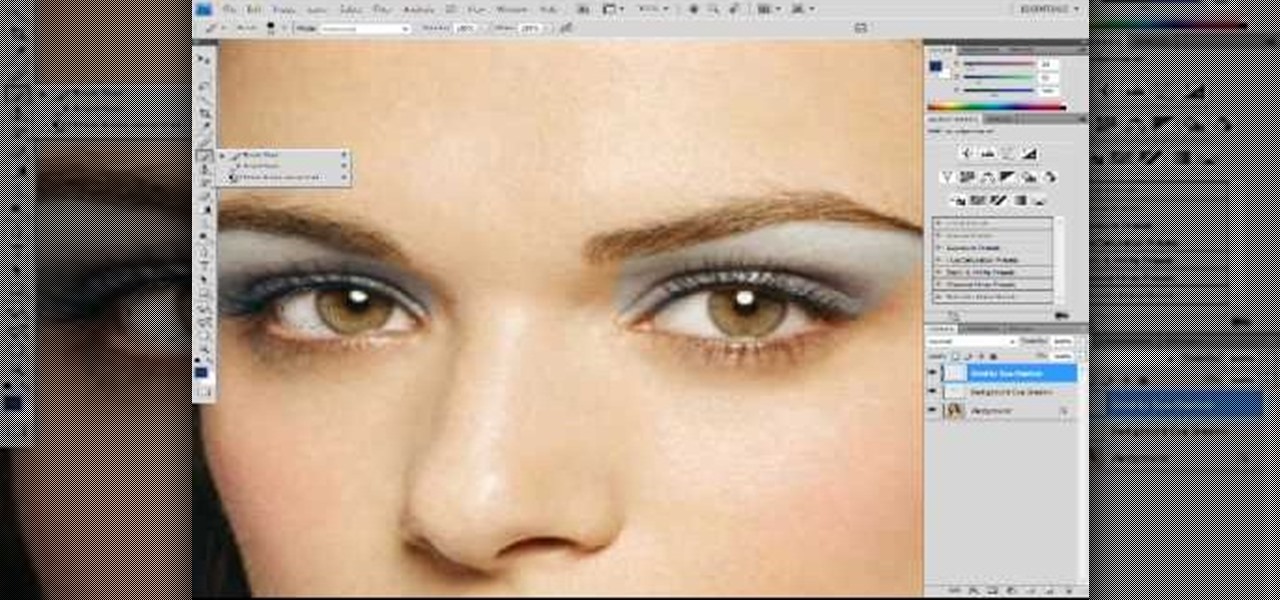
How To: Apply eyeshadow and blush using Adobe Photoshop
Did you forget to apply makeup before you had your photo taken? No worries, this tutorial will teach you how to add eyeshadow and blush to a photograph using computer software rather than a makeup brush. This tutorial will teach you how to create layers, change brushes and choose colors in Adobe Photoshop. It will also walk you through step by step how to apply and use layer modes to blend the color into the photography. After you learn the skills taught in this Photoshop CS 4 tutorial you wo...

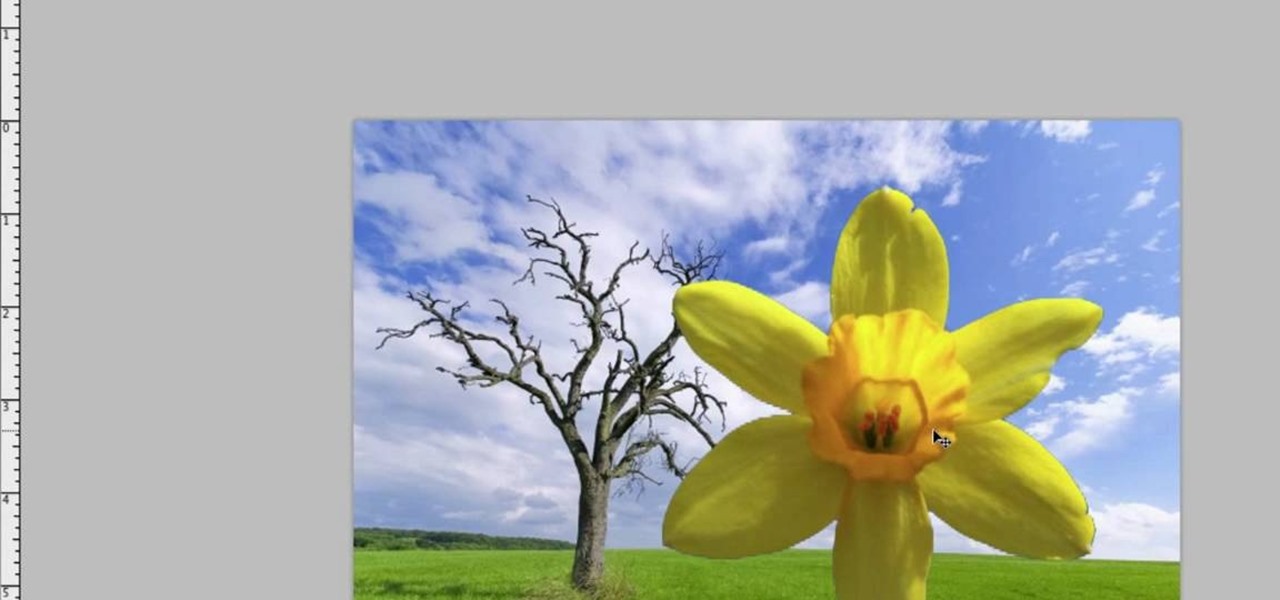
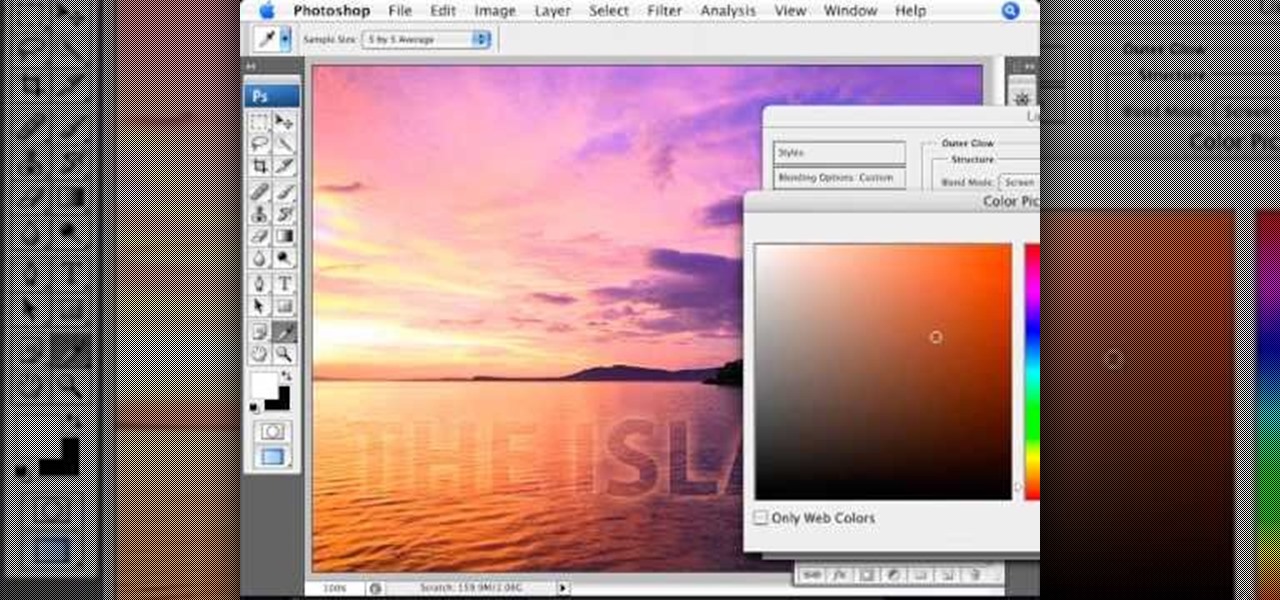
How To: Replace a sky in Photoshop
Photoshop is the perfect program to use when you want to make adjustments to photos you have taken. You can really make a sky pop in any of your pictures by using Photoshop to manipulate the color by following this tutorial.

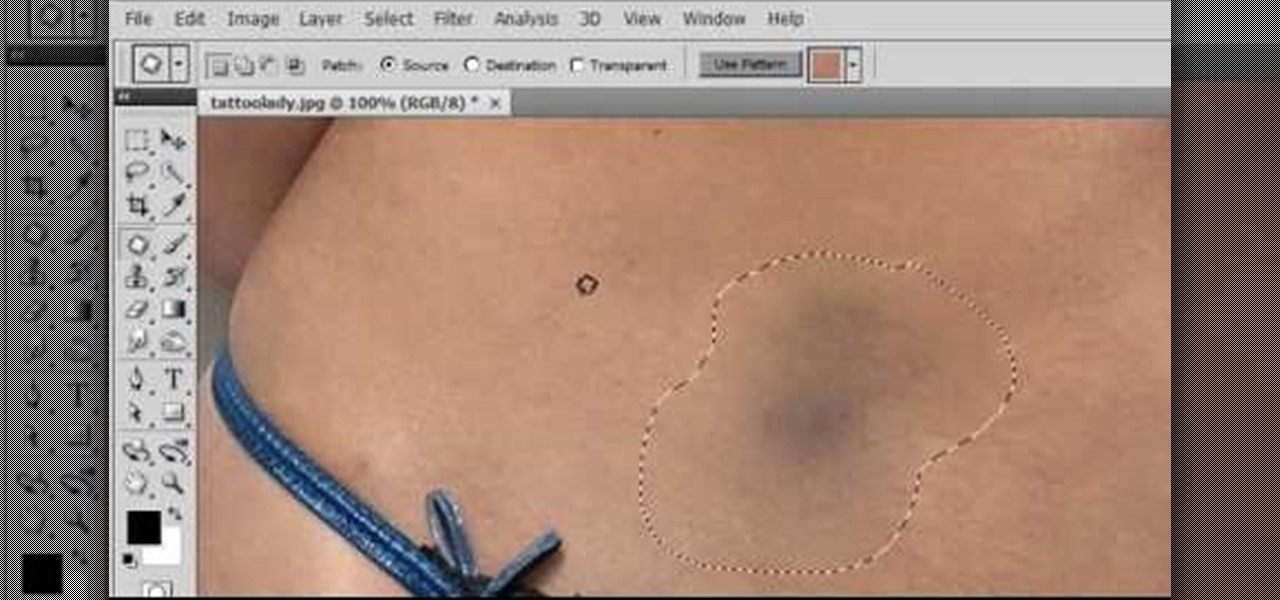
How To: Remove a mole in Photoshop
Does your model have an unsightly blemish that you'd rather not have in your final photos? Is this blemish dark and hard to ignore, like a mole? No problem! Check out this tutorial and learn how to use Photoshop's healing brush to remove any skin imperfections including moles. This video will show you step by step how to accomplish this and produce cleaner photos. Learn secrets of the pros in this video and be on your way to more professional looking images.
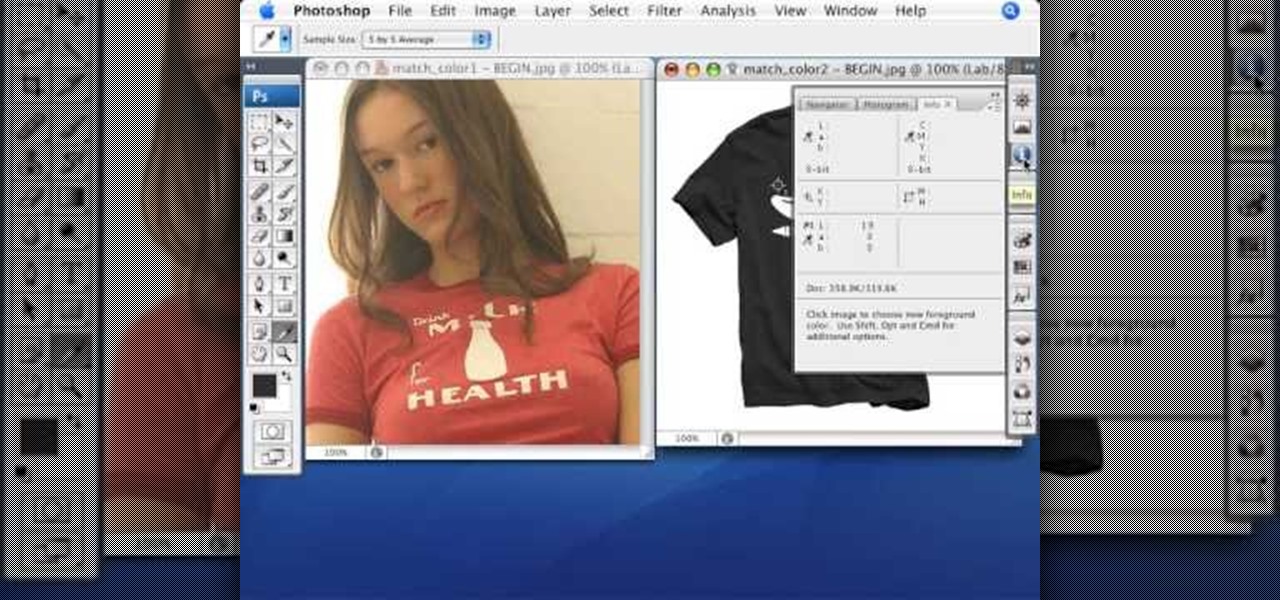
How To: Match the color of objects in Photoshop
Match the color of objects on Photoshop. Take a picture of your self of one shirt that the shirt is on different color mean while choose the black tea shirt because it the traditionally one of the harder colors, change the image mode to the lab color for both images then use eyedropper tool and expose the info pallet select the neutral part of the image i.e. red. Hold down shift then we can see the icon changes then add contrast to it by hue saturation present in the layer pallet.
How To: Darken an over exposed image in Photoshop
This how-to video is about how to darken an over exposed image in Photoshop.
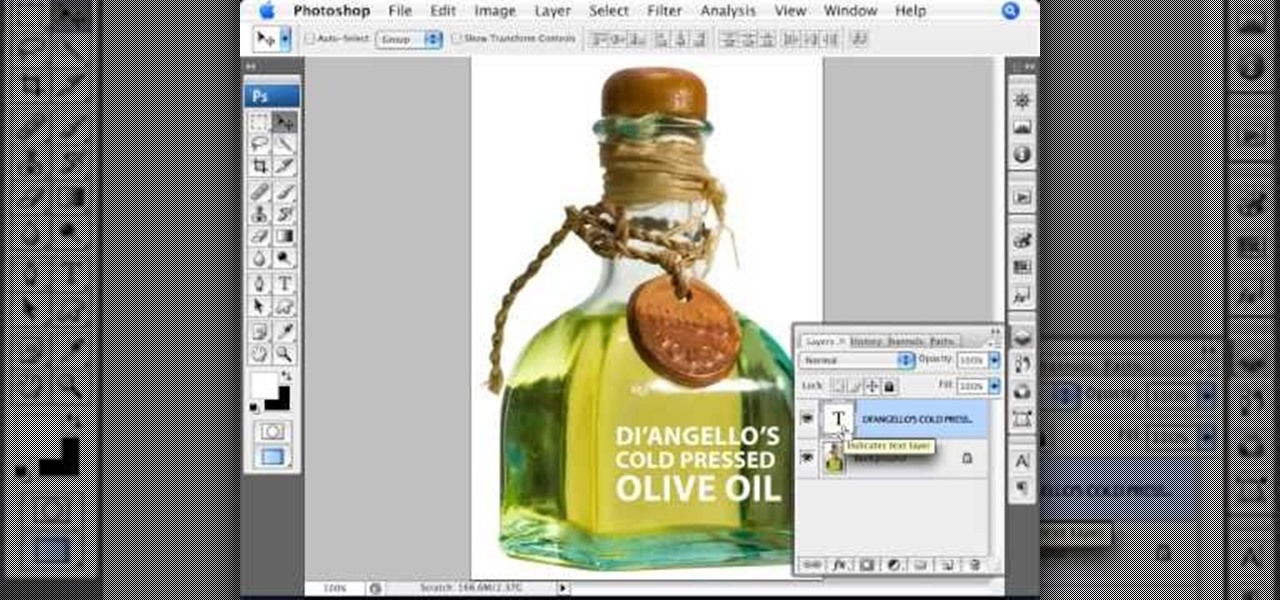
How To: Emboss text on a glass surface in Photoshop
In this Photoshop video tutorial, hosted by photoshopuniverse, from Free Photoshop Video Tutorials, you will learn how to create an effect that makes it appear as though text you input into your image has been embossed on a glass surface. As you follow along with the host in this video, you will learn how to insert text, and align it to a plane, so that it will appear to be aligned to the surface you want to place the text on, as well as how to achieve the embossed look when you're finished.

How To: Create a quake live button in Photoshop
In this video one learns to make a quake live button in Photoshop which is useful for anyone who owns Photoshop and creates websites. The video is easy to follow and show a step by step method for creating a quake live button by creating multiple layers, using the free sizing tool, switching the through layers, increasing stroke size and using the creation tools. Interestingly enough the video shows how to alter colors and blend layers to give a clear and crisp presentation. Overall this vide...
How To: Use the quick selection tool in Photoshop
Photo editing expert Chad Troftgruben teaches the viewer how to effectively use the quick selection tool in Adobe Photoshop. In Chad's opinion, the quick selection tool is quite similar to the magic wand tool in the same software, except for one major difference: one can select a particular object, even in a complex picture, simply by holding down the left key of the mouse and moving the pointer over the object. Chad also points out that the quick selection tool saves a lot of time and is ver...
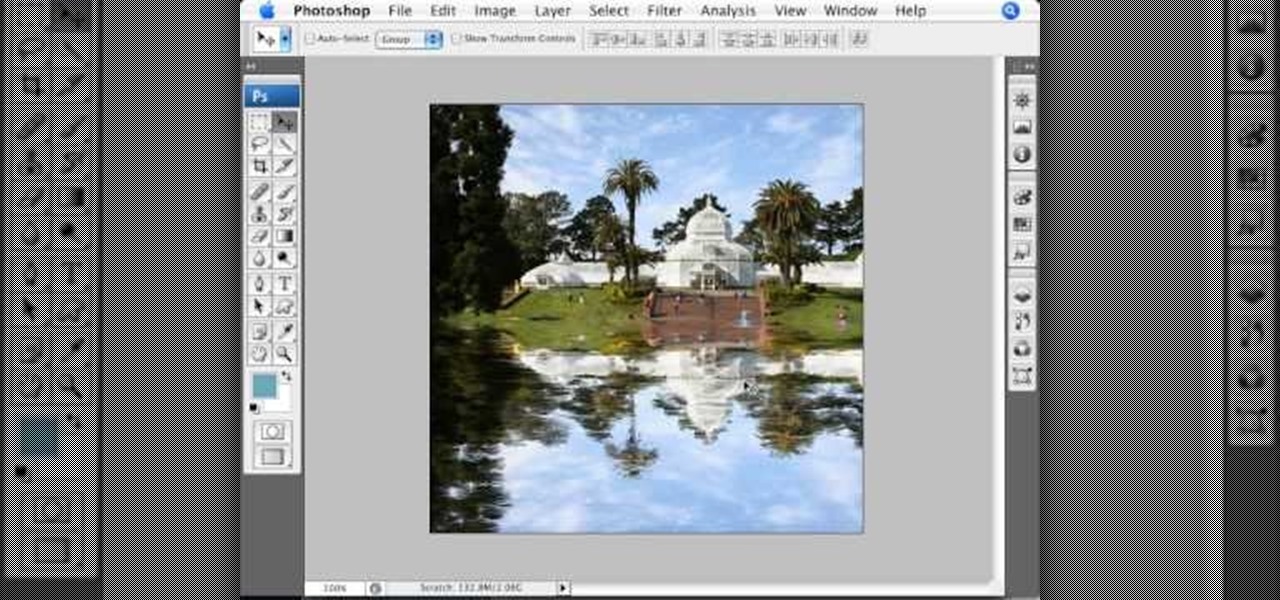
How To: Simulate water reflection in Photoshop
This Photoshop describes how to simulate the water reflection on scenery. First, create an image and add it to any photo. The added image should not contain water in them. The video shows displacement map to create the ripple effect. It is highly saturated and pure.

How To: Create image reflection in Photoshop
This is a quick and easy tutorial for Photoshop on how to create a simple but effective reflection of an object. This tutorial uses vector masking, scaling, hot keys, vertical flip, gradient tool, and opacity adjustment. After watching this video you will be able to make a reflection of any object you would like. The product of the tutorial will be a half faded reflection that actually seems as though the image is sitting on a reflective surface such as metal, glossy tile, or a wet surface. A...
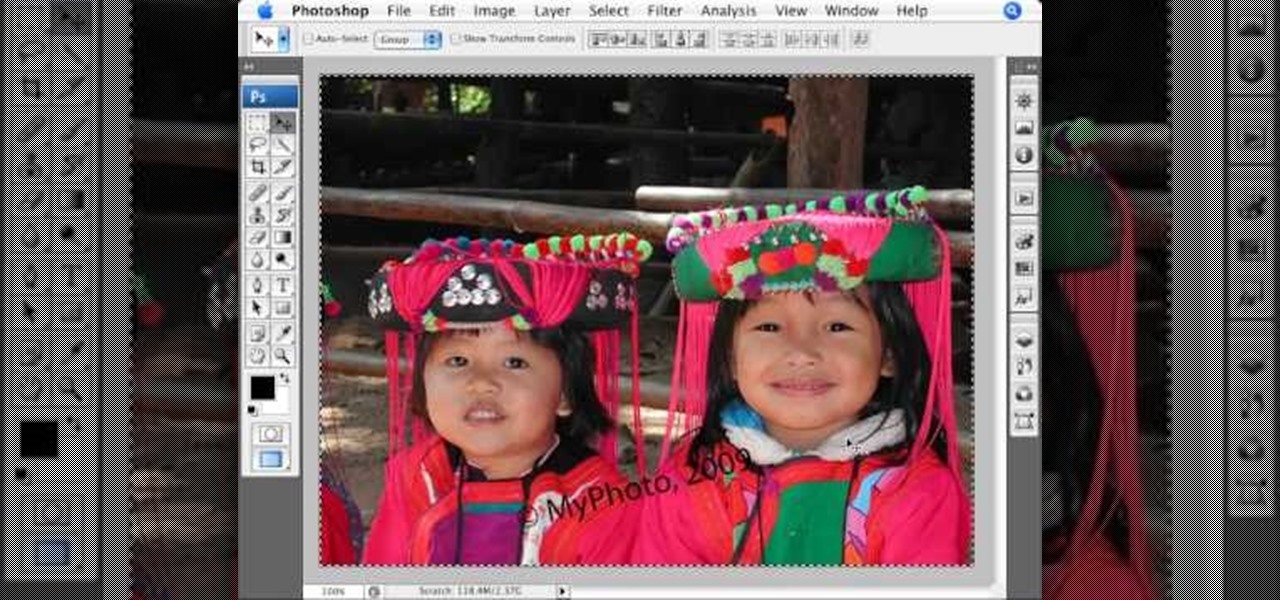
How To: Add a watermark to photos in Photoshop
The PhotoshopUniverse team effectively teaches a method of adding a watermark to an image, as a security feature to make it harder to copy or steal. Instructions are simple and easy to follow, using as an example a photo of two girls that one might have in his or her family album. Using Photoshop, the text that will become the watermark is added, rotated and patterned across the entire image. To finalize the watermark, the opacity is edited to a desired value so that it does not interfere wit...
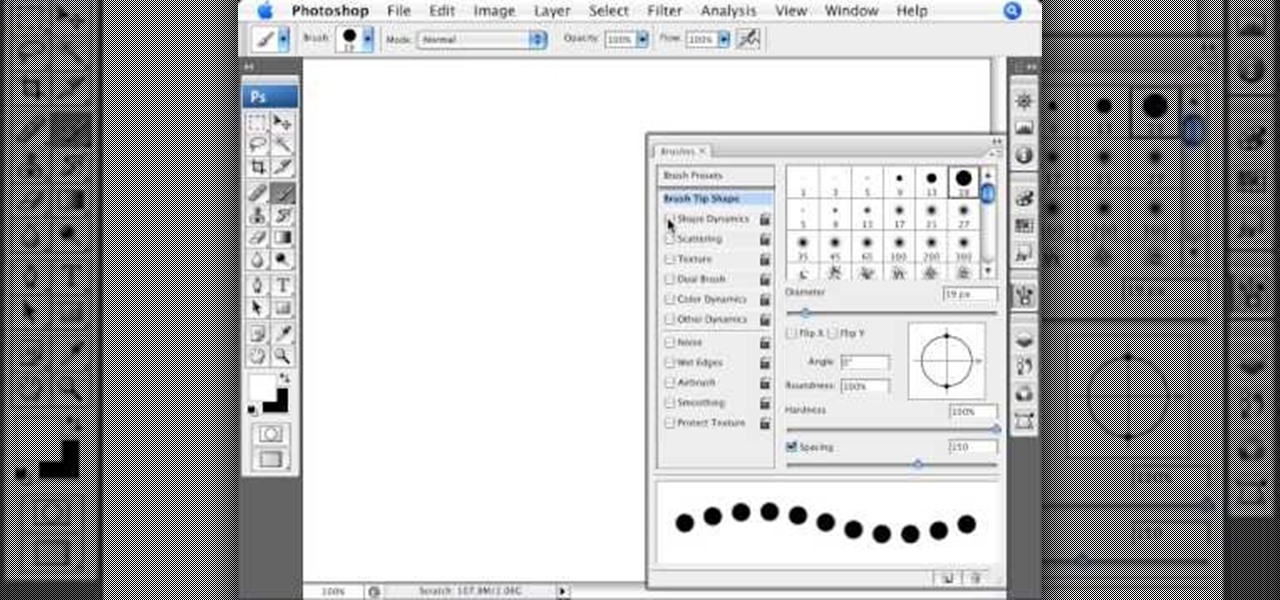
How To: Create dotted lines in Photoshop
In this tutorial Photoshopuniverse describes how to create dotted lines in Adobe Photoshop using the brush palette. First create a new blank document in Adobe Photoshop. To open brushes palette, go to menu Window - Brushes. By adjusting spacing and hardness of brush under Brush Tip Shapes menu you can draw desirable dotted lines. To get uniform circled dots uncheck Shape Dynamics box. By holding the shift key click and drag to get a straight dotted line. To create bullet holes or perforated h...

How To: Create a web photo gallery with Photoshop
To create a web photo gallery on Photoshop, first go to file show all menu items if you have then automate go to Web photo gallery then to changes the styles click on the style to see them the description on thee right then set up email address after Source images on (use) choose a folder, click all sub folders if you do not have any sub folders in Your folder. Go to options select one that you choose then click OK then in Photoshop it resizes all photos quickly after open up a web browser an...
How To: Create glowing text in Photoshop
Learn how to create glowing text in Photoshop with this awesome video! 1. Write any text using text button T on the selected image as a background. Write a suitable text and place it somewhere. 2.Select the text and make it Bold. 3. right click and set Opacity and Fill options. Opacity changes the color of the text as well as its effect. Whereas Fill changes the color only . If you have set it to 0% then you can't see the text if its exist also. Set Opacity to 100%. 4. For glowing text select...
How To: Make a grunge background in Photoshop
Have you ever wanted to create a grunge background? This video tutorial shows you how to make a grunge background for your graphics projects in Adobe Photoshop. This video provides you with an easy, step-by-step tutorial for giving your projects the grungy look that you desire. Grunge backgrounds are great for logos, flyers, advertisements, and other forms of marketing or visual media.

How To: Simulate a hand drawn picture in Photoshop
This Photoshop tutorial video teaches you how to make any photo look like it was hand drawn. The image selected should have a relatively simple background, because a too detailed image will not turn out properly. Use the high pass tool and the sketch paper tool and you pretty much have your hand drawn image. Follow this video for extra tips on how to get your image to look like hand drawn perfection.
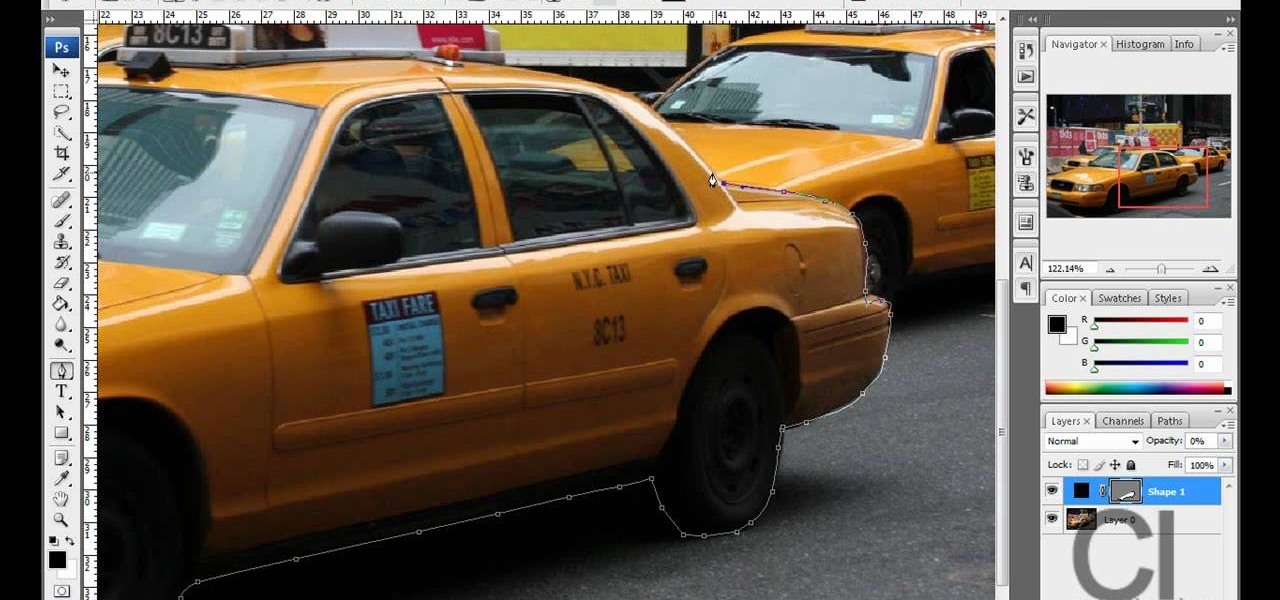
How To: Isolate colors in Photoshop
The step by step methods to isolate colors in Photoshop have been shown in the video. In a layer we have to place an image and first select the particular part to be isolated with the pen tool which has free form pen tool, add subtract, intersect and exclude overlapping path options. After that make a right click and select make selection option. Keep the feather be in 3 and click ok. Paste this in a new layer by pressing control+d keys. Create a copy layer of 2 and open Hue and saturation pa...
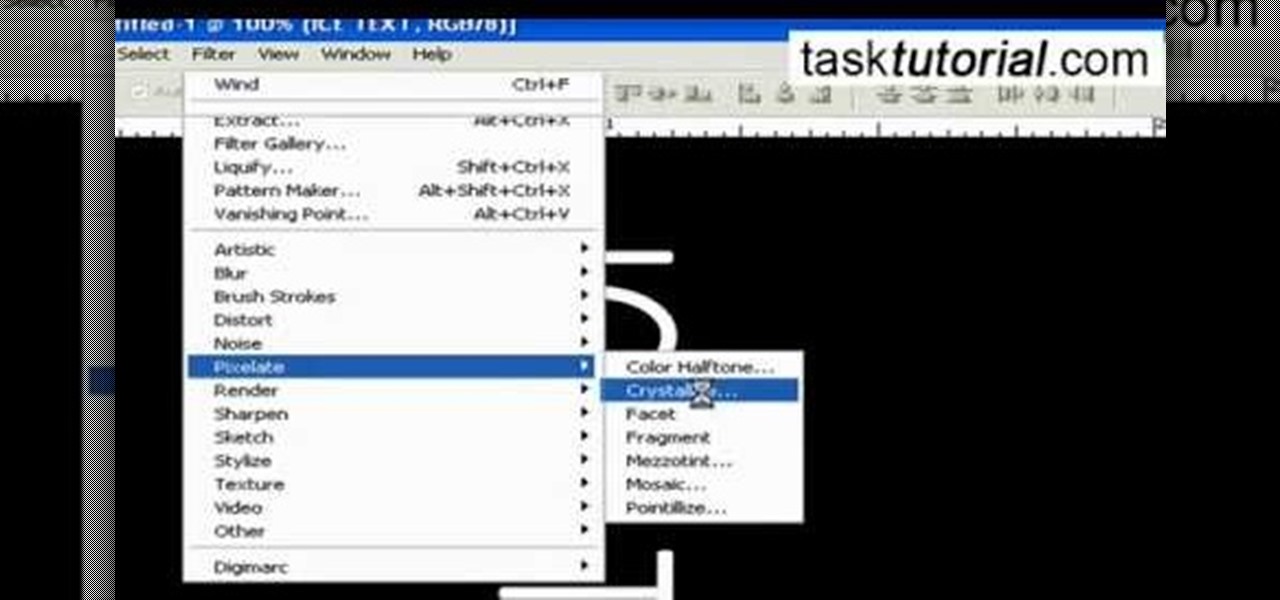
How To: Create an ice text effect in Photoshop
It is a tutorial that how to make an ice text effect on Photoshop. First create a new layer select paint bucket tool switch black color and paint the layer now create an other layer, choose type tool then switch the white color and create a text "ice text" after go to layer pallet merge the layers after that again create another layer select paint bucket tool and select black color now select ice text layer then go to image menu rotate canvas click clock wise then go to filter choose crystall...

How To: Add an infrared effect to photos in Photoshop
This video tutorial is about adding an infrared effect to an image using Photoshop. First of all, open the image to which you wish to add the effect. After that, create a duplicate layer. Then go to the image option and click on it. A drop down menu appears. From that menu, click on adjustments and from that, select the option channel mixer. In the small window that appears, first tick the monochrome option. The idea of the channel mixer is that the total percentage of the colors must add up ...

How To: Create vintage photos in Photoshop
Make some nice vintage photos in Photoshop with this tutorial! You'll need some basic Photoshop skills, but you don't need to be an expert by any stretch of the imagination. (If you were an expert, you probably wouldn't need help anyway) The easy to follow instructions in this video tutorial make sure you aren't left in dark and can make all the edits you need to create vintage photos.

How To: Create a simple movie poster in Photoshop
This video tutorial from TutVid shows how to create a simple movie poster text effect in Adobe Photoshop CS4.