

Photoshop How-Tos


How To: Draw a fox in Photoshop
In this video we are shown an easy way to draw a fox using Photoshop. First, start with a rough sketch on a separate layer. Rough in the head, ears, snout, and eyes. Make a new layer and outline your previous drawing. In this layer put in more detail such as the jagged outline of the fur and the details of the face. To colorize your fox, put in a new layer under the outline layer. The fox should be colored a dull orange, with dark brown shadows for the ears and white under the muzzle and on t...

How To: Make a 3D film strip in Photoshop CS4
Photoshop is an amazing piece of software that can be used for so many reasons. Whether it be recreational or for business it has many different helpful tools. This tutorial shows you how to make a cool looking 3D film strip. Enjoy!
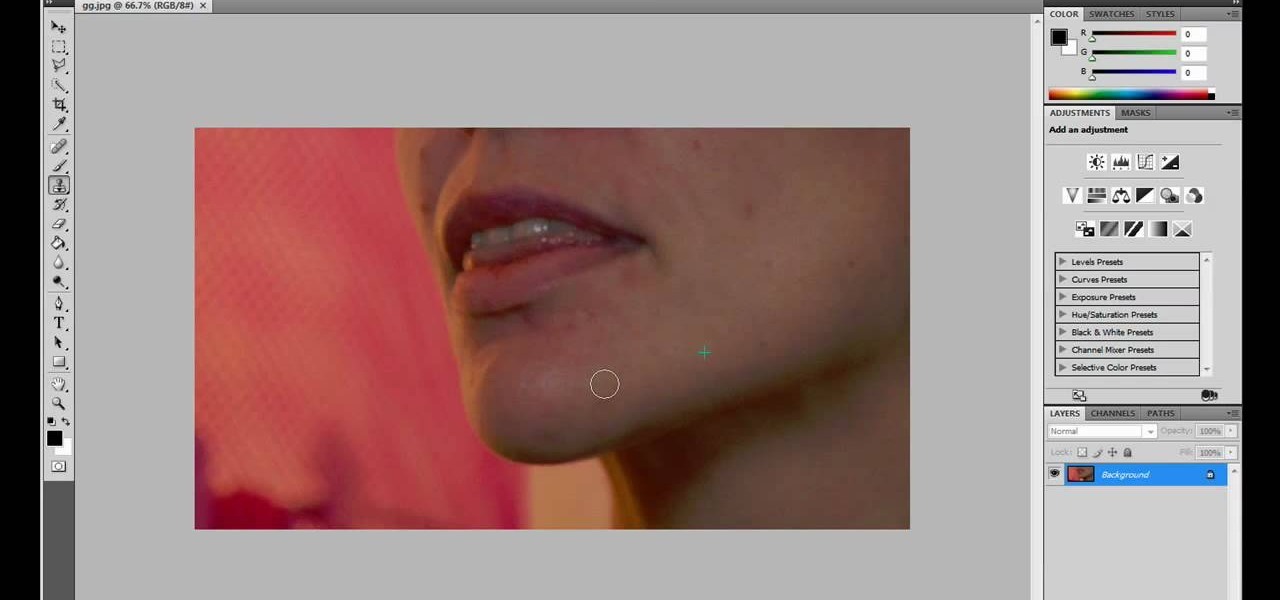
How To: Remove blemishes with Adobe Photoshop
JdudeTutorials explains how you can remove zits, blemishes, and other unsightly skin problems, from pictures using Adobe Photoshop. He begins by opening up a picture of a female's lower face. Left click on the stamp on your toolbar, and select the Clone Stamp tool. You will see a small circular cursor. He explains that you should find a skin tone on the picture that matches the skin surrounding the troubled area. He holds the alt key on his keyboard and left clicks the spot that most resemble...
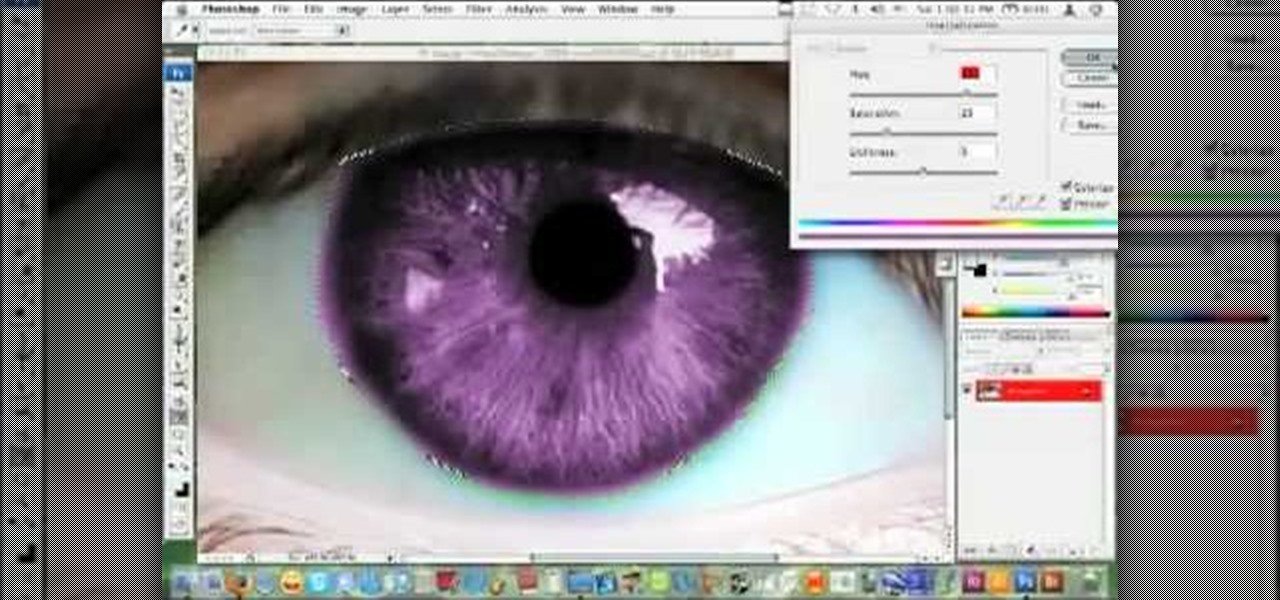
How To: Adjust eye color in Adobe Photoshop CS3
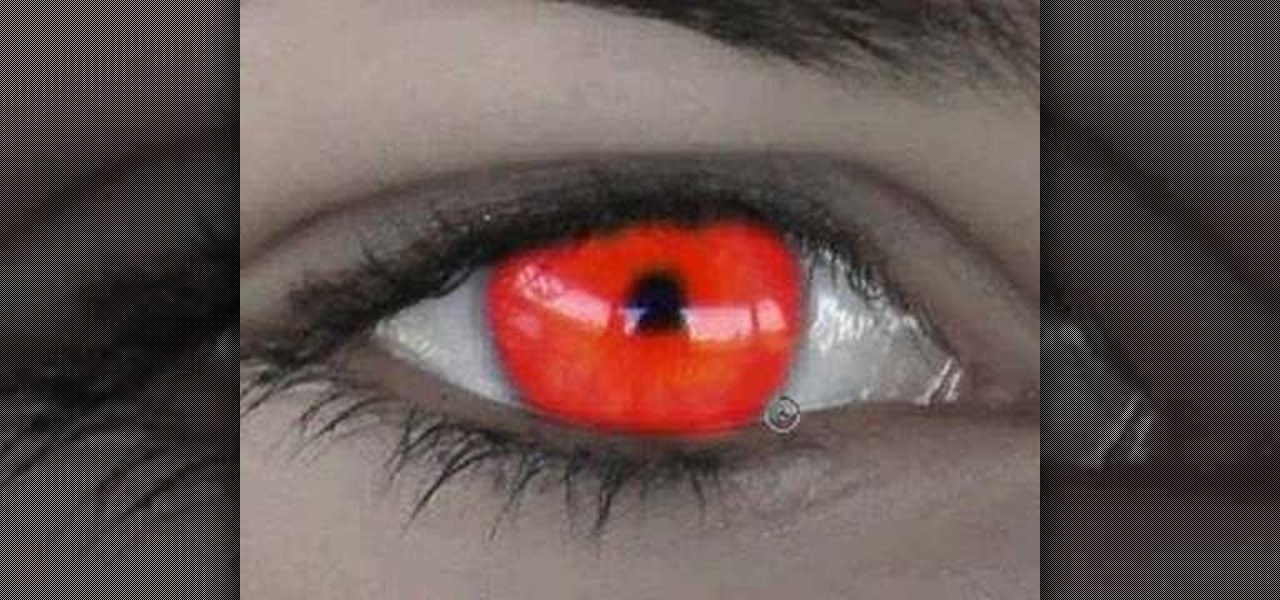
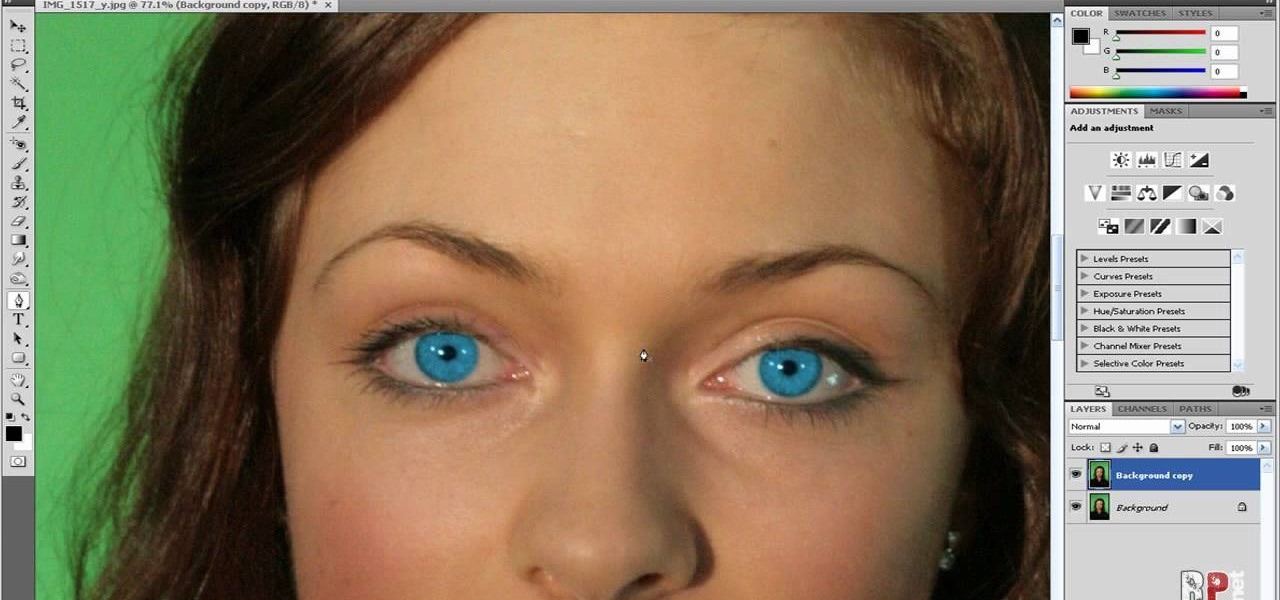
This video is about how you can change someone's eye color. The first thing to do is to load up a picture in which you want the eye color to change. The next step is to zoom in the eye that you're interested in working on. Just simply press "D" button on the keyboard and draw a rectangular shape on the eye. Now that you've zoomed in, make a selection of the iris, the part that we want to change the color on. The first thing is, you need to set up colors found on the lower left of the window. ...
How To: Crop a photograph in Adobe Photoshop CS4
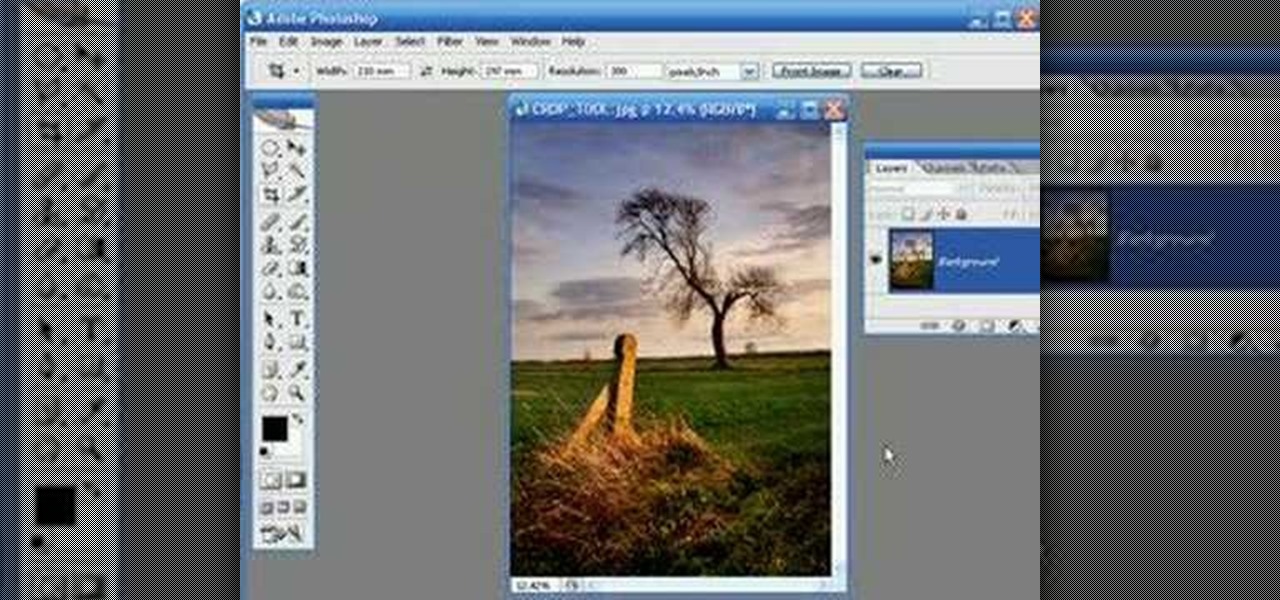
This video is about how to crop a photograph in Adobe Photoshop CS4. So the first step that you will have to do is just simply open the Adobe Photoshop CS4. Once it has loaded, just open a picture that you want to crop out. After the picture have been loaded. If the picture is too small, you can simply click on the zoom icon to make the image clearer. After wards, you need to use the marquee tool which is found on the left side of the screen. Just simply right click the icon and choose which ...

How To: Digitally manipulate eye color in Adobe Photoshop
In this video you will learn how to change eye color or removing red eye in Adobe Photoshop. First, to change the eye color you must enter in Adobe Photoshop, open a photo, select the zoom tool and zoom in near the eye. We will use the first tool and make a circle of the eye. By holding shift key remove the areas you don't want to paint. Now go to layer, then new ant the layer you want to copy. Now select hue/saturation. Now slide hue until you are happy with the color, then hit ok and that's...
How To: Change lip color & shade in Photoshop
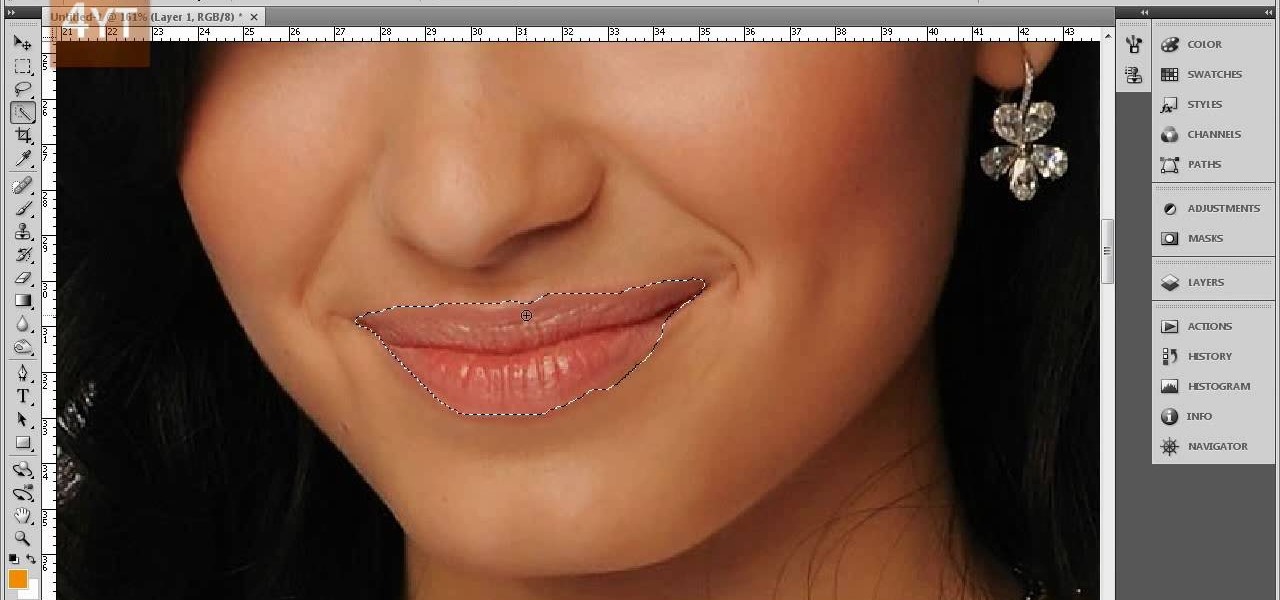
Forget to put on lipstick before a photo? Or perhaps you want to spice up an old photo of someone you love. Well their is a way, as 4YouTutorial demonstrates step by step using Photoshop CS4. First upload a photo or image into Photoshop. Next access your Photoshop layers and delete the default locked layer. After, activate the zoom tool and zoom in on the photo where the lips are located. Next choose the quick selection tool (make sure it's on plus) and drag it over her lips. This process can...
How To: Change the color of a person's eyes with Photoshop
Changing the color of your eyes is very quick using Photoshop and this handy video. After using the selection tool of your choice to outline the eye (this video uses the pen tool) with a little bit of feathering, just change the hue of the eye. The video shows how to do this by pressing control + h, however it can also be selected by choosing the image menu, then adjustments, then hue/saturation. This great effect can be used as shown on close up eyes or on smaller eyes further away. Both way...
How To: Modify eye color with Adobe Photoshop CS4
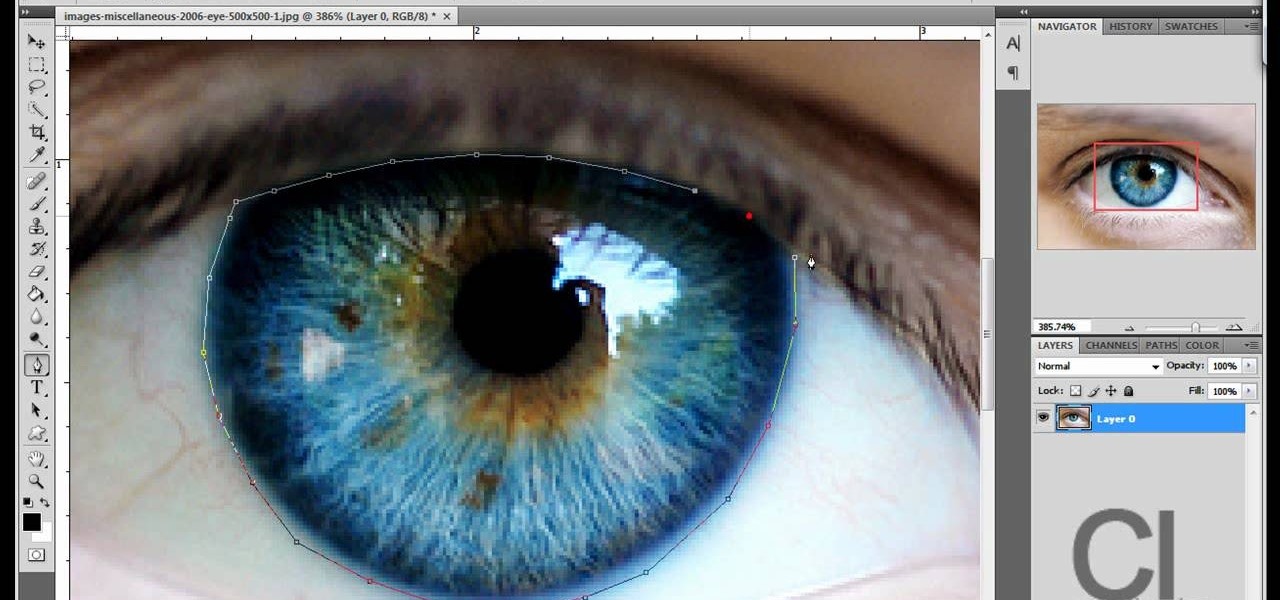
In this how-to video, you will learn how to change eye colors using Adobe Photoshop. First, open the image, Duplicate the background image. Zoom in to one of the eyes and select the pen tool. Set it to paths. Now, go around the iris of the eye. This does not have to be perfect. Click and drag to the other eye and select the other iris as well. Once these are both selected, right click into one of the selections and set the feather radius to about three pixels. Go to Image and Adjustments and ...

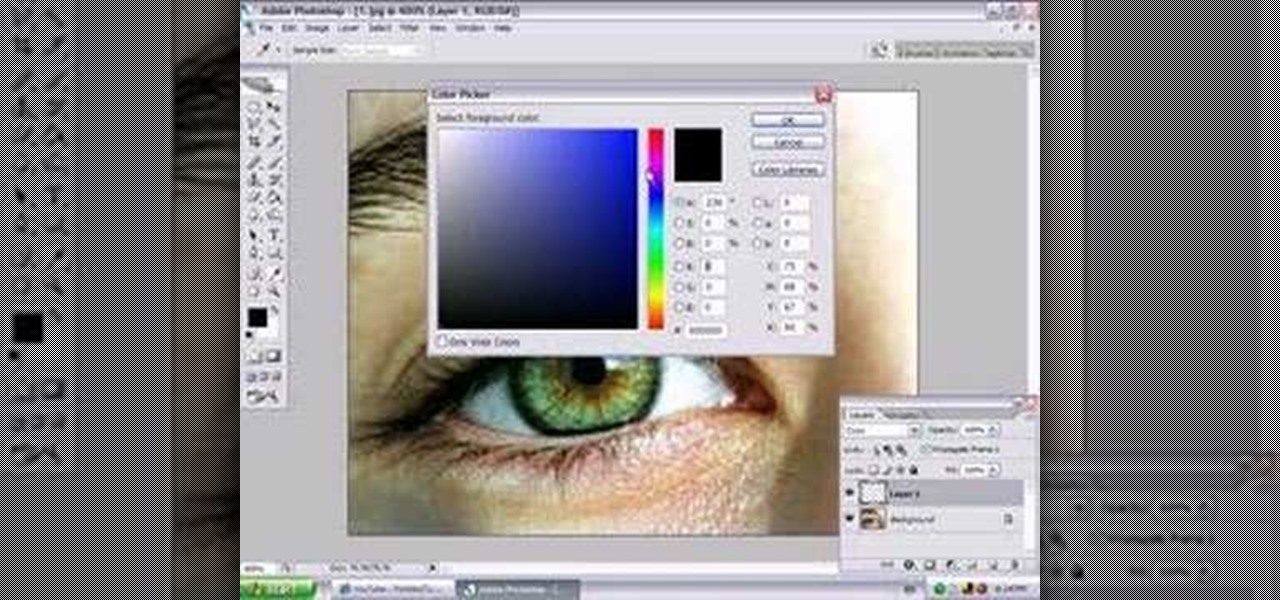
How To: Manipulate eye color in Adobe Photoshop CS3 or CS4
This video guides you through a process you can use in Adobe Photoshop CS3 or CS4 in order to change a persons eye color. The computer user shows how to first select only the iris of the eye by guiding you through which tool bar buttons to use. You should then zoom in close to the eye in order to very accurately select just the iris. Once the iris is selected you will go to the select menu then click "New Fill Layer" then "Solid Color..." When the dialogue opens up you will change the Mode to...
How To: Make a CD cover in Photoshop
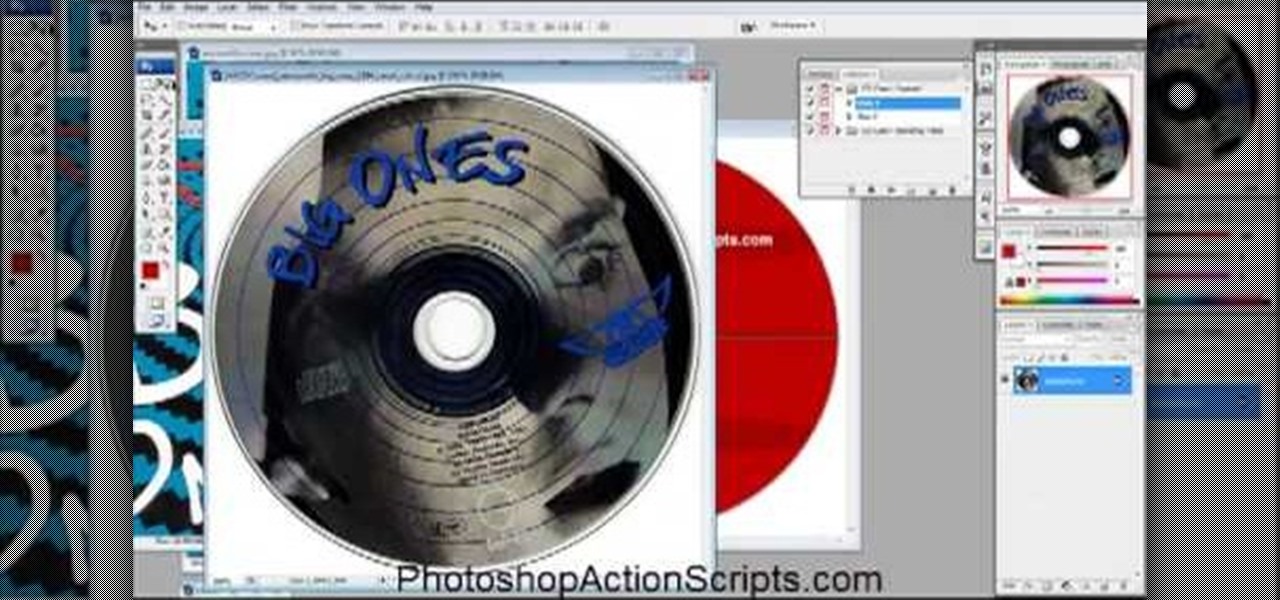
This video is about how to make a CD cover. First, open up the image that you have. Then, you need an action script. Click on the action's palette and pick which CD cover you want to do. Then you click step one which will run a template for you to set everything up and place your graphic in. The next thing to do is to slide the graphic image on to the template through the select tool. Then, click free transform found on the edit toolbar and just double click the image. The next step is to edi...

How To: Install the Bleeding Cowboys font for use in Photoshop
This video demonstrates the installation of the “Bleeding Cowboys” font. In the description of this video click on the link for ‘The font’ and download it. Go to the downloaded folder and extract the downloaded file. A new icon appears. Go to the start menu, select My computer and select drive C:, open folder Windows, open folder fonts. Copy and paste the extracted font file into this folder. A dialogue box appears for the installation. Click on install and you are ready to use this font. Clo...
How To: Use the crop tool effectively in Adobe Photoshop
Kingsley Singleton teaches us about cropping images in Adobe Photoshop. He discusses the importance of properly cropping pictures, and the basic ways to do so. He first shows us how to properly crop images to ensure that printed pictures are the proper size for the paper. Clicking on the image and then dragging the marquis over the picture will select the area of the picture that you would like to use. Moving the corner arrows will adjust the size of the area selected. Then, to properly size ...

How To: Create an animated GIF file using Adobe Photoshop
In this video tutorial, viewers learn how to make an animated GIF file using Adobe Photoshop. Begin by opening the program. Then click on File and select New. Choose the size of your image and click OK. Now create your picture or text image. Once finished creating your image, click on Window and select Animation. Now click on the button on the right side of lower window and select Make Frames from Layers. change the time of each frame to 0.5 sec. Now edit it and save it. This video will benef...
How To: Crop an image in Adobe Photoshop CS2
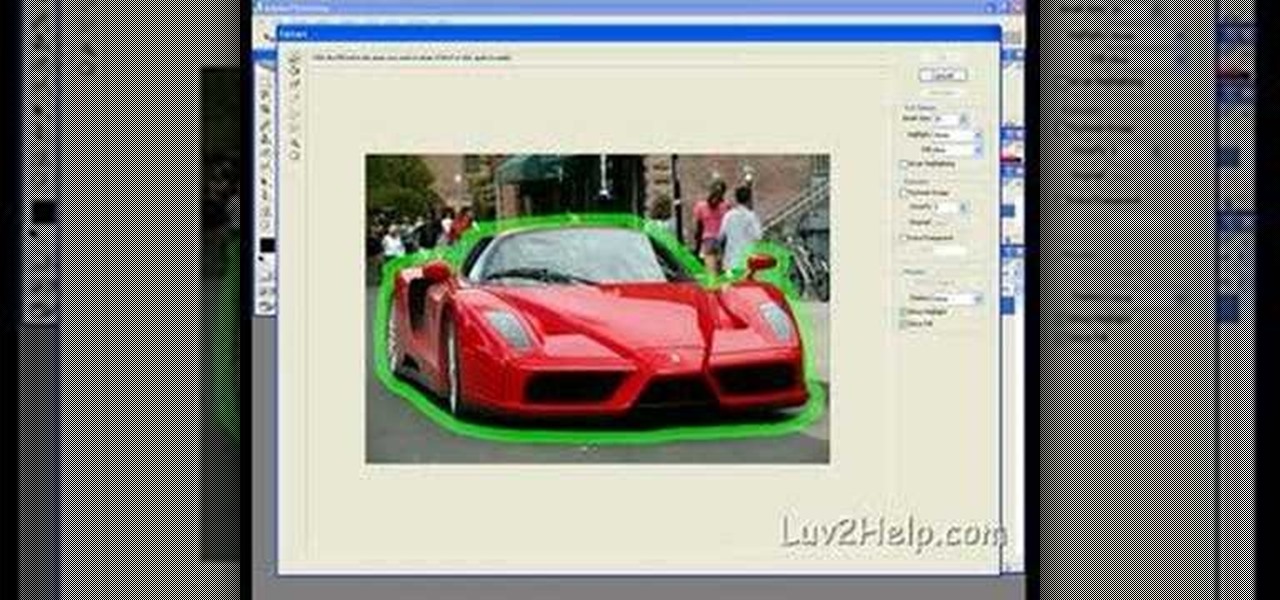
In this how-to video, you will learn how to crop an image using Adobe Photoshop CS4. First, open Photoshop and open the image you want to crop. Next, press filter and select the edge hollow tool. Carefully draw around the image you want to crop. Once this is done, click on the fill tool and left click in the middle of the image. Now, press preview to see if you missed any spots. You can clean these spots up by pressing the clean up tool. This will allow you to erase these particular spots. On...
How To: Tweak eye color in Photoshop CS3 with the masking tool
hotarrows223 demonstrates how to manipulate the eye color in a photograph using the masking tool. First, you must open the image with the eyes you intend to work on with Photoshop CS3. Next.], you must zoom in on an eye. You should be at the point where the iris fills up more than half of your screen. After that, you must select the iris, outlining it with the selection tool. Then, select image>adjustments>Hue/Saturation. Make sure all the boxes are checked, then adjust the hue or color bar t...

How To: Crop and resize images in Adobe Photoshop CS2
When using Adobe Photoshop being able to crop and resize an image is essential. This live demonstration shows you step by step directions for these useful functions. To crop, select a certain area and hit enter, everything not selected will be deleted. If you mess up you can undo. This is a great way to take a large picture and only use the parts you want to concentrate on. Video also shows how to resize picture using width and height or mega pixels. Gives tips on how to keep your picture fro...
How To: Change eye color in Photoshop with the easiest method
In this video, Jessica shows us how to change eye color using Photoshop. First, open up Photoshop on your computer. Open up your picture and zoom in on the eyes so you have a great view of it. Then add a new layer or "control +j". Where it says "normal" change that to color. Then select your paintbrush tool and make it a reasonable size for your eye. Click the color palette square and change the color to whichever one you choose. Now, paint over the eye and it will completely change the look!...
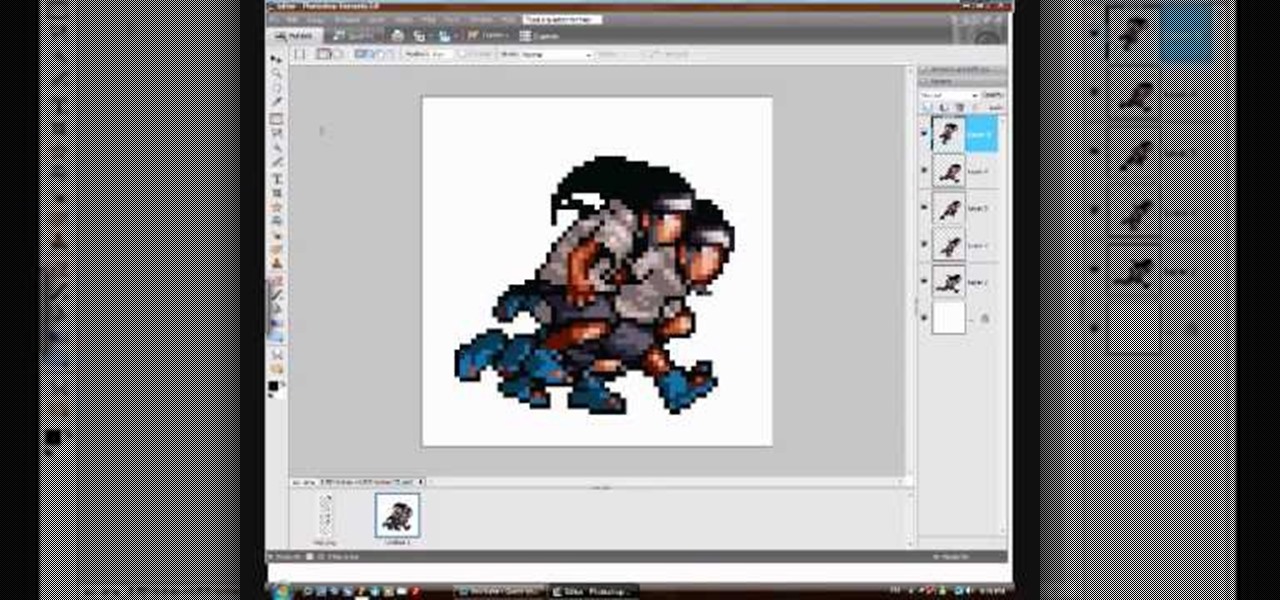
How To: Make a simple animation in Adobe Photoshop
Steps to make Sprite animation in Photoshop are:1. Open a spreadsheet of your own choice; in this case we are going to take running animation.2. Once your spreadsheet is loaded, zoom-in until you get a four page, for ease of use.3. Zoom-in to the required movement, after zoom, select the image and open File and from that click New File and click OK (Dialog Box), and you will get a work space to work on with your selected image. The feature makes it simple for one character animation (work).4....
How To: Speed up design work in Adobe CS5 Design Premium
Whether you're new to Adobe Photoshop or a seasoned graphic artist after a general overview of CS5's most vital new features, you're sure to be well served by this official video tutorial from the folks at Adobe TV. In it, you'll learn how make fast work of common design and production tasks like image re-touching with magical content aware fill in Photoshop Extended, creating complex shapes with Shape Builder tool in Illustrator, and intuitive object-selection features in InDesign and more.
How To: Create easy 3D extrusions in Photoshop CS5
Whether you're new to Adobe Photoshop or a seasoned graphic arts professional after a general overview of CS5's most vital new features, you're sure to be well served by this official video tutorial from the folks at Adobe TV. In it, you'll learn how to create 3D logos and artwork from any text layer, selection, or layer mask with new Adobe Repoussé technology. Twist, rotate, extrude, bevel, and inflate these designs, and then easily apply rich materials like chrome, glass, and cork to explor...

How To: Use automatic lens correction in Adobe Photoshop CS5
Whether you're new to Adobe Photoshop or a seasoned graphic design professional after a general overview of CS5's most vital new features, you're sure to be well served by this official video tutorial from the folks at Adobe TV. In it, you'll learn how to automatically correct lens distortions and fix chromatic aberration and vignetting with Photoshop CS5 and Photoshop CS5 Extended, which use an image file’s EXIF data to make precise adjustments based on the type of camera and lens you used.
How To: Animate 3D depth of field in Adobe Photoshop CS5
Whether you're new to Adobe Photoshop or a seasoned graphic design professional after a general overview of CS5's most vital new features, you're sure to be well served by this official video tutorial from the folks at Adobe TV. In it, you'll learn how to take your 3D model and easily add an animated depth of field effect. See it in action.
How To: Create Repoussé 3D extrusions in Photoshop CS5
Whether you're new to Adobe Photoshop or a seasoned graphic design professional after a general overview of CS5's most vital new features, you're sure to be well served by this official video tutorial from the folks at Adobe TV. In it, you'll learn how to take advantage of new Adobe Repoussé technology to quickly make your pages and designs pop with 3D artwork for logos, buttons, and more.
How To: Use new features for photographers in Photoshop CS5
Whether you're new to Adobe Photoshop or a seasoned digital photographer after a general overview of CS5's most vital new features, you're sure to be well served by this official video tutorial from the folks at Adobe TV. New Photoshop CS5 helps you achieve the visual and emotional effects you’re after with re-engineered features for reducing and adding grain, performing post-crop vignetting, and sharpening. CS5 reinvents HDR imaging with Exposure Merge, which makes it easy to preserve the fu...
How To: Use new features for designers in Photoshop CS5
Whether you're new to Adobe Photoshop or a seasoned graphic design professional after a general overview of CS5's most vital new features, you're sure to be well served by this (17-minute) official video tutorial from the folks at Adobe TV. In it, you'll learn how to do each of the following: realistically blend colors on canvas with the new Mixer Brush; create superior composites for print or web layouts with new technology that makes it easy to select even the trickiest image elements, like...
How To: Protect details when sharpening in Adobe Photoshop CS5
Whether you're new to Adobe Photoshop or a seasoned graphic arts professional after a general overview of CS5's most vital new features, you're sure to be well served by this official video tutorial from the folks at Adobe TV. In it, you'll learn how to use the new Protect Detail feature in Photoshop CS5 to prevent artifacts in your digital images when using the Sharpen tool.
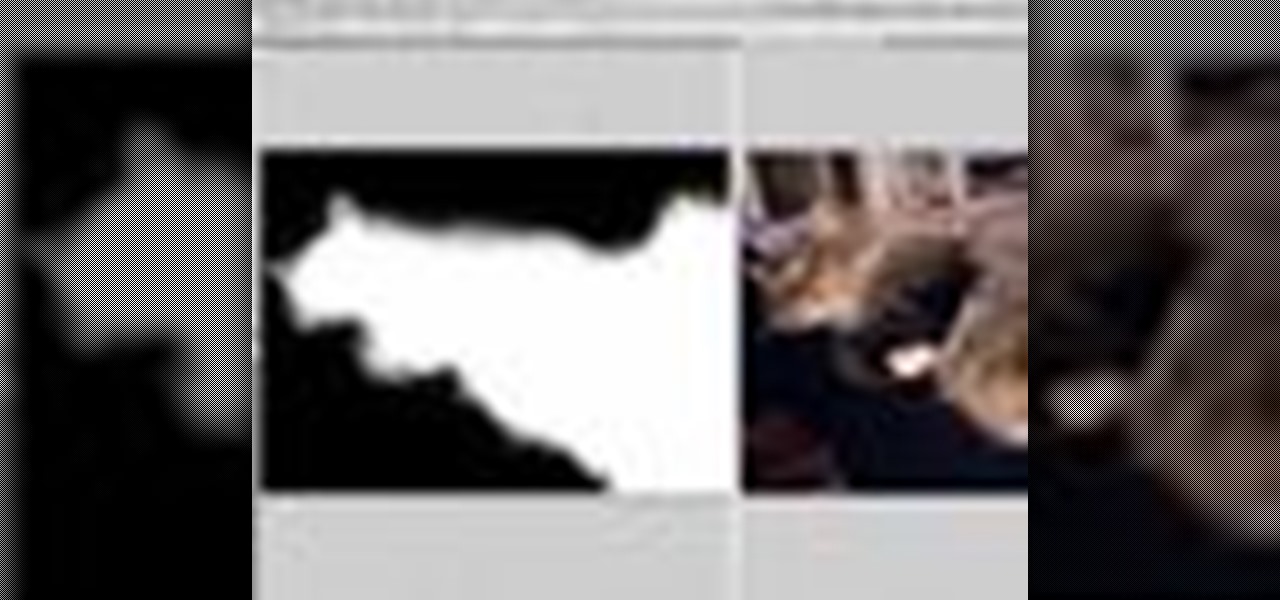
How To: Make complex selections easily in Adobe Photoshop CS5
We don't know about you, but making selections around oddly shaped areas of an image is one of the most frustrating single tasks in Photoshop. Odd shapes are really hard to navigate around by hand and often you can't get a perfect cut. Luckily, this Photoshop tutorial will guide you through how to make complex selections easily in Adobe Photoshop CS5.

How To: Enhance 3D artwork in Adobe Photoshop CS5
Whether you're new to Adobe Photoshop or a seasoned graphic arts professional after a general overview of CS5's most vital new features, you're sure to be well served by this official video tutorial from the folks at Adobe TV. In it, you'll learn how to take advantage of new Adobe Repoussé technology to quickly make your pages and designs pop with 3D artwork for logos, buttons, and more. Plus, you get enhanced 3D animation effects with the ability to take your 3D model and easily add an anima...
How To: Use the Content-Aware Fill in Adobe Photoshop CS5
Whether you're new to Adobe Photoshop or a seasoned graphic arts professional after a general overview of CS5's most vital new features, you're sure to be well served by this official video tutorial from the folks at Adobe TV. In it, you'll learn how to use the creative suite's new content-aware fill tool. With Photoshop CS5 and Photoshop CS5 Extended, when you remove an image element, Content-Aware Fill replaces the missing pixels almost magically. This revolutionary new tool matches lightin...
How To: Use new features in Adobe Photoshop CS5
Whether you're new to Adobe Photoshop or a seasoned graphic arts professional after a general overview of CS5's most vital new features, you're sure to be well served by this official video tutorial from the folks at Adobe TV. In it, you'll join Terry White as he runs through his 5 favorite Photoshop CS5 features, including the new enhanced selection abilities and noise reduction tools.
How To: Work inside Adobe Photoshop CS5
Whether you're new to Adobe Photoshop or a seasoned graphic arts professional after a general overview of CS5's most vital new features, you're sure to be well served by this official video tutorial from the folks at Adobe TV. In it, you'll join Terry White as he walks you through using the new Photoshop CS5 and Photoshop CS5 extended (including the new Mini Bridge, which can be used across the full creative suite).
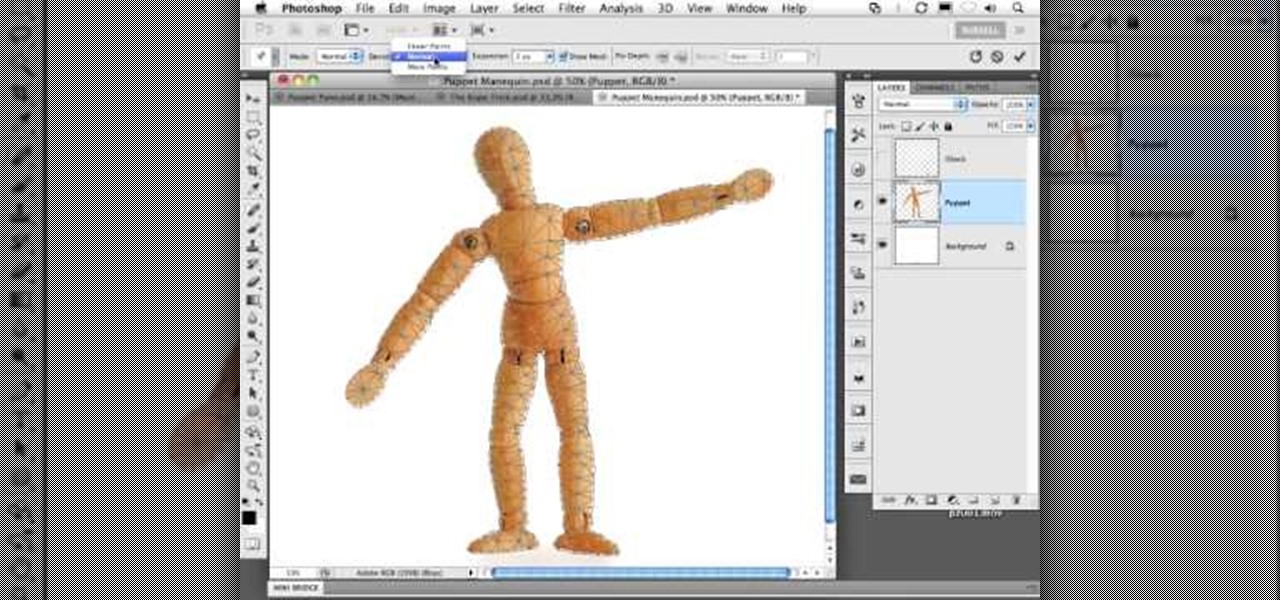
How To: Use the Puppet Warp transform tool in Photoshop CS5
In every new version of Photoshop, there's one new feature that wows the crowd. In Adobe Photoshop CS5, that feature is Puppet Warp. In this video lesson from Lynda, you'll learn how to use the Puppet Warp tool to intelligently deform graphic and photographic objects.

How To: Use the color replacement tool in Adobe Photoshop
Photoshop's hue & saturation tool is great for tweaking the colors of an image en masse but what if it's only one particular color that you'd like to enhance or change? Then, my friend, you use the color replacement tool. This video tutorial will show you how to use it in Adobe Photoshop CS4.
How To: Use the new Puppet Warp tool in Photoshop CS5
CS5? When?!? Soon, very soon. Yep, that's right. With the Adobe Photoshop CS5 almost here, Adobe felt a sneak peak was necessary. And in this video tutorial, they show you how to use the new Puppet Warp tool in Photoshop CS5.
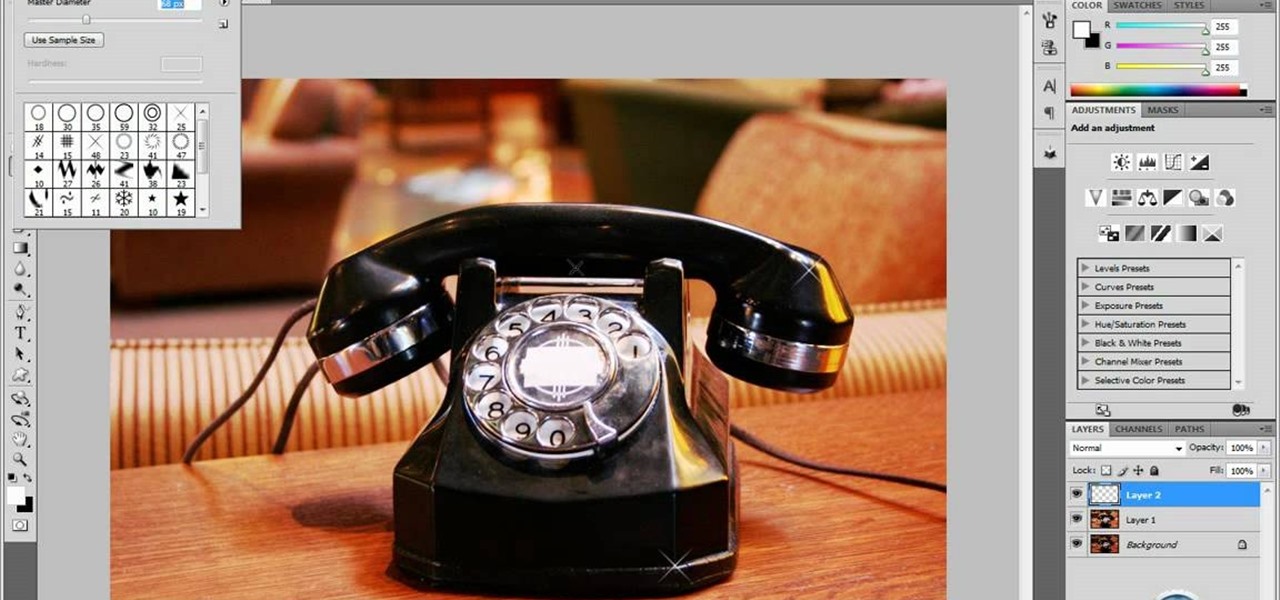
How To: Add glints to your images in Photoshop CS4
In this tutorial video, YouTube user "inteltuts" discusses ways to use Photoshop CS4 to help make better looking product pictures, as a way to attract costumers to your online products. Using a black telephone as an example, he first shows how the opacity, linear dodge, and brush tools can help make a product image look shiner, sleeker and brighter. He goes onto create what he calls "glints", which are subtle reflections and areas of sparkling light that he places across the image. Lastly, he...
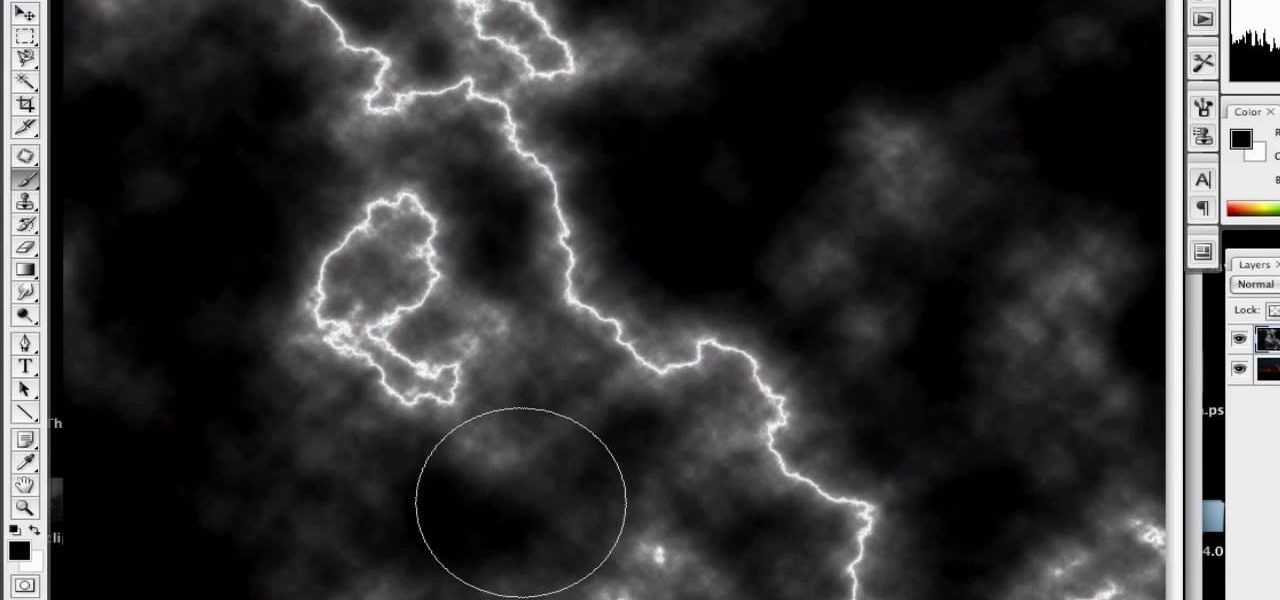
How To: Create lightning in Photoshop
First of all open an image which shows many different lights in a night background. Now make a new layer now set the color of background to black by first and the foreground color set to white. Click the background for the bottom of the left bar and then pressing 'd'’. Next select the 'gradient' tool. Make sure to select the style from the foreground to background. Select the 'mode' to 'normal' and ‘opacity’ to '100%'. Now drag the top right hand corner to the bottom of the left hand corner. ...
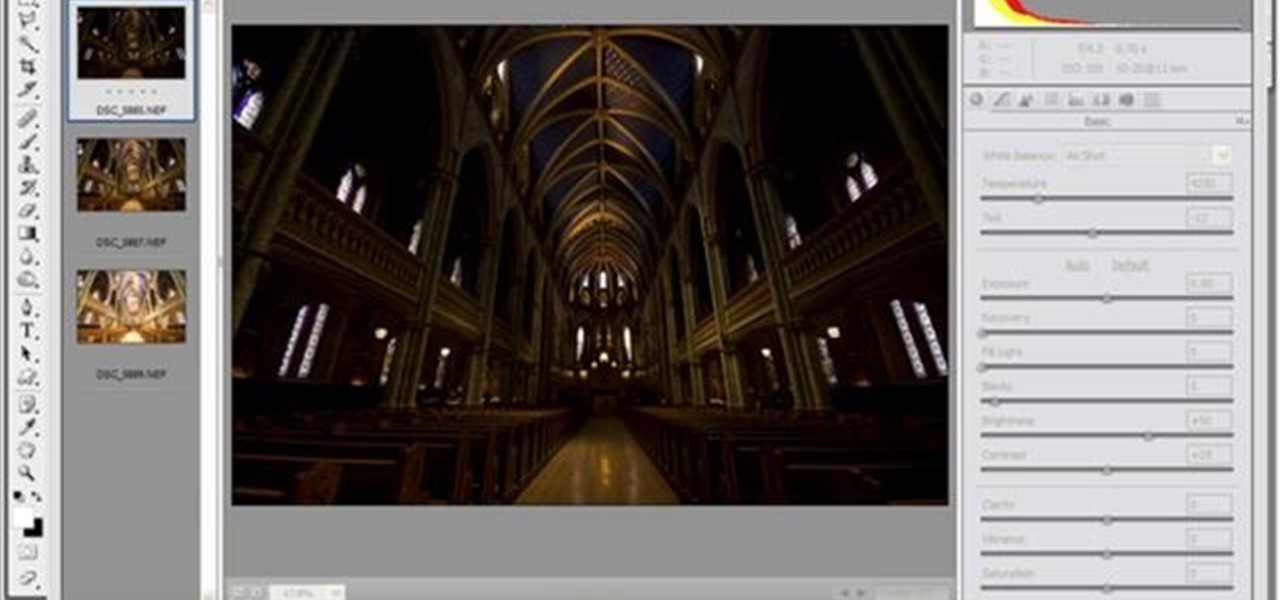
How To: Combine images to create HDR photos in Photoshop
Yanick's Photo School demonstrates how to use Photoshop to make HDR images in Photoshop CS3. This tutorial first explains that HDR means "High Dynamic Range" which is a process to get details from a photo from both the highlights and shadows of a particular scene. The first thing that is necessary is to take multiple views of the same image with different exposures. To start off, you will take three exposures: one that is two stops down, one that is normal exposure, and one that is two stops ...
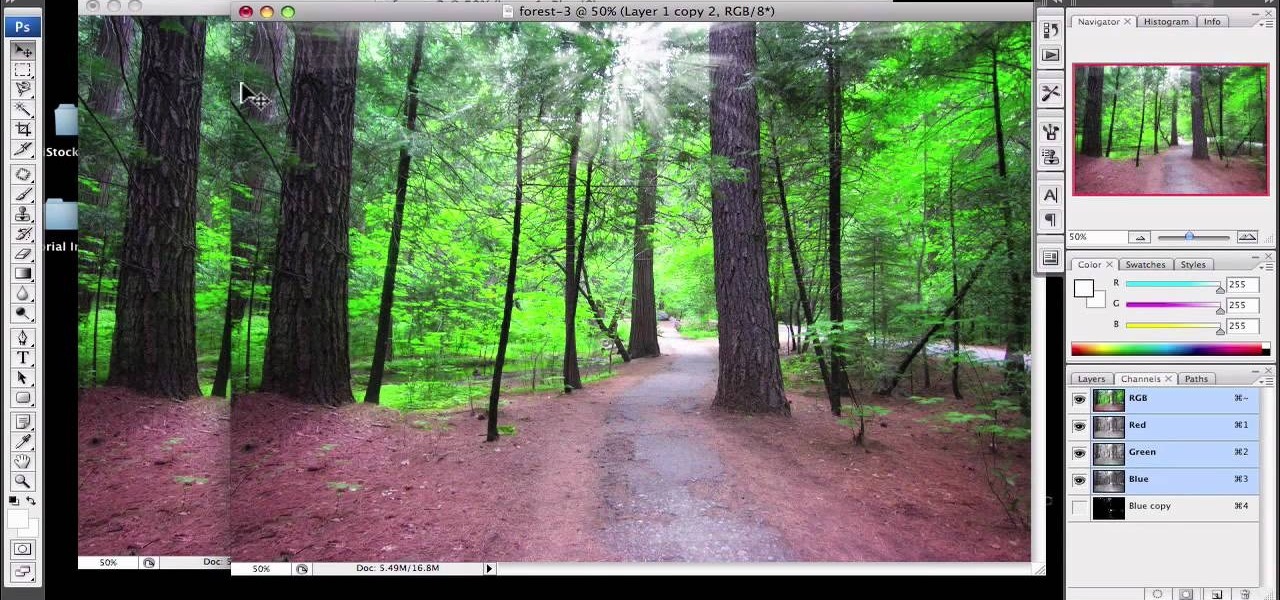
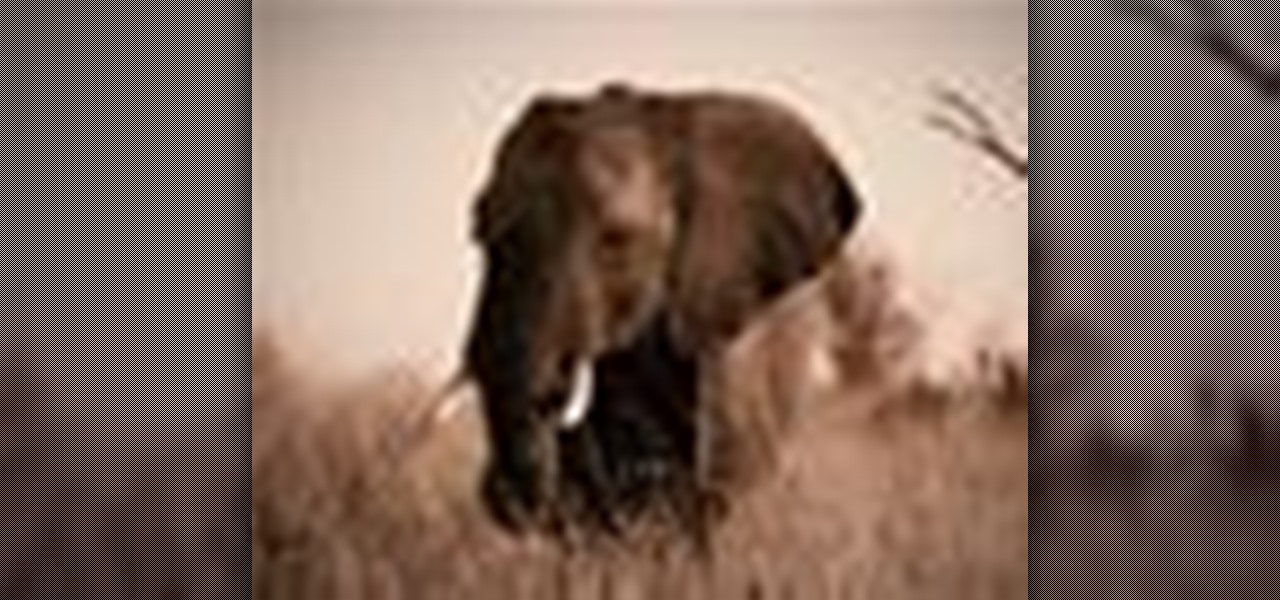
How To: Enhance sunshine in a landscape in Photoshop
1)Open image, go to channel. Look for the channel that gives the most contrast by going through them one by one.
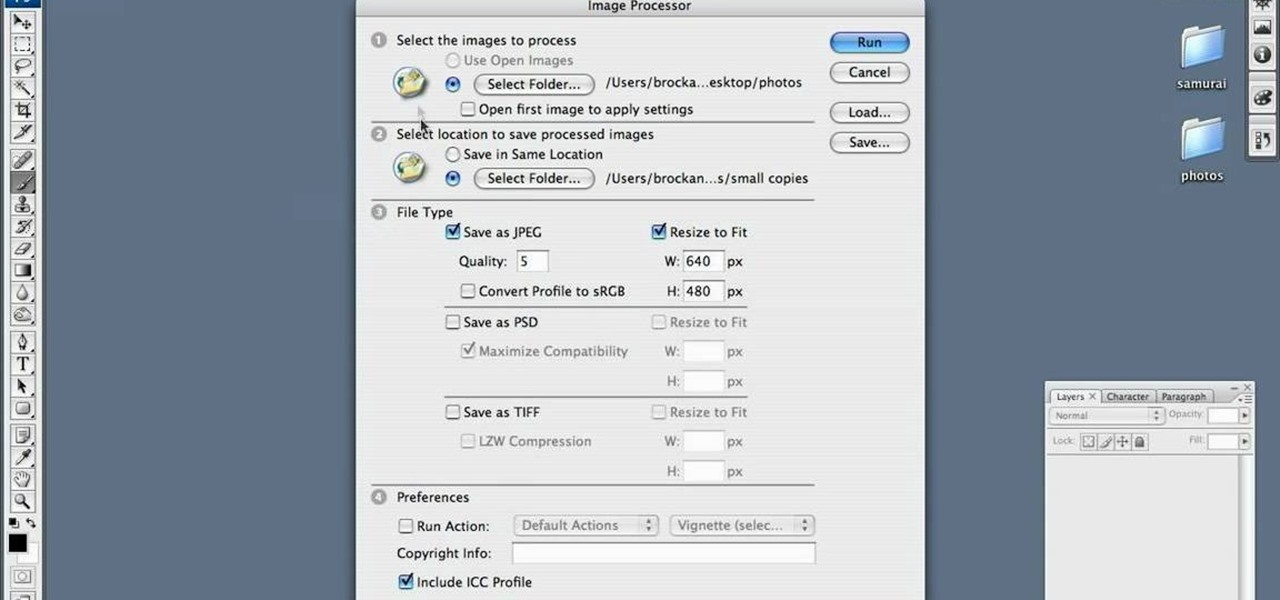
How To: Batch resize photo in Photoshop
Are your high resolution photos taking too much space on your hard drive? Tired of getting file too large error when emailing photos? Don't worry Photoshop Samurai will help you batch resize your photos as fast as a ninja! You will need: Photoshop (Not Elements version), photos that need to be resized Go to file, then scripts and select image processor. Select the source folder (where your pictures are stored on your computer). Then select a destination location (where you would like the proc...