

Everything Else


How To: Create a YouTube subscribe button in Photoshop
This task tutorial explains how to use Photoshop to create a YouTube subscribe button. First, select the rectangle tool and draw a bar. Select color options and deselect the color overlay. Then, go to gradient. Using the dropper tool, select the first and second color. Open layer options again and select the stroke color using the eyedropper tool. Increase the stroke size and change the position to inside. Click okay. Select type tool, create text field and type in the text. Open layer style ...

How To: Make a Polaroid image in Photoshop CS3
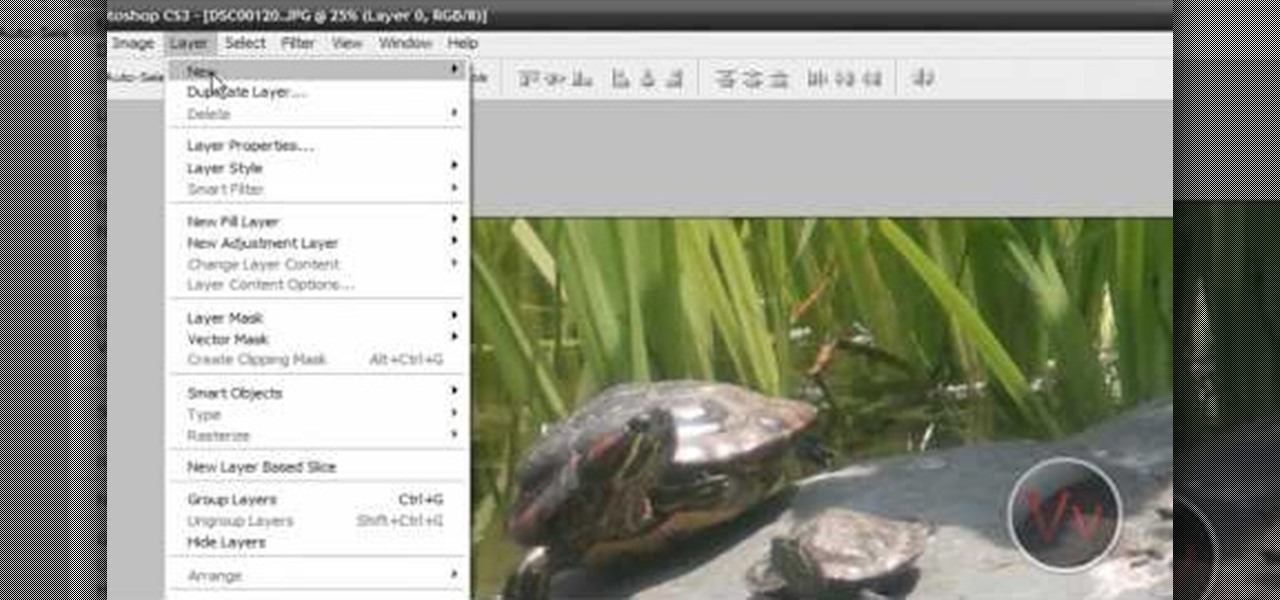
CreativeIceDesigns shows you how to make a "Polaroid"-style image on Photoshop CS3. Open a new 400 x 500 pixel image, and create a new layer, and drag underneath the original background layer. On the original "Layer 0" (the top-most layer), take the marquee tool and cut out (delete) a square, so that what you have in front of you looks like a Polaroid picture. Drag the the picture you want in, transform it into the right shape (ctrl + T) and drag it underneath "Layer 0." You can add effects (...

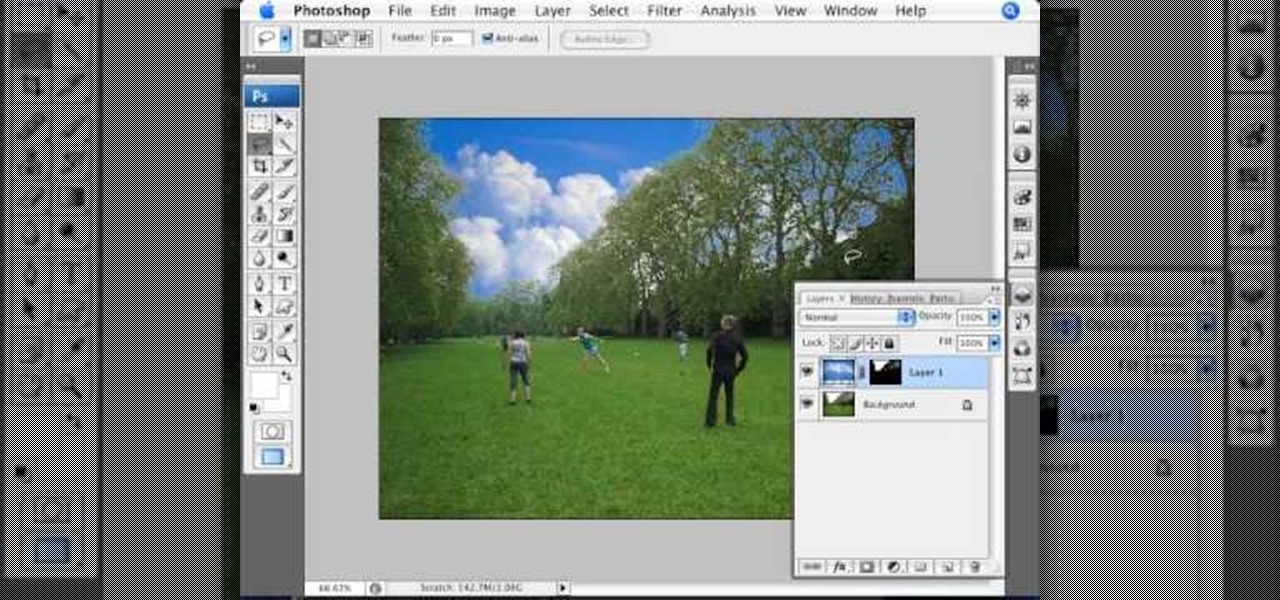
How To: Cut a person or object out of a picture in Photoshop
Ok, so you ditched the ex like a bad habit but now every picture on your Myspace features their face? No problem! You can use PhotoShop to cut objects out of your picture or to make people disappear. This video shows how to do both of those so you can forget the bad memories and move on! After you master the techniques shown you can also use them to cut the background out of your picture and then replace it with a background of your choice!
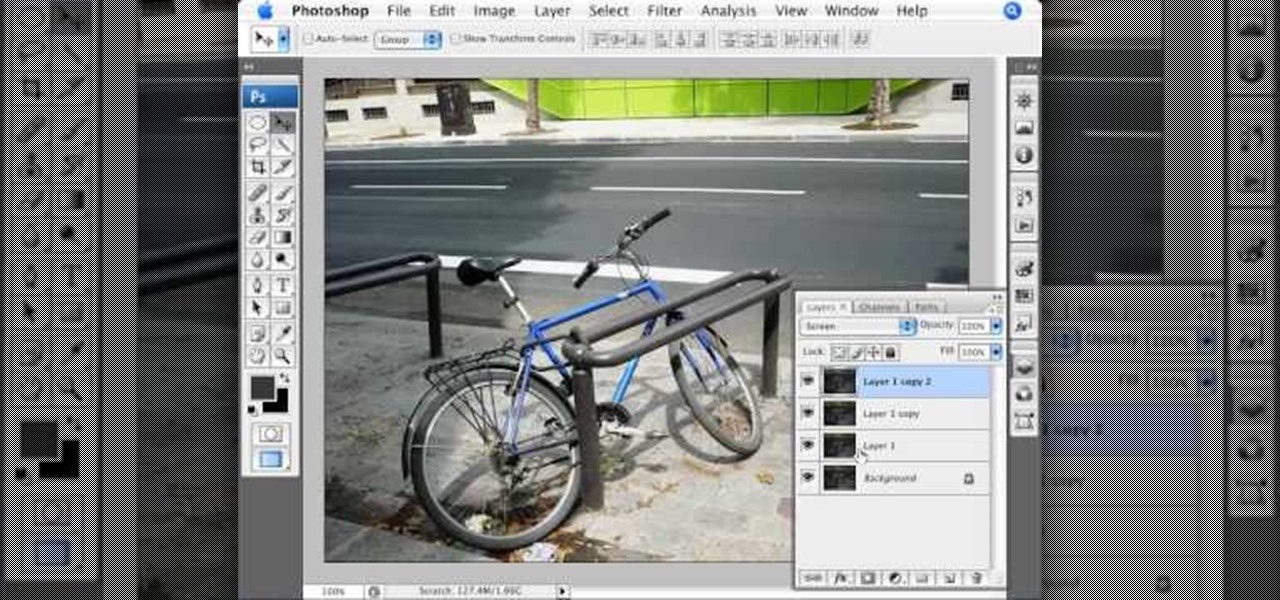
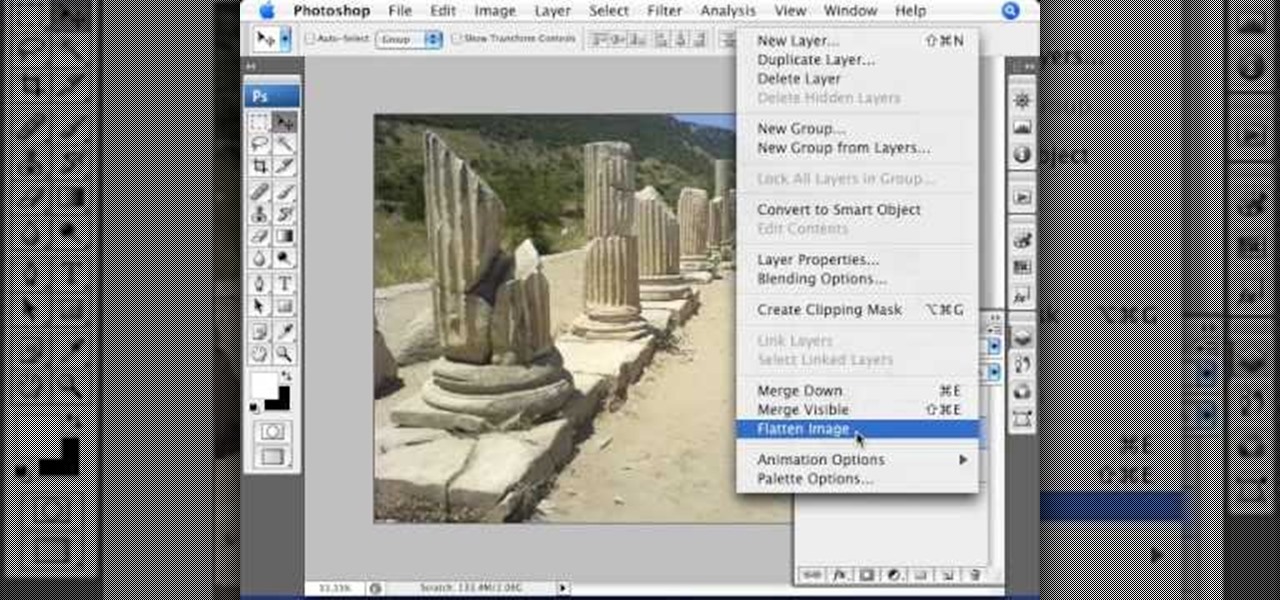
How To: Create window blinds in Photoshop
This video shows you how to create a realistic shadow of window blinds over the picture of a boy in a photograph that had no window blind shadows using Photoshop. Creating a separate layer, he creates shadows first by using the rectangular marquee, then filling in with black and copying the black stripes across the photograph. The opacity is set to 40%. The shadows look like a casting of the shadows of window blinds over the boy, but is not as realistic as he wants them to be. He then makes a...
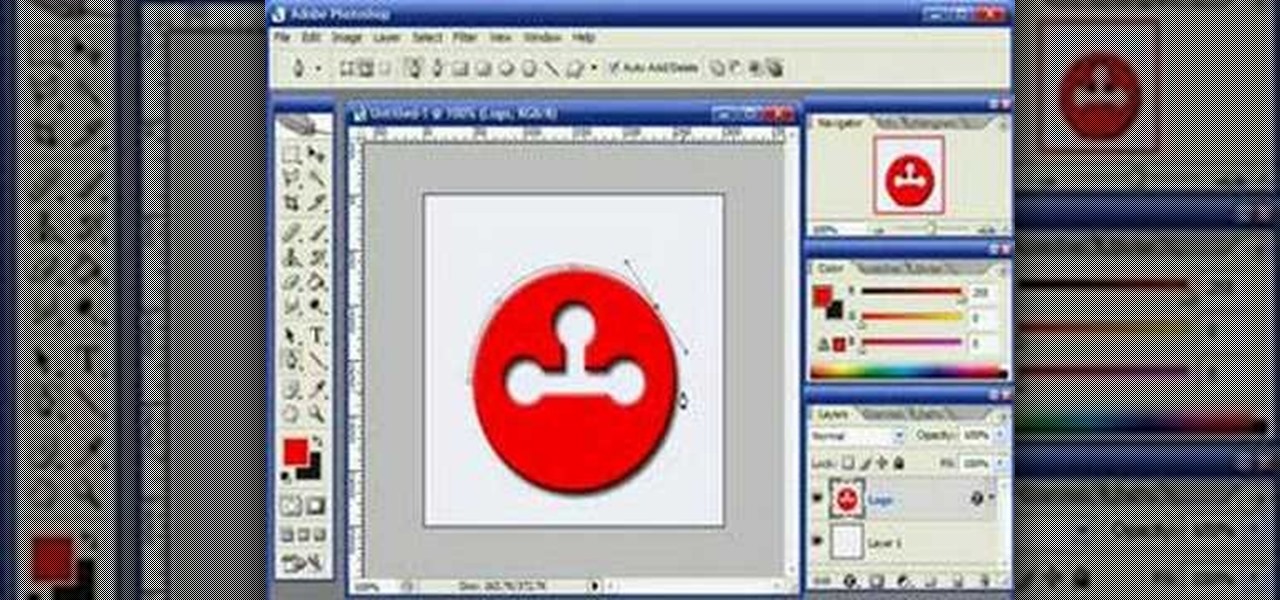
How To: Make text follow a path in Photoshop
This video demonstrates how to use Photoshop to make text follow a path. First use the pen tool and draw the path you want your text to follow. They demonstrate by drawing a curved line above a circular logo. Select the type tool and start from the beginning of your path, then type your text. Select the path selection tool and fine tune the text placement by dragging the X. This video is easy to follow and shows how you can make text on a curved path.
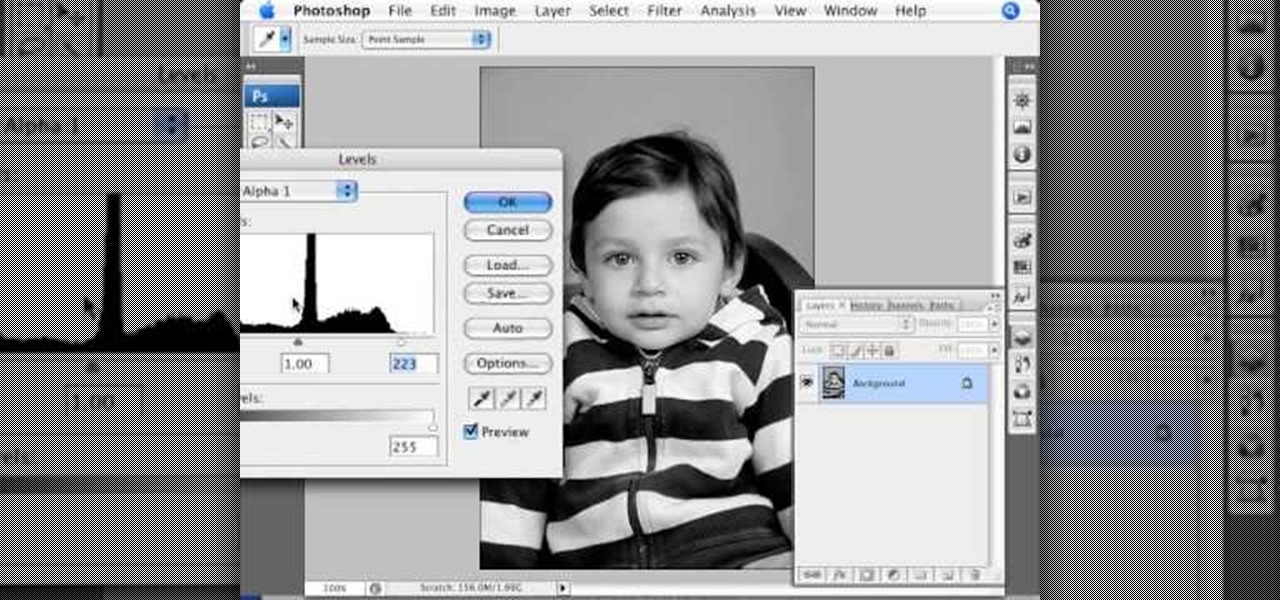
How To: Perform a quick exposure fix in Photoshop
This video shows you how to use an aspect of Photoshop so that you can fix snapshot pictures that may have gotten an exposure level you did not want. This quick and easy tutorial video shows you how easy it is to adjust the layers in the screen. With different adjustment tricks for the layers to use if you are unsatisfied with the results you are getting. Each video will take moments to do and once saved you can move on to edit any other photos that did not come out with exposures that you wa...
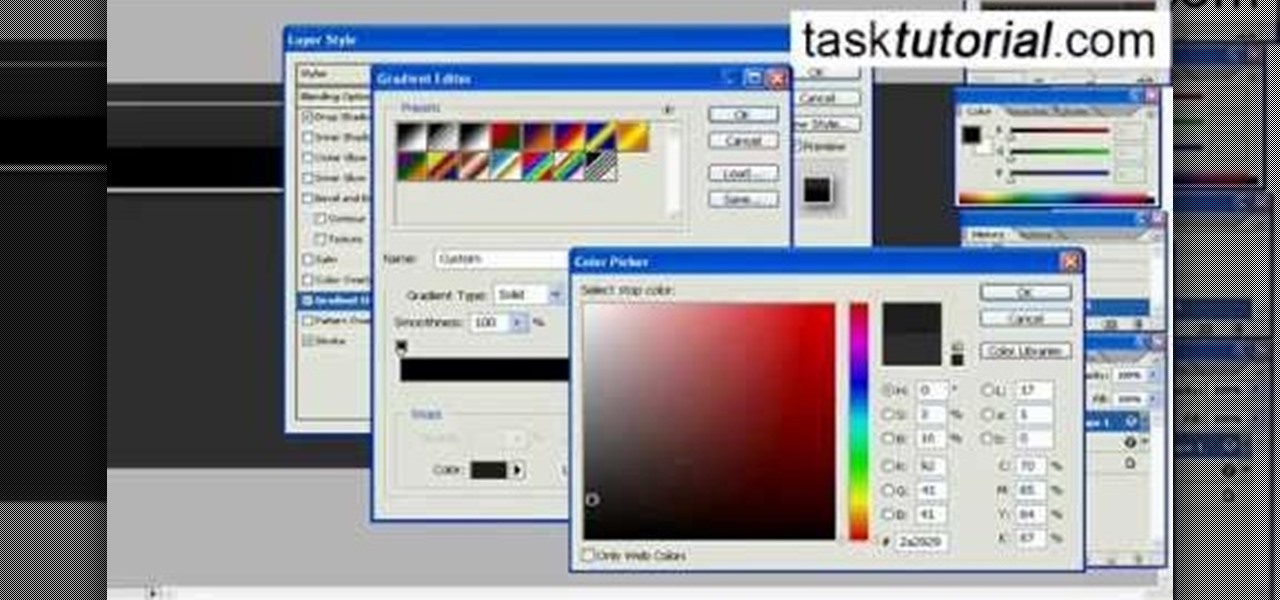
How To: Design a stylish bar with metalic text in Photoshop
This video instructs you on how to make a stylish bar with metallic text in Photoshop. First, you create a rectangular bar. Then create a layer with a stroke size of two pixels and a white color. Using the drop shadow on the menu, you set the opacity to sixty percent, distance to five pixels and size to about fifteen pixels. You will select gradient and create a gradient overlay. Then adjust your gradient and the text. Move it to the place you like best and you will have a bar with metallic t...

How To: Change skin colors in Photoshop
In this video, we are shown how to change the skin color of a person in Photoshop. He starts off by explaining that there are two different methods that you can use to change the skin color. The first method is through Hue and Saturation. With a couple of simple changes, you can change the tone and color of the skin. The second way is the more difficult method. You work through the color balance options in Photoshop. He explains that you will need to learn and play around with the color balan...

How To: Create a paper scroll in Photoshop
In this video tutorial by Tasktutorial, learn how to make a paper scroll in Photoahop. Select the rounded rectangle tool and draw a shape similar to the shape shown. Open layer options. Go to gradient. Select the indicated gradient and delete the marker shown. Adjust the other markers as indicated and use the control+g shortcut to duplicate the layer. Position the shape as shown and using the pen tool draw the paper outline by clicking and holding to obtain the required shape. move the paper ...
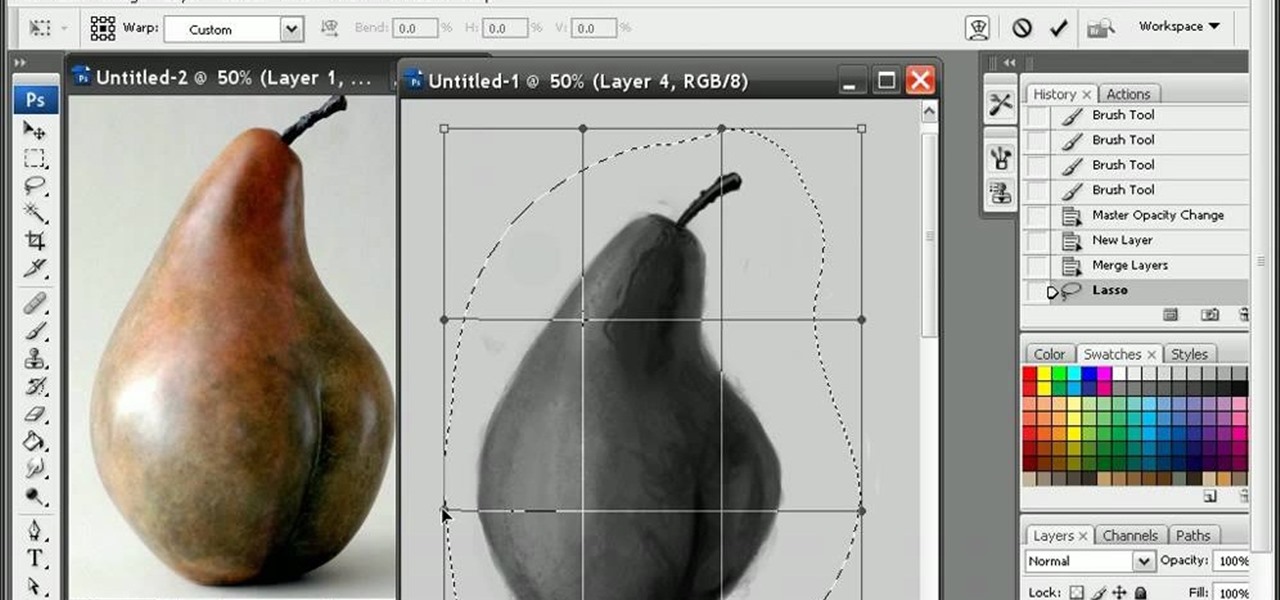
How To: Paint digital paintings in Photoshop
If you are looking to improve your Photoshop skills by learning how to digital paint in it, this video shows you how to do it. To do this, open a new Photoshop canvas and select your brush to paint with. In this example the author shows how to paint a pear for demonstration purposes. You start by drawing a rough sketch, just using your paint brush and reference an image of a pear that you find in this tutorial. Now do the dark textured work on the non lighting side as shown in the video. Now ...
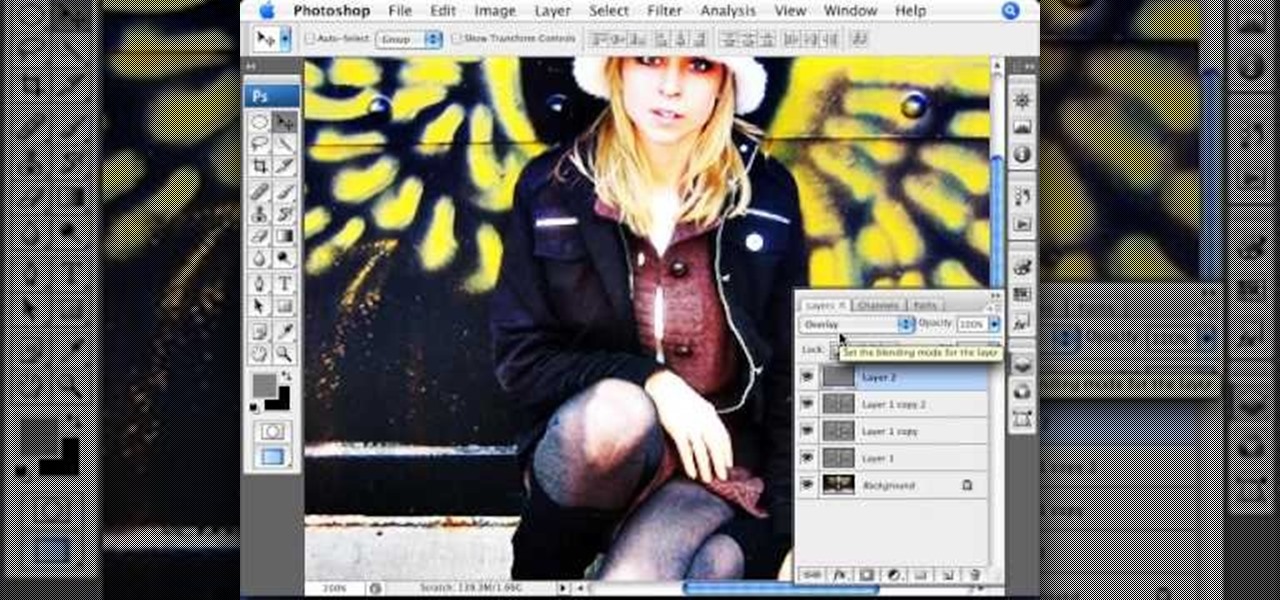
How To: Create an overprocessed effect in Photoshop
This step-by-step instructional video shows how Photoshop can be used to purposely over-process a photo and give it a more gritty effect. First, a High Pass filter is applied to give the photo a gray buzz. Next, hard light blend layers are applied to give the photo more contrast. A few approaches for applying noise filters are described next. Finally, de-saturation is applied to produce an amazing finished product. A must-see video for anybody looking to add a fantastic grunge effect to a photo!

How To: Create an old vintage photo effect in Photoshop
CreativeIceDesigns shows all the steps it takes to give any photograph a nice, vintage look using Adobe Photoshop. The image must first be unlocked. You then select the grunge paper brush. Normally you should keep the aspect ratio of your image the same, but in this case, you should resize it to the same height as your paper surface. After changing the blend mode to multiply and adjusting the brightness, you then change the opacity and you'll have the "wrinkled paper" effect you're looking fo...

How To: Make basic animation or moving images in Photoshop
This video shows the process of making animations in the image program Photoshop. It shows users how to open up and navigate the animation dialogue box in Photoshop by adding frames with variations on the image to be animated, with attention to using as many frames as needed to ensure a "clean" looking animation (one that is not jumpy but rather has smooth transitions). In closing, the instructor shows its viewers which options to select on the animation settings (particularly noteworthy is t...
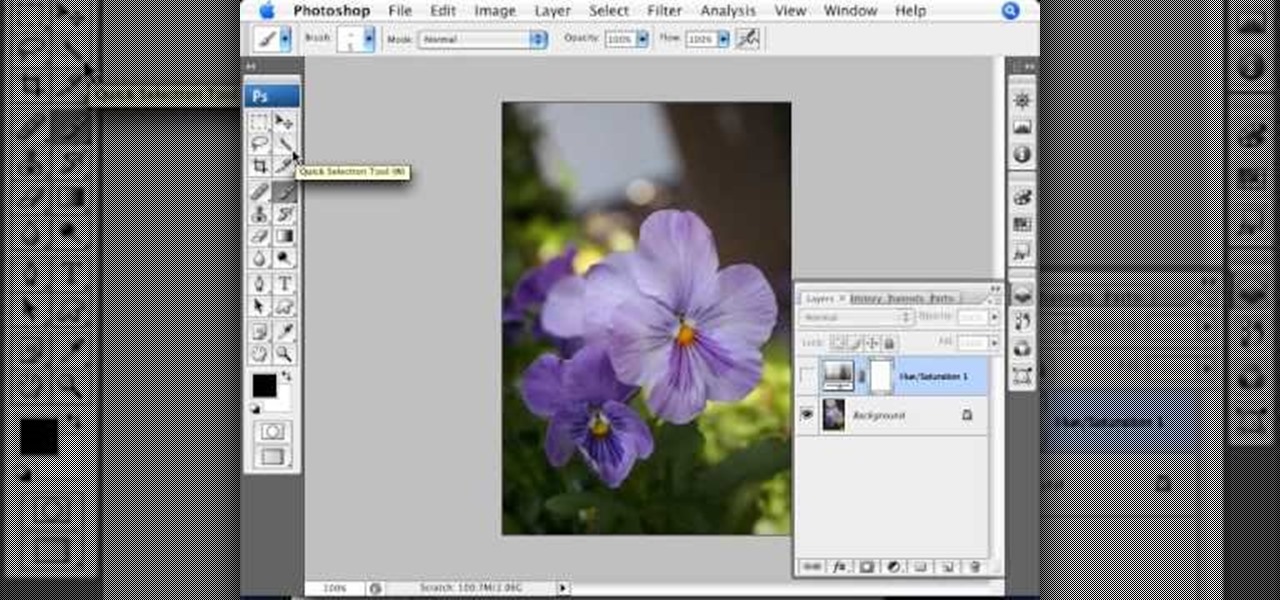
How To: Simulate hand coloring in Photoshop
This video shows you how to simulate hand coloring in Photoshop. The first step in the process of simulating hand coloring is to turn the image you have chosen into black and white. Following turning the pictures coloring to black and white you must bring up the hue color control panel. The final task includes selecting the object to color within your image as well as picking the color in hue that you wish to use. The coloring must be done manually by the users control of the mouse.
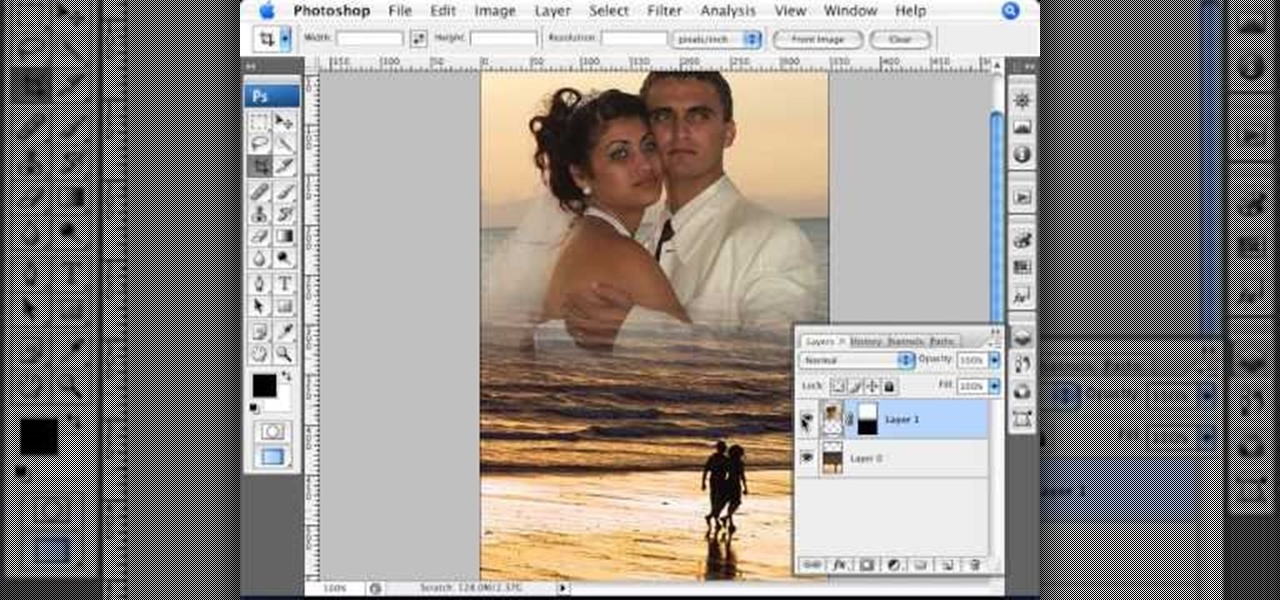
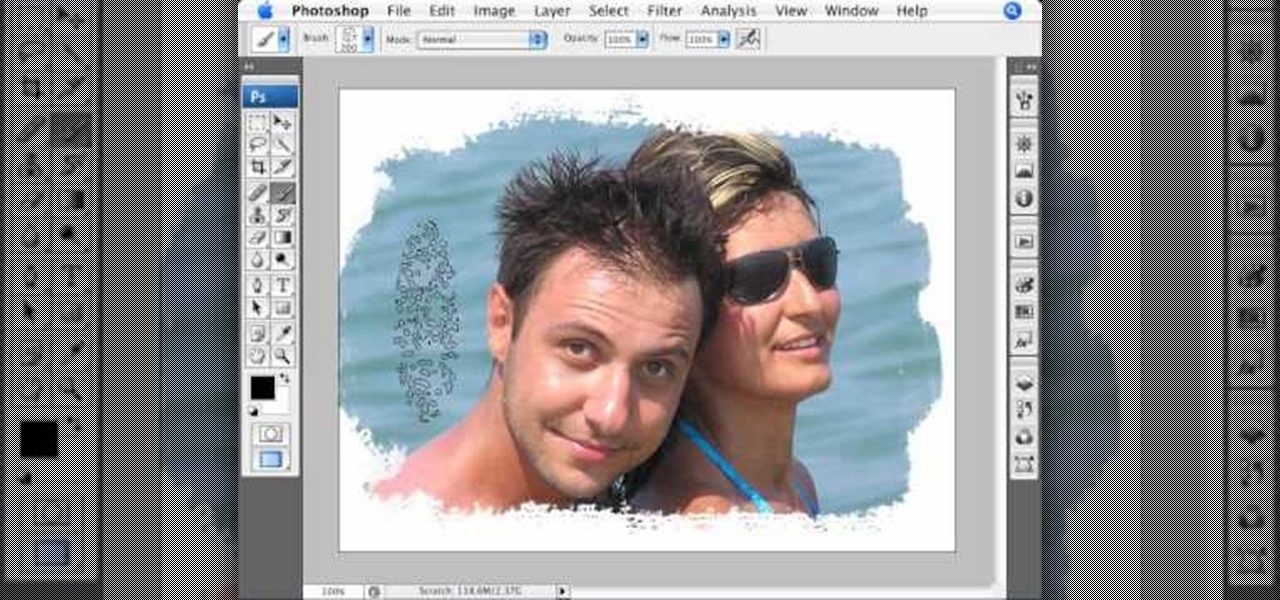
How To: Create a movie poster in Photoshop
This video shows step by step instructions on how to make a movie poster on Photoshop. The author merges two pictures together beautifully of a newly wedded couple on the beach. It goes very into debt and is easy to follow, even for beginners. This Photoshop tutorial is mostly for Mac users. The language is very simple and not very complicated. The video is not that long, around seven minutes. At the end he even puts in his own finishing touches of color that makes the poster come alive.
How To: Create an easy glossy button in Photoshop
This video describes how to create an easy glossy button in Photoshop. This is done by "simpleretouch.com" website. First select the "Ellipse Tool" from the Photoshop tool bar and then drag it on the layer; it will give the ellipse shape in the layer. Select the "Blending options" from the "Layers" Menu by double click on the layer which is right below corner. From the blending options choose only the "Gradient Overlay" and in that we can choose color and its gradient as your wish. Now take a...
How To: Retain aspect ratio when cropping in Photoshop
Pixelated photos are always a site for sore eyes. When you crop your photos in Photoshop you can keep your aspect ratio to stay wayward of the "pixelation desecration". When you hold down Shift during your crop it will retain the aspect ratio so you have nothing to worry about. There are also some more commands to help keep aspect ratio during zoom, crop, moving, or anything else of that matter. This video will demonstrate exactly how to retain aspect ratio when cropping in Adobe Photoshop.
How To: Enhance color with automation in Photoshop
A lot of photos look fantastic when you first take them, but you start to notice some issues with the image when you get a good look at them on your monitor. The color will be nice, but there is noticeable room for improvement in the raw image. You can enhance the color in your image by using automation in Photoshop. This video will take you through the necessary steps to make your final image livelier and more vibrant in Photoshop.
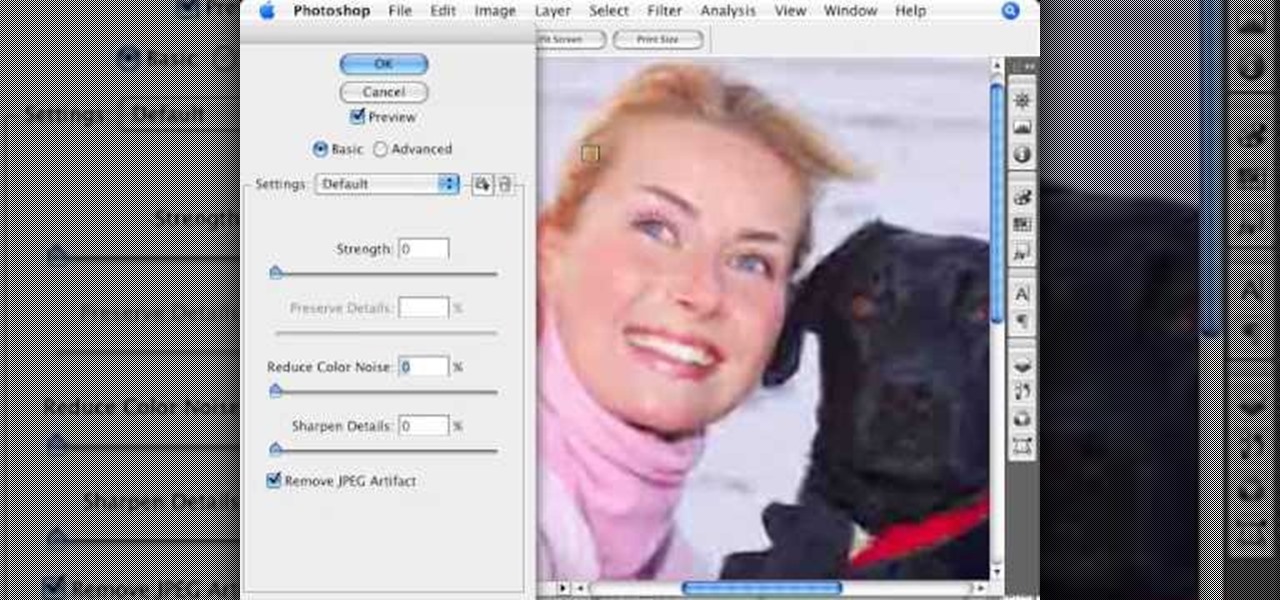
How To: Remove JPEG artifacts in Photoshop
Photoshopuniverse shows how to remove JPEG Artifacts in photoshop. It's simple. Sometimes it happens that, you get the best picture which is related with your work, but unfortunately its low quality or small. If you zoom in a small picture it will pixilated. You will see some blocks. Luckily there is a way to remove it from photoshop. Go to- filter, then noise, then reduce noise. There will be an options of removing JPEG artifact. Check that. After watching the video you can remove JPEG artif...

How To: Create a cartoon cloud in Photoshop
In this video tutorial, viewers learn how to create a cartoon cloud using Adobe Photoshop. Adobe Photoshop is a graphics editing program. In this video, viewers will learn how to use multiple layers, layer options, how to create a lighting effect and use of gradient options. This video provides voice narration and a visual demonstration for viewers to easily understand and follow along. This video will benefit those viewers who enjoy designing and creating cartoon or animation images on the c...

How To: Add dramatic color to images in Photoshop
Tutvid shows you how to add flare and dramatic color to your raw camera images (usually the format of a DSLR). In a step-by-step guide with narration, Tutvid takes you through the process of using CameraRaw (used as an extension of Photoshop but never really brings it in photoshop) to add desired colors to your picture. Pull up your raw file in CameraRaw, and press "Command" or "Ctrl + R" to open up the editing panel. With an example, he shows you how to bring out lights in underexposed (dark...
How To: Create the "Sin City" effect in Photoshop CS3 / CS4
This video tutorial by VvCompHelpvV gives you two methods to achieve the Sin City effect in your photos using Photoshop. The Sin City effect is making the main subject of the photo appear colored while the rest of the photo looks black and white. In the first method the subject should be selected using a pen-tool using the settings mentioned. After that right click on the selected areas and make the feather radius 3, inverse the selection and go to image > adjustments and de-saturate and your...
How To: Batch automate in Photoshop
This how-to video produced by Photoshop Universe gives step-by-step instructions on how to batch automate a process in Adobe Photoshop. With this tutorial you'll be able to learn to correct white balance, enhance colors, resize, and save for the web whole folders' worth of images in one go. The first step to doing this is to open up one of the images in your folder and correct the white balance, enhance the colors, resize the photo and save. The next thing you want to do is to record all of t...
How To: Use the spot or regular healing brush in Photoshop
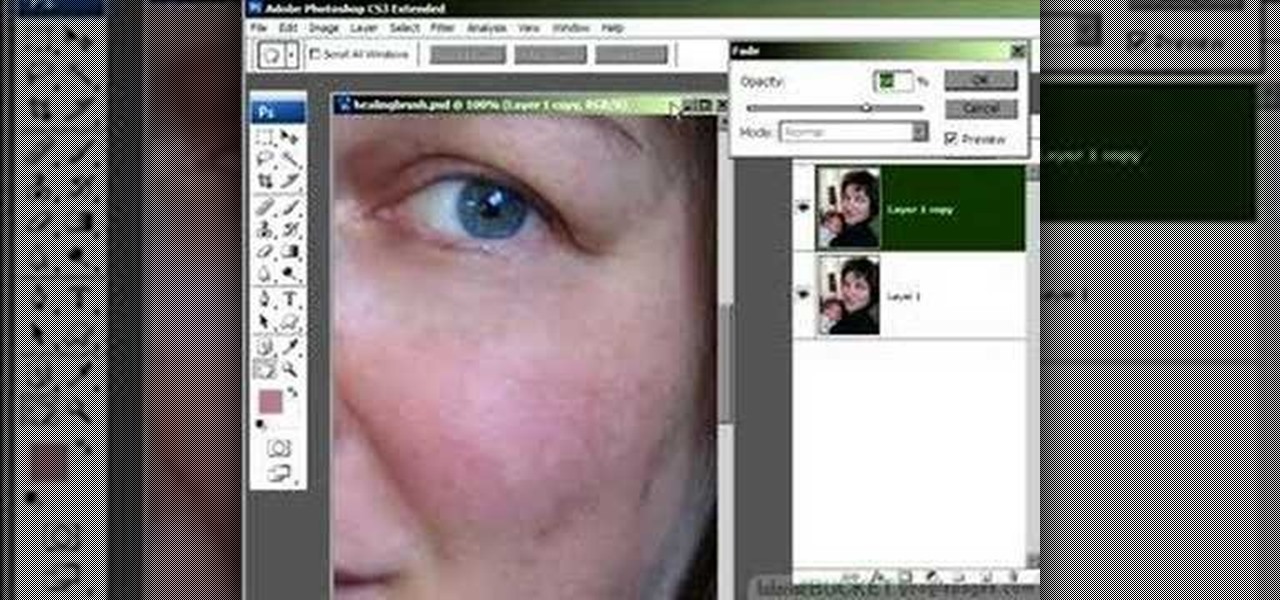
Do you love to edit your photos in Photoshop? Watch this quick video that contains some really neat tips on how to use the healing brushes and patch tools in Photoshop. The spot healing brush makes it easy to brush away blemishes or other marks on the skin. It's good for small spots, not larger areas. You can use the patch tool for larger jobs. These two tools combined will give you a pretty impressive end look. It can remove tattoos, wrinkles, acne and so much more!
How To: Download & install GTA San Andreas Multiplayer
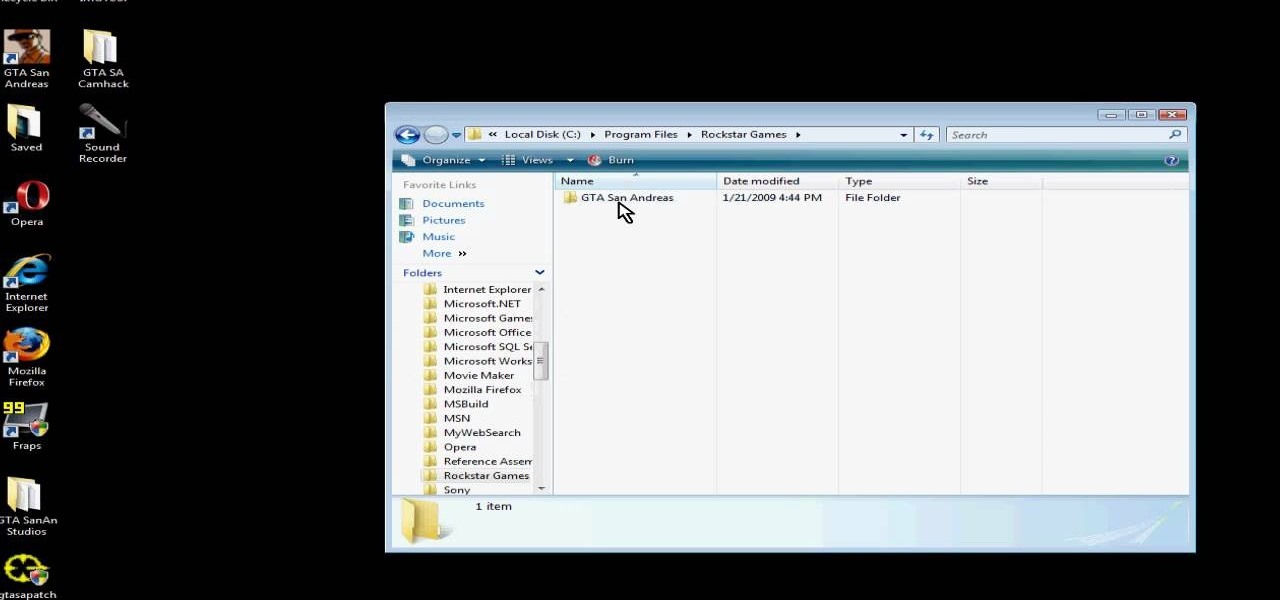
Although Grand Theft Auto 4 was released, many people are still going to want to play GTA San Andreas. Here's how to download and install GTA San Andreas Multiplayer. First, go to Google and search GTA San Andreas Multiplayer. Then, click on the first result that comes up. Go to that website and click on one of the download links that shows up. (Either one of them is fine.) Open the file and follow the Setup Wizard. The installation process takes a very short time and is very easy. Then navig...
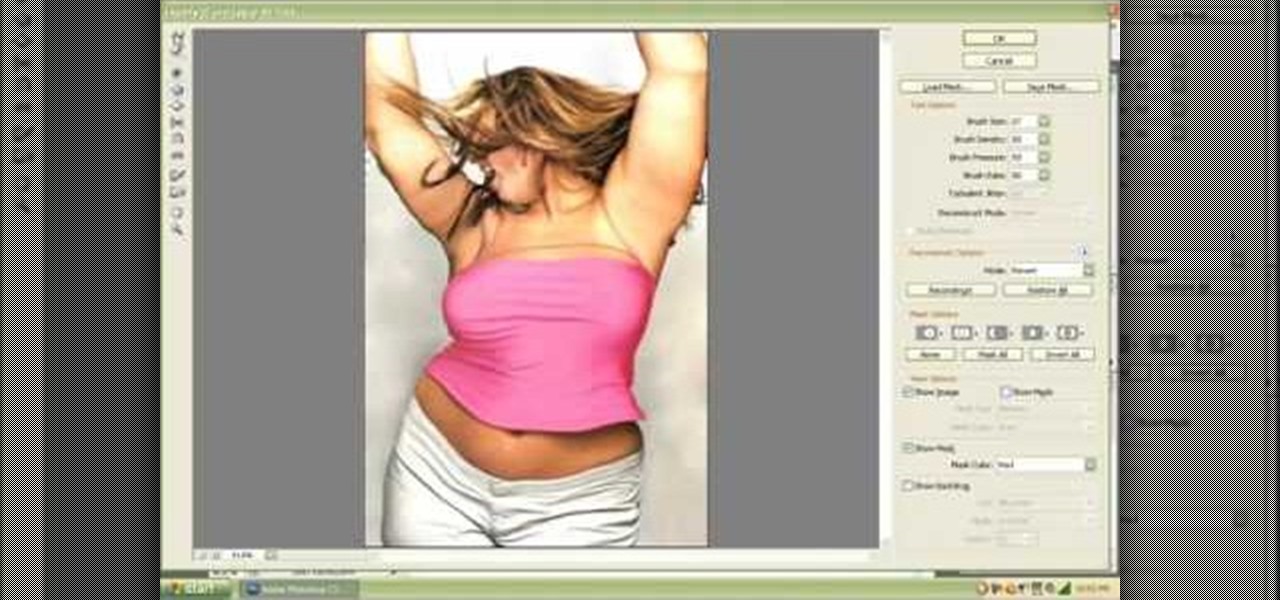
How To: Teletransport people in photos in Photoshop
This video tutorial by photoshopuniverse, is to tele-transport people in photos using Photoshop. For this you will need two photos, one with a person and another of a suitable scene. Select the image with the person and extract the person using the extract tool by marking the edges. Make sure to change the brush size so that you can mark the edges with a bit of the border to be included and a bit of the outside to be excluded. Fill in the retaining area and extract the image. Using the move t...
How To: Create a photo-on-canvas look in Photoshop
In this Photoshop tutorial, learn how to convert regular photos into works of art that create a painted on effect. By using the right brush tool, a regular picture can be made to look as though it was painted onto a canvas with real brush strokes. This tutorial shows us how to use different types of brush presets loaded in Photoshop in conjunction with a new layer to create a canvas effect. The result is photo converted into a painting.

How To: Draw a stone angel in Photoshop
Stephanie Valentin teaches us how to draw a stone angel in Photoshop. You create a new document of 1100 x 200 pixels. You sketch the character with a black brush of 5 pixels and 100% of opacity on a new layer. Keep this layer of the whole painting process. Then create a new layer, filling the shape with a dark color. Use a hard brush of 25 pixels and 100% opacity. Create a new layer Light 1, apply large lights with a soft round brush of 20 pixels and 35% opacity. Apply a Gaussian blur of 8 pi...
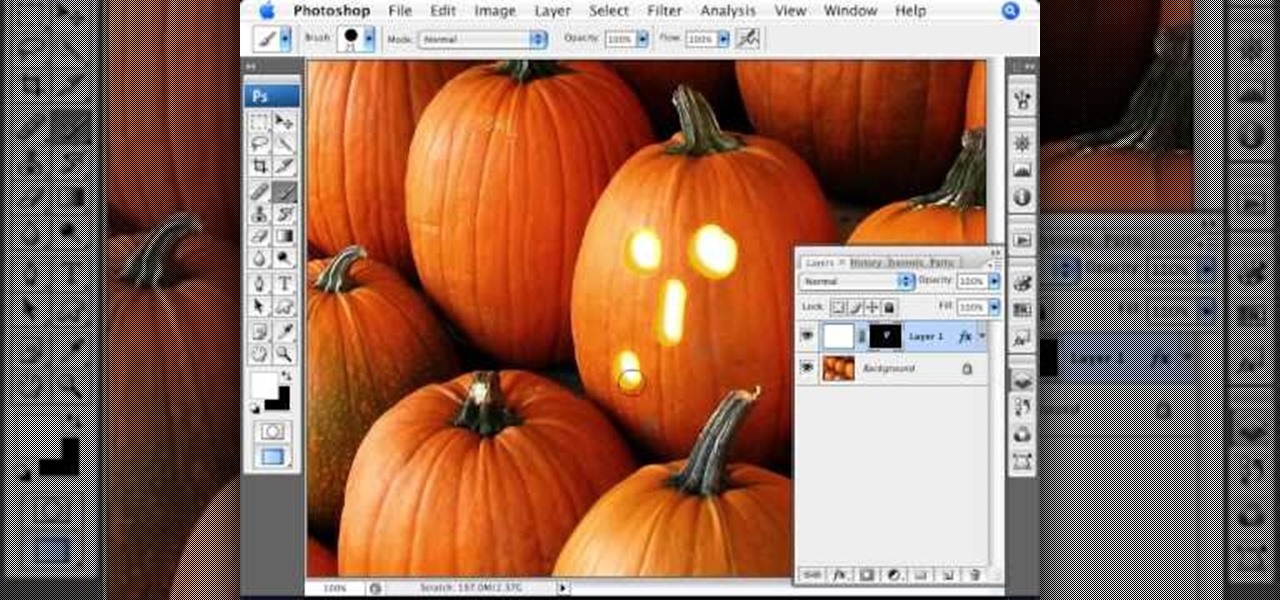
How To: Create a jack o'lantern with a pumpkin in Photoshop
Photoshopuniverse shows the way to create a Jack-O-Lantern in Photoshop. At first you need to collect or take a photo of a pumpkin. Make a new layer, with a white background, then mask it. Fill it with black color. Now go to blending option and give inner shadow, inner glow, gradient layer and outer glow. The major color will be yellow. There will be also a thin stroke. Your brush is ready now with all its effects of a Jack-O-Lantern. After following this video, you can use the same effect an...

How To: Create a quick grunge effect in Photoshop CS3
Here is another cool photo manipulation you can do using Photoshop CS3. You can take a normal photo you’ve taken and really make it look unique by giving it harder edges and some more texture to the shot. Mix up your photos with this effect.
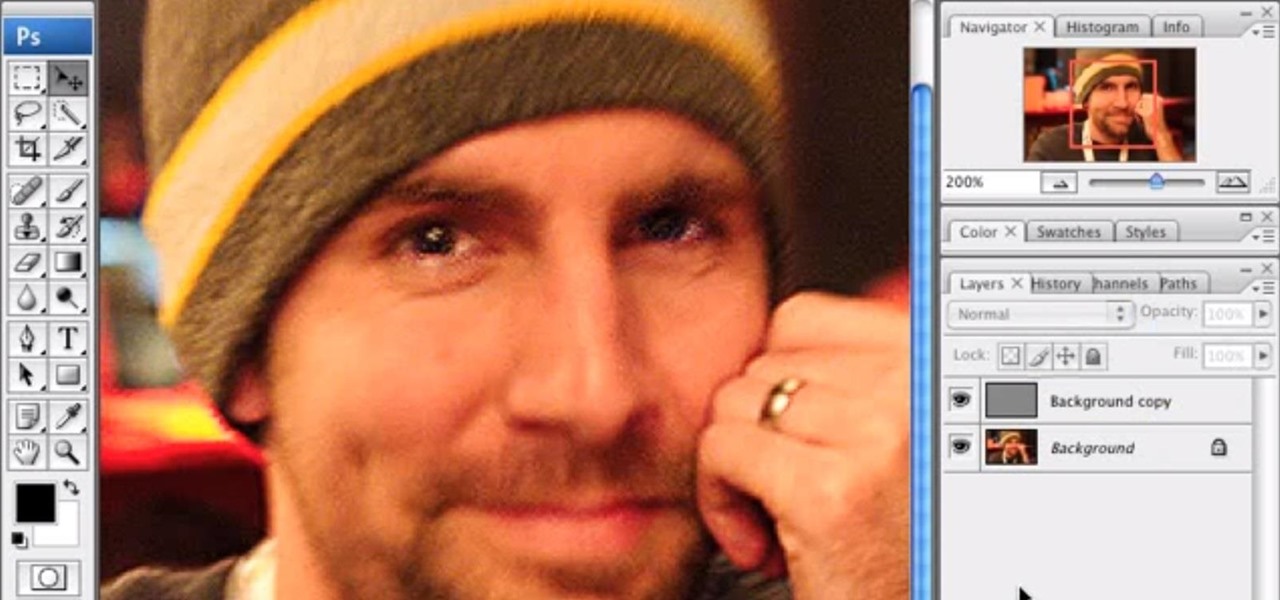
How To: Fix Blurry Photos in Photoshop
It's very easy to get a slightly blurry photograph due to a moving subject, camera shake, or just an incorrect auto-focus, but you don’t have to let that ruin an otherwise terrific picture. All it takes is a little finesse in Photoshop or another photo editing software. This guide covers sharpening a blurry image using Photoshop specifically.
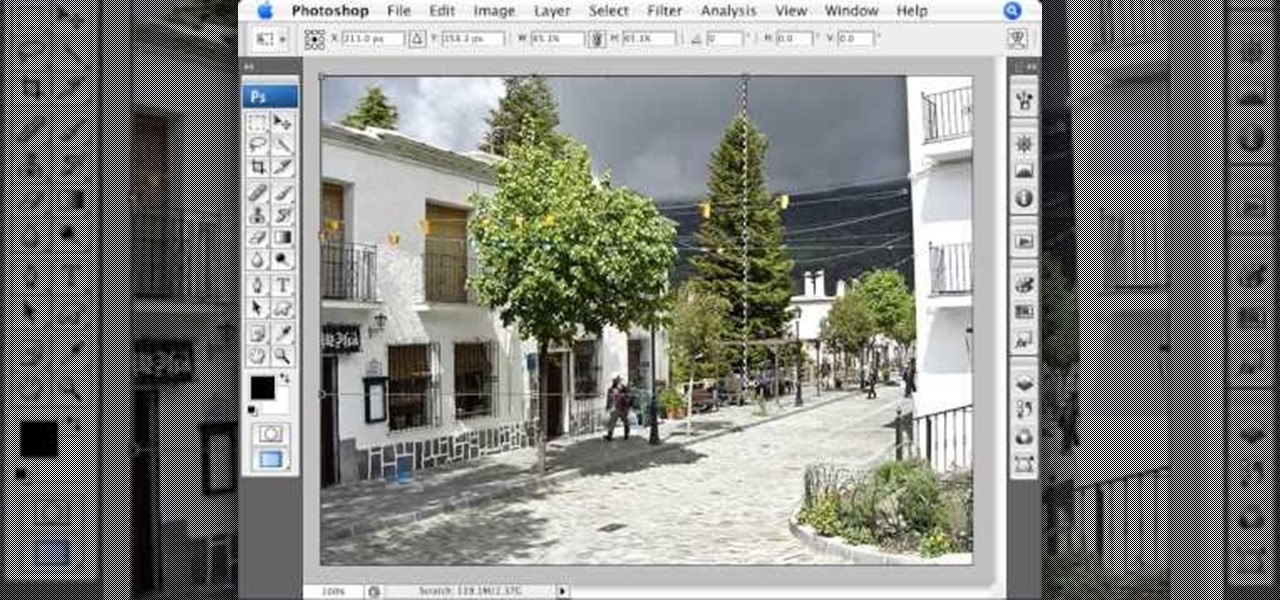
How To: Replace the sky in a photo in Photoshop
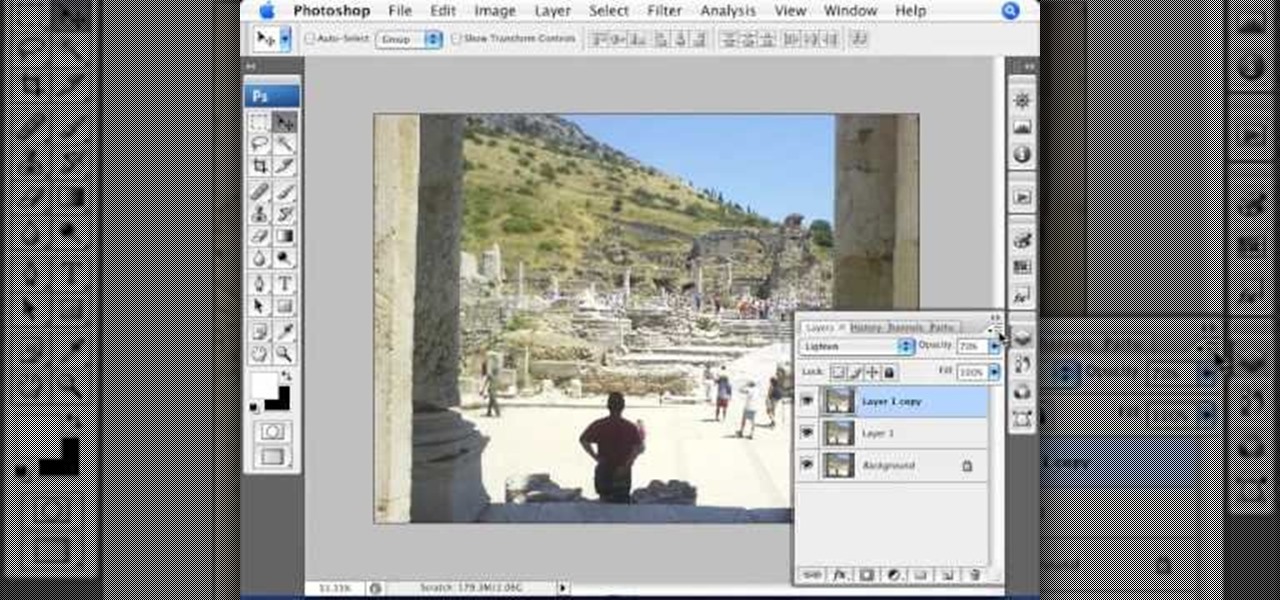
In this Photoshop tutorial the instructor teaches you to replace the sky in a photograph. If you have a photograph which has a very dull and blown out sky you can change it to make it look better as shown in this video tutorial. Some times when the sky is cloudy or due to improper white balance you end up with photos having a over bright or dull sky. Now you can find another image where the sky looks bright and attractive and replace the sky in this image with that one. Open the photo that yo...

How To: Create a 1940's black & white glamour portrait in Phot
In this video tutorial, viewers learn how to make a black and white Hollywood style glamour portrait, using Adobe Photoshop. Adobe Photoshop is a graphics editing program. Viewers learn how to create a vintage, golden age Hollywood headshot look, with just a couple layers. This video provides step-by-step instructions and a visual demonstration for viewers to easily follow along. This video will benefit those viewers who enjoy photo editing and enhancing images to the best of their ability.
How To: Make Call of Duty Modern Warfare text in Photoshop
This video shows how to make a call of Duty Modern Warfare Text in Photoshop. For Call of Duty enthusiasts, learn how to make modern warfare text in Photoshop following the steps in this tutorial from Creative Ice Media Group. The video breaks down into two types of texts and how the two can be made. The tutorial goes over what font to use and what color code to use. In addition learn what auto glow color effects to use. Follow the steps in this video to learn how to make a Call of Duty Moder...
How To: Remove camera flash hotspots in Photoshop
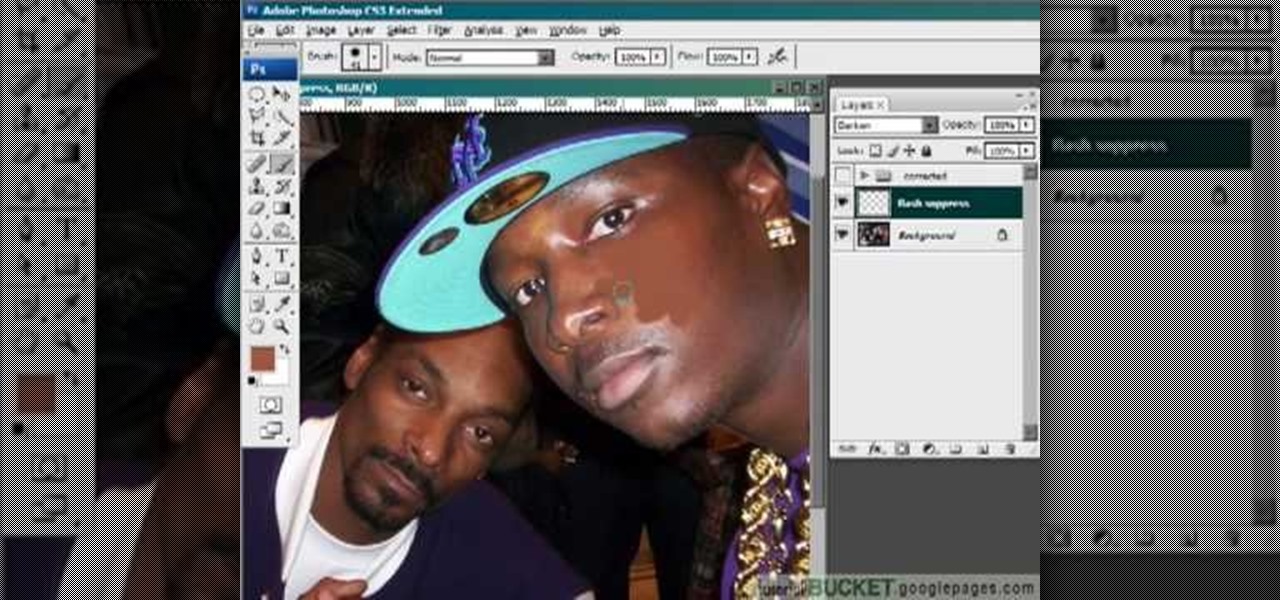
This video gives detailed instructions for removing a hotspot or flash reflection in a photo by using layers and masks. Start by adding a new blank layer and naming it something like Flash Suppress. You will use a special blending mode for this layer called darken. With your paintbrush you will loosely paint out the hotspot, having selected the color tone that you need with the eyedropper tool. Later on you can use layer masks to clean this up. Adjust the opacity of the layer until you have t...

How To: Turn a photo into a drawing in Photoshop
Did you know that you can use the photo-editing software Photoshop to turn your photographs into drawings? Follow along with Bert Monroy of Pixel Perfect as he shows us exactly how you can do just that. You will have to upload a photo of your choice to your computer and then open it up with Photoshop. Then you can use the techniques shown in the video to make it look as though someone drew that same picture on a piece of paper. Bert also shows how you can saturate your drawing and make it col...

How To: Create glowing skin in Photoshop
In this video tutorial, viewers learn how to retouch images to have a glamour skin glow, using Adobe Photoshop. The video covers all the effects and techniques needed to achieve the glamour skin glow look. Viewers learn how to retouch skin tones and hair for a glamour portrait, including airbrush techniques. Viewers will learn how to create that super color saturated, soft, diffuse skin glow. This video will benefit those viewers who use photoshop and like to enhance images to the best of the...

How To: Enhance the sky in photos in Photoshop
This video shows you how to enhance the sky in pictures using a program called Adobe Photoshop. With this program you can use a gradient tool to layer different areas and change the color to enhance the picture of the sky. You can also invert colors and do a lot of different things using this tool. It is a very helpful tool to have because it drastically changes how bold the sky looks and could help a photographer out a lot to learn this skill.
How To: Reduce depth of field in Photoshop
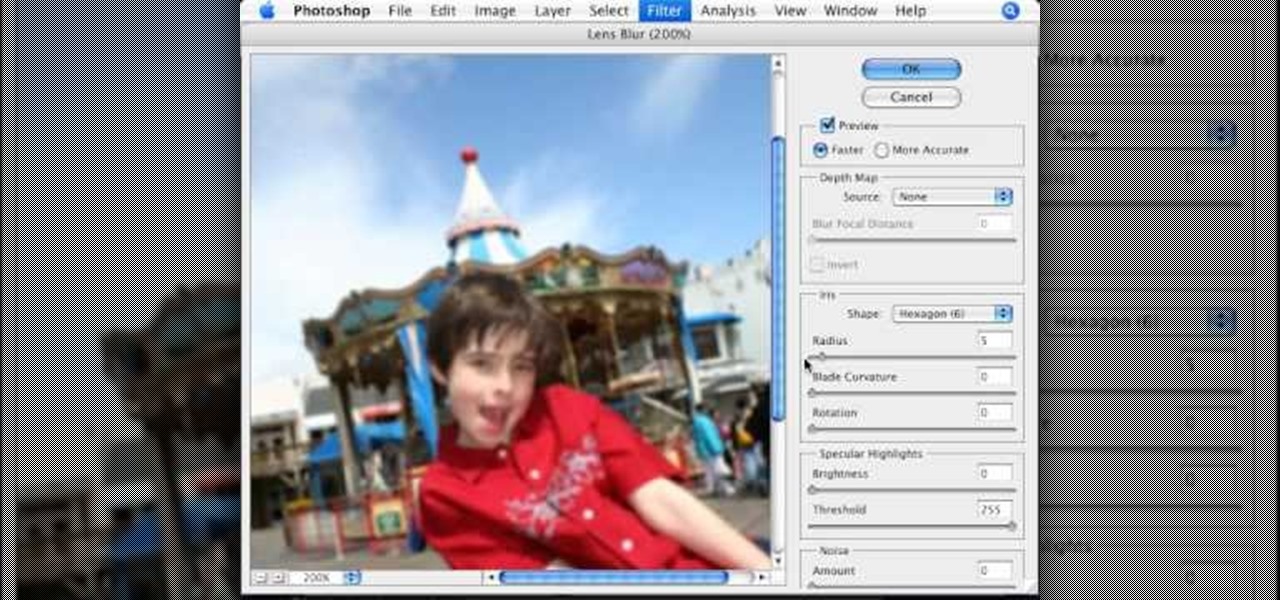
This video tutorial, by photoshopuniverse, shows you how to reduce the depth of field after a photo is taken using Photoshop. This enables you to ensure that your main subject is clearly in focus while the background is out of focus or blurry. First duplicate the layer using the short cut that was mentioned and apply the filter lens blur to the new layer and adjust the radius so that an adequate amount of blurring is achieved. Add a layer mask and bring the subject to focus by selecting the b...
How To: Use the replace color command in Photoshop
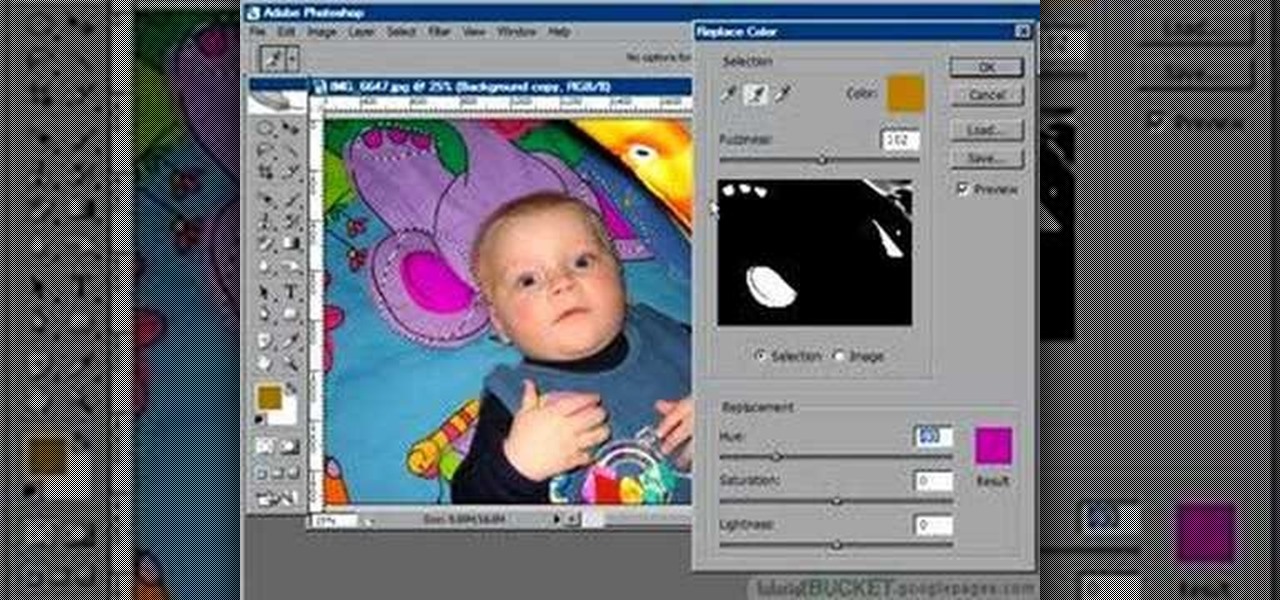
The replace color command is a nifty tool in Photoshop that enables you to change a color in an imagine very quickly and effectively. The tool requires that you make a copy of the original layer, as the replace color command is a destructive function. It requires parts that you want replacing to be selected first, to change the color of the desired areas. The result is a very realistically edited image, that is extremely fast and easy to accomplish.