

Photoshop How-Tos


How To: Create scrapbooks in Photoshop
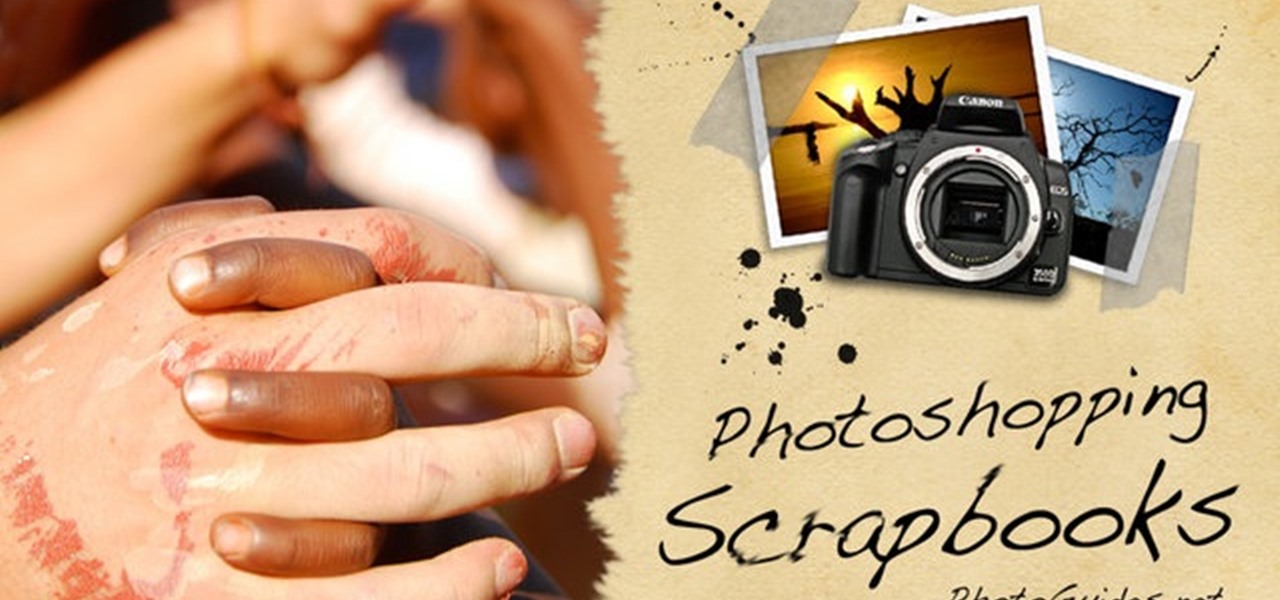
This Software video tutorial shows how to create scrapbooks in Photoshop. This video is presented by Ash Davies from PhotoGuides. This tutorial has 4 components including how to tear the paper, how to add sticky tape, how to hand draw and how to spill ink. To complete this tutorial you will need to download the Paper file and the Sticky Tape file from PhotoGuides. It is available to all members. Open up the paper fie in Photoshop. Open the photos you want in your scrapbook and drag them onto ...
How To: Fake a tilt shift miniature look in Photoshop
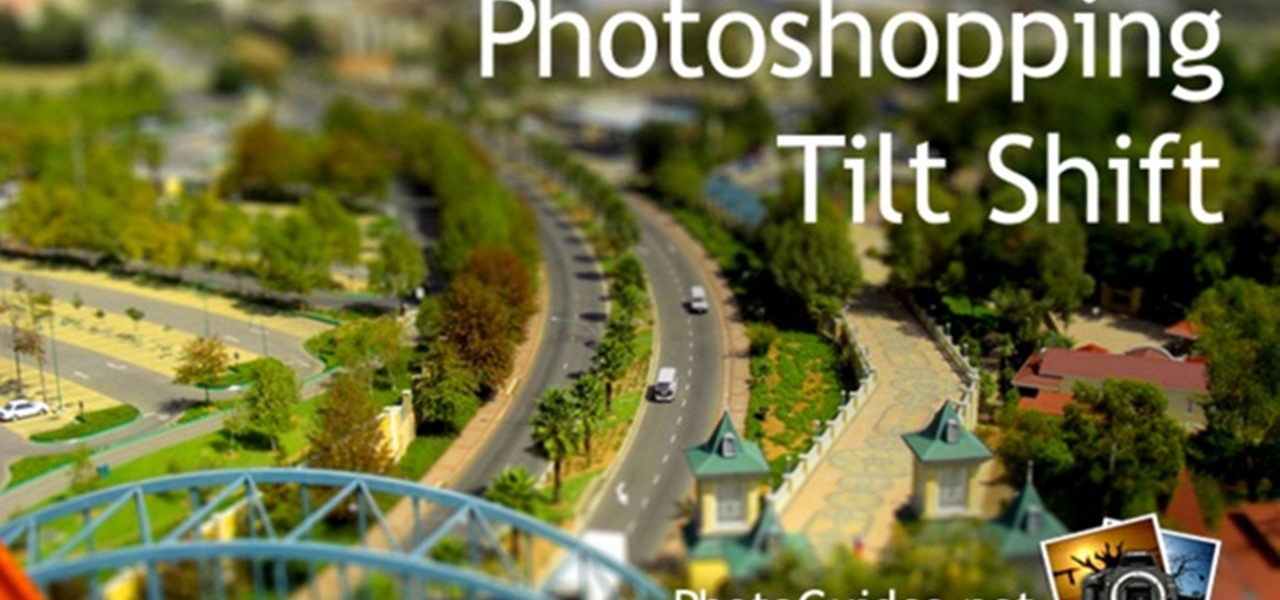
1. To make tilt shift take one picture which is taken from high angle with any content like car and buses. Now open the picture in Photoshop and change it to quick mask mode to create and edit the selection.

How To: Easily make frames and borders in Photoshop
This video lesson will show you how to easily make frames and borders in Photoshop. Yanik from Yanik’s photo school presents this video. It’s really easy and fun. Go to select -> all or ctrl+A. Then Go to select -> modify ->contract. Put in the amount of pixels you want your border to be and click OK. 75 may be suitable for most pictures. Then Go to select -> inverse. Now you go into quick mask, ctrl+Q or click the appropriate icon. Click filters -> filter gallery and select the type of effec...
How To: Change an object's color in Photoshop
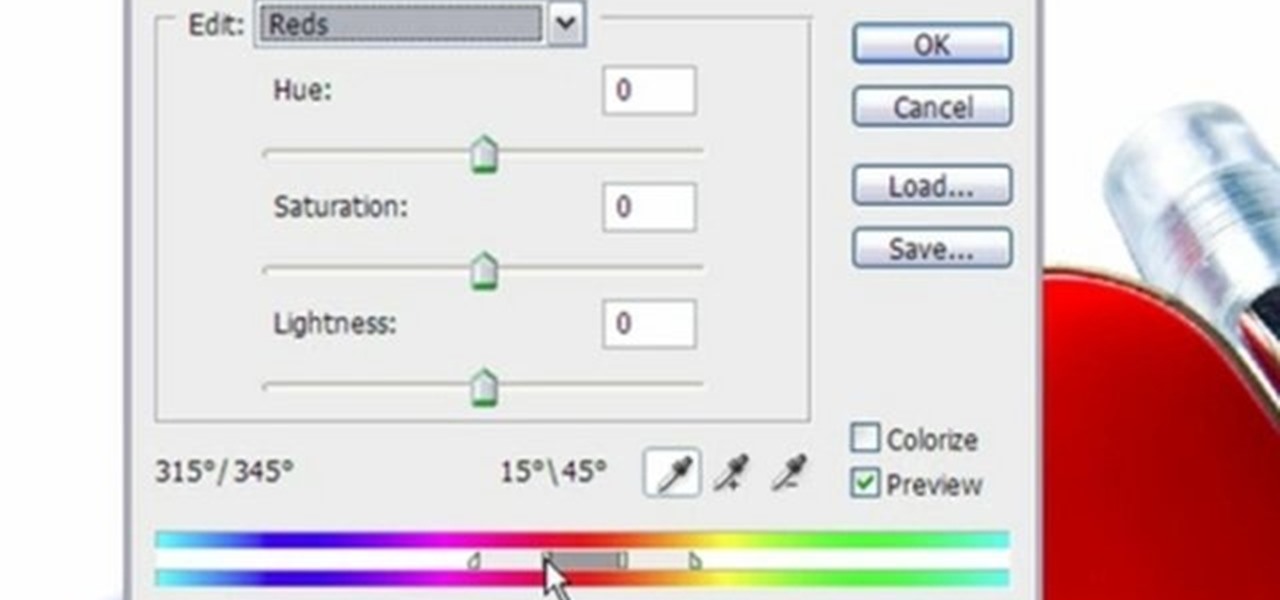
This video shows three ways to change the color of an object in Photoshop. The first method is of hue and saturation. Go to 'Image' & 'Adjustments' and choose 'Hue/Saturation' or press Ctrl+U as shortcut. Go to Edit and choose the color you want to change. As you select the color, a grey bar appears in between the rainbow bars at the bottom representing the color you want to change and the feathering which it will cause. You can change it by sliding it outwards. Slide the 'Hue' slider to chan...
How To: Convert color to black and white images in Photoshop
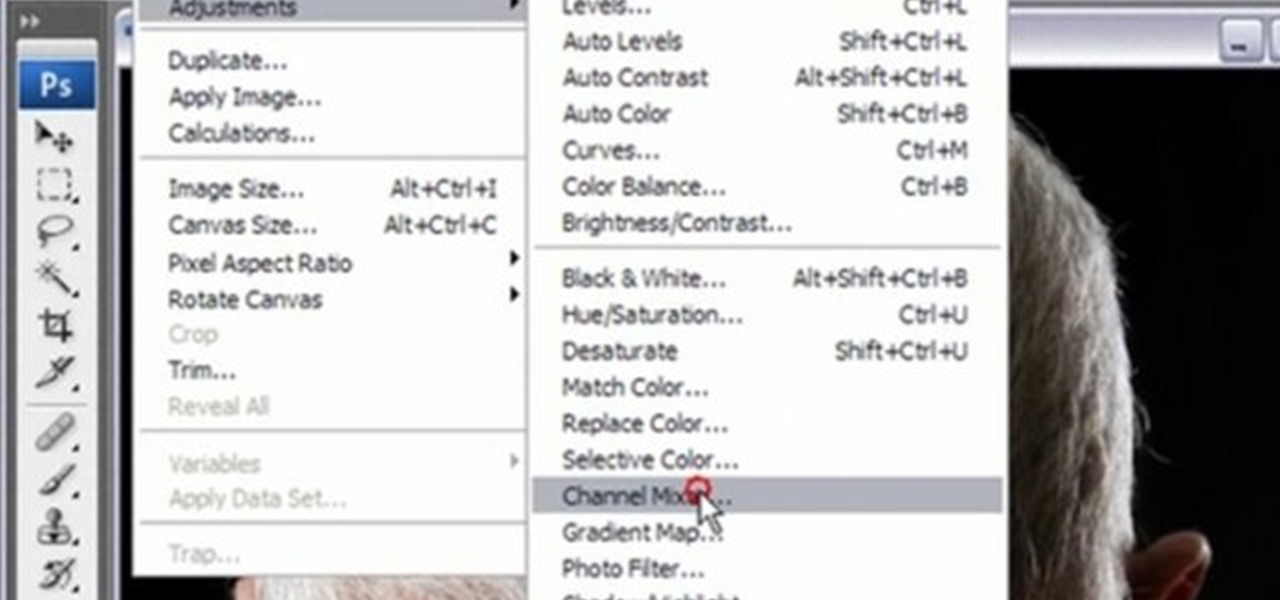
You can convert any color photo to black and white photo. In Photoshop CS3, There are 4 ways to do it.
How To: Make the Photoshop CS3 icon in Photoshop
Advance Photoshop shows viewers how to make the Photoshop CS3 icon in Photoshop. First in Photoshop go to File and then click New. Make a new blank at 500 x 500 pixels. Go to your layer button and create a new layer. Next, go to your rectangular marquee tool, hold down shift, and make the rectangle slightly smaller than the canvas itself. Set it from foreground to background and change the background color to a dark blue, enter 15396F for the color. Click on foreground color and enter 3070CA ...
How To: Dodge and burn non-destructively in Photoshop
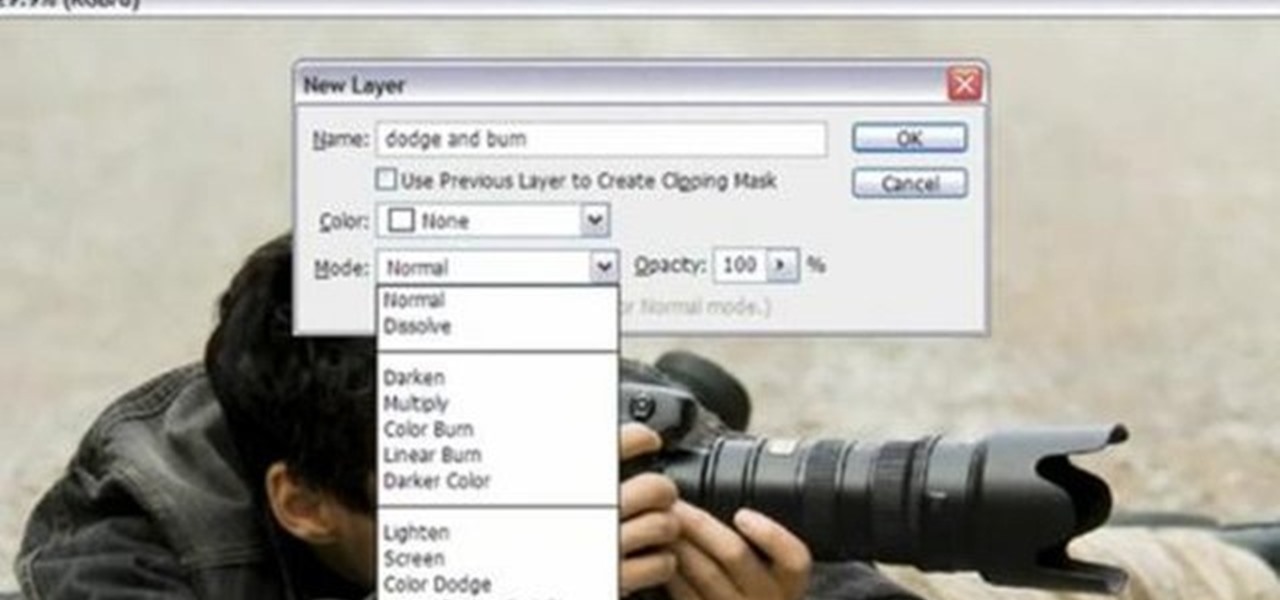
Yanik Chauvin demonstrates how to do Non Destructive Dodging (lighten) and burning (darken) of images using the tools in Photoshop. He shows the image of a man lying on earth with his camera. To start the work he wants to make a new layer which can be done in two ways either by clicking on the ‘layer’ button on top of menu or by pressing down the alt key and clicking on the new layer at button of the layer palette. It will bring up the dialogue box. He named it “dodge and burn” and from the l...
How To: Add motion to an image in Photoshop
Adding motion to graphics using Photoshop can create an exciting and dynamic effects. Select a picture you want to add motion to. First, duplicate the background layer. Then under Filters, select blur, and then select Motion Blur. Then you set the angle of the Motion Blur. You can select any direction and also set the intensity of the blur by setting the distance setting. Then you will need select the eraser tool and select under Options select the brush. Chose a soft edge brush and erase ove...
How To: Change eye color in Photoshop
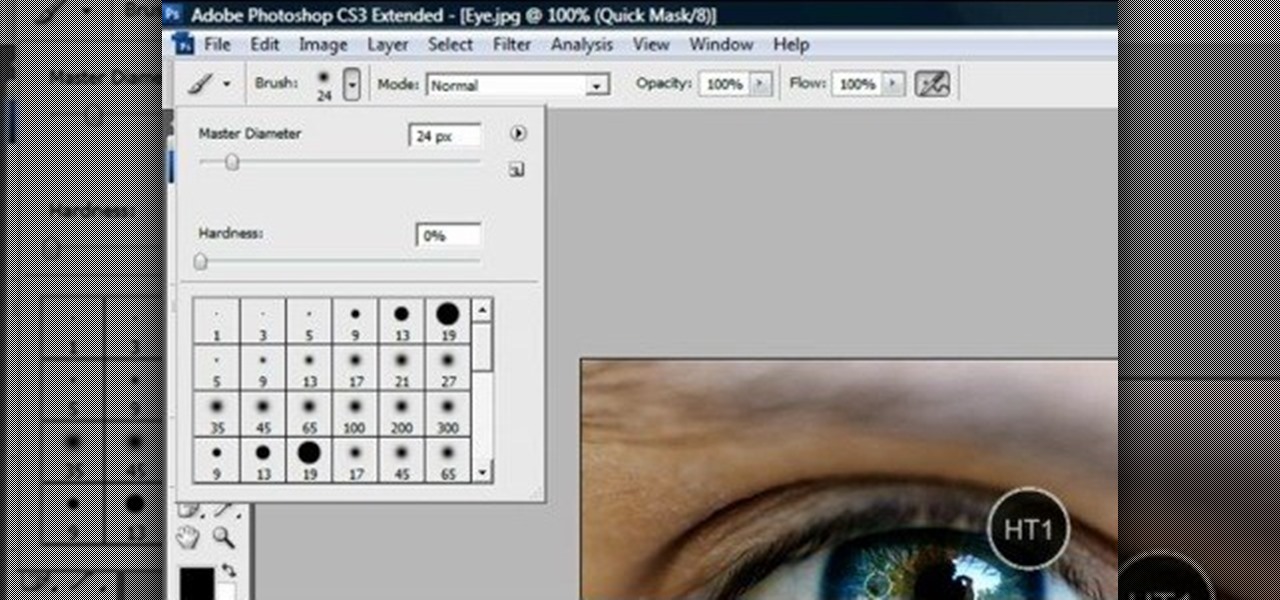
This video shows “How to change eye color in Photoshop CS3” First open the eye picture you want to change. Now select brush tool by
How To: Design a car license plate in Photoshop
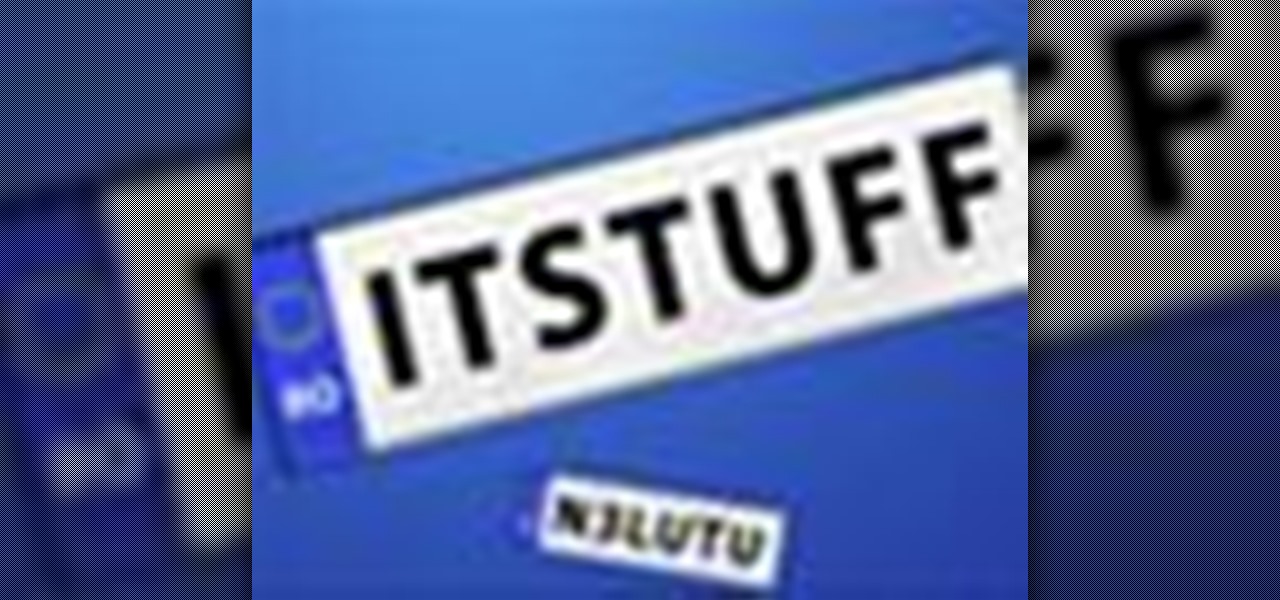
In this video you will learn how to design how to create a license plate in Adobe Photoshop. To do that that just follow these instructions: Create a new file with 1000x1000 px. Then create a new layer, pick a white color and make a rectangle with the rounded rectangle tool. Use the Rectangular Tool to create a new rectangle on a new layer like in the video. Now color the rectangle and merge the layers. Add the effects for the layers and make a new layer to create the stars for the license pl...

How To: Put eyeshadow on someone in Photoshop CS3 and CS4
This video describes how to put eyeshadow on someone in Photoshop CS3 and CS4. 1.First open the Photoshop CS3 or CS4 and open your image in which you want to put eyeshadow.
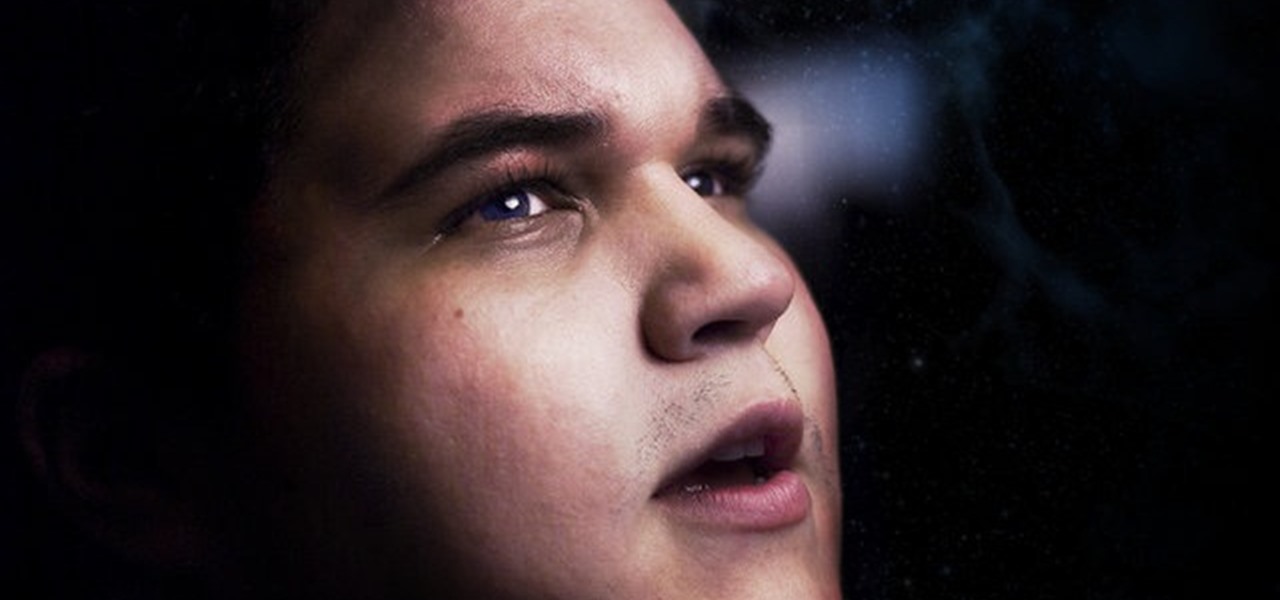
How To: Create a dramatic portrait in Adobe Photoshop
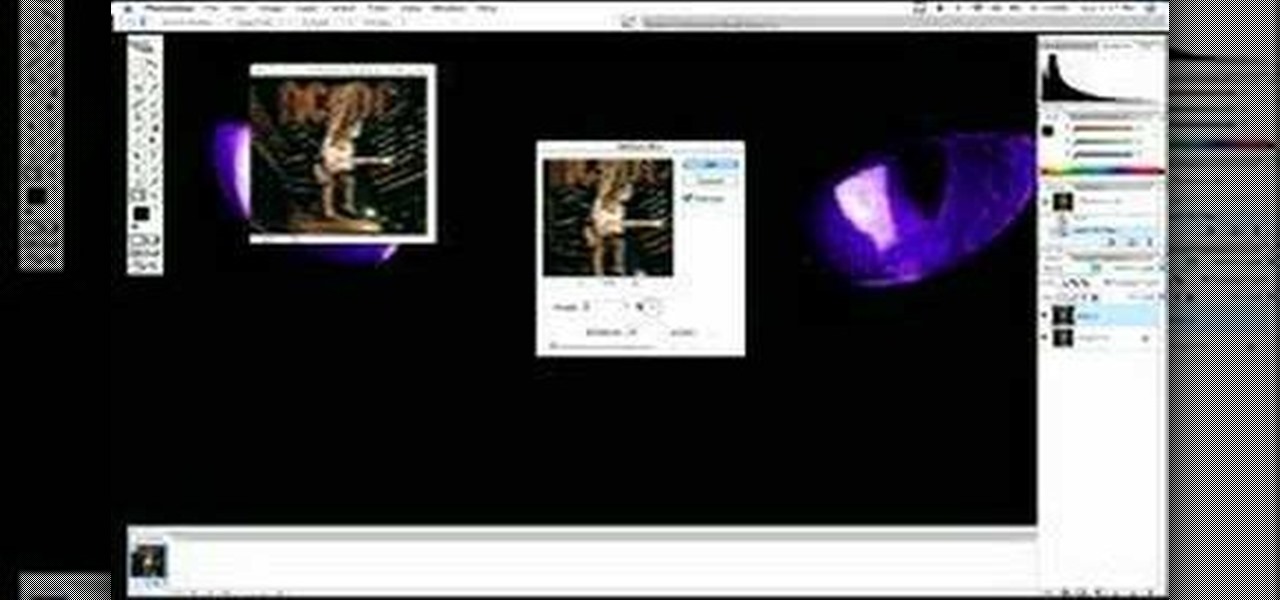
This video focuses on dramatic portraits in Adobe Photoshop. Create a dramatic-looking portrait taking a picture that you already have, maybe something that's in an interesting pose, in Photoshop using lighting effects to manipulate the way it looks, making it unworldly and stellar.
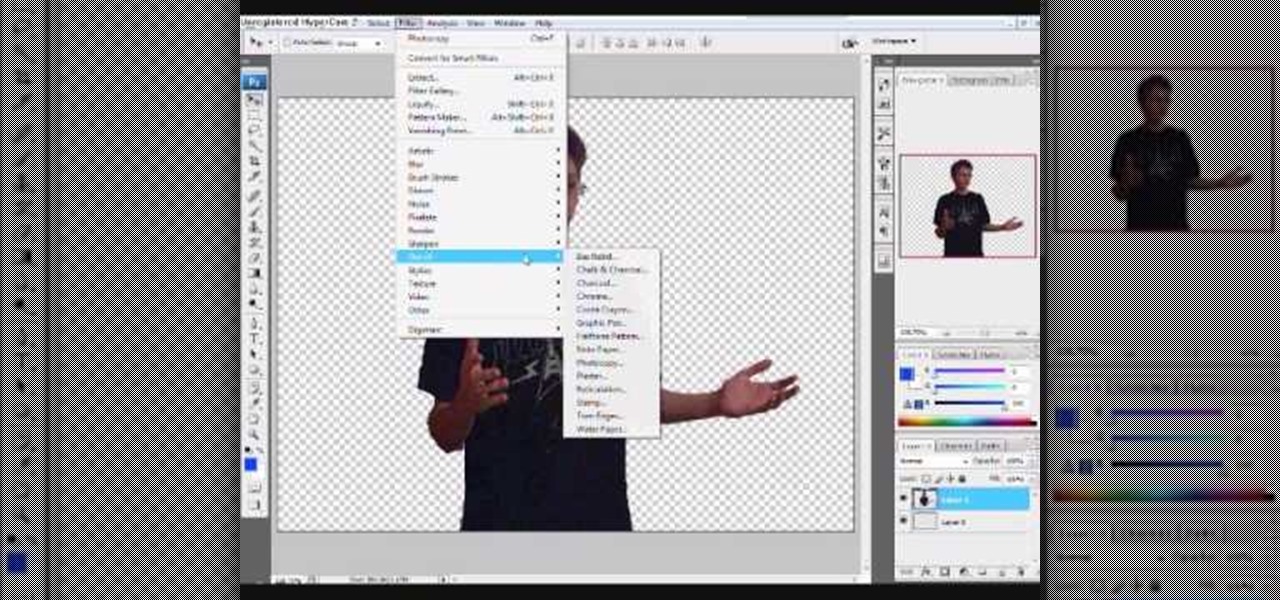
How To: Apply the 'Tom Goes to the Mayor' style to an image
This is an animation style which takes real pictures and outlines it to make you look almost cartoon-like. To start with you want to take a picture and get a cut out of the subject with the background transparent. Then get yourself a nice color for the outline and go to filter, sketch, and photocopy. This will look roughly like a colored outline of the subject but then you want to add some more touches by adding detail (usually around 3) and darkness (around 35 is nice).

How To: Design a wax seal in Photoshop
This video is an instructional video to teach people how to create a wax seal in Photoshop. It helps users understand how to use different tools as well as layers to create the seal. It shows exactly what color to use and how to pick that color. It also shows the steps to creating the wax texture at a good pace so it's easy to follow. It teaches how to use textures to create pieces, and it works a lot with the pen tip and selection tools. It also shows how to insert pictures into a design suc...
How To: Make a logo in Photoshop CS
This video will teach you how to create a basic logo in Photoshop CS3. In order to create a logo you need to follow this simple steps: 1. Go to File -> New and create a new document with the width and height 500 px. Set the RGB Color and the background transparent. 2. Fill the background with a black color. 3. Create a new layer and create a perfect circle. 4. Select Blending Options and Gradient and use a light red color to fill the circle. Add the text and use some effects for it. The video...
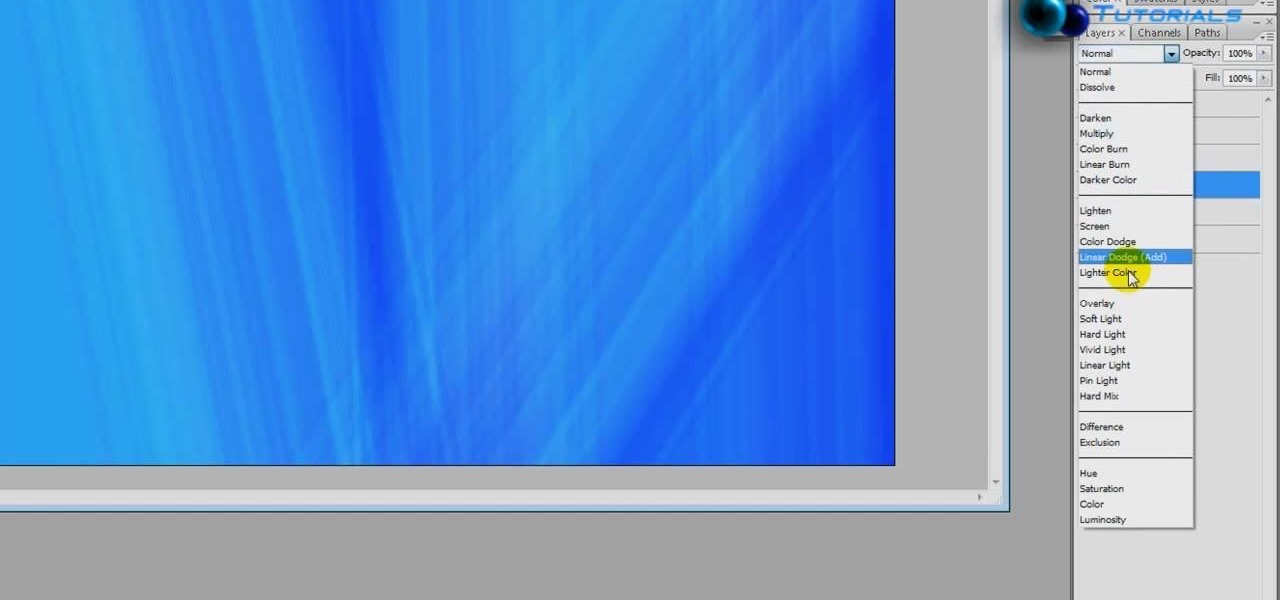
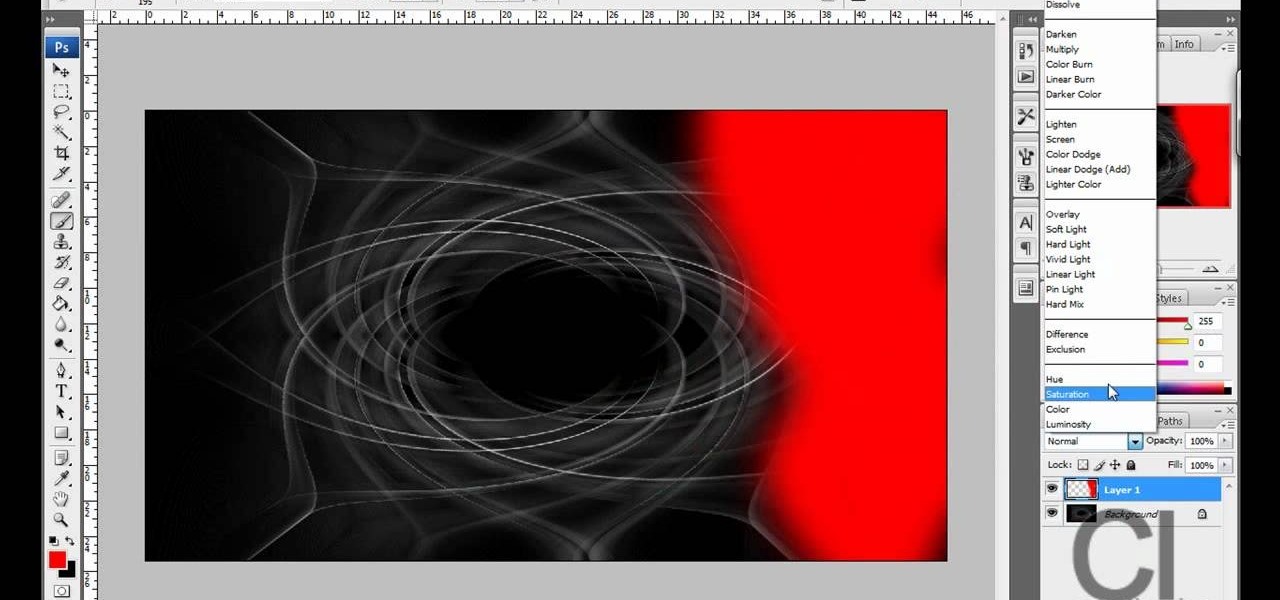
How To: Create a crystal effect look in Photoshop
The video opens up with an introduction from the video sponsor, "Godly Tutorials. It then goes to a screen displaying the basic Photoshop screen. Once there, he opens up an image that is completely black. After that he opens up an image editing window that displays the color scale and also displays various effects. He then picks one of the crystal like effects displayed in the window as well as a color described as baby blue. Once the he changes the layer and adds another crystal effect to th...
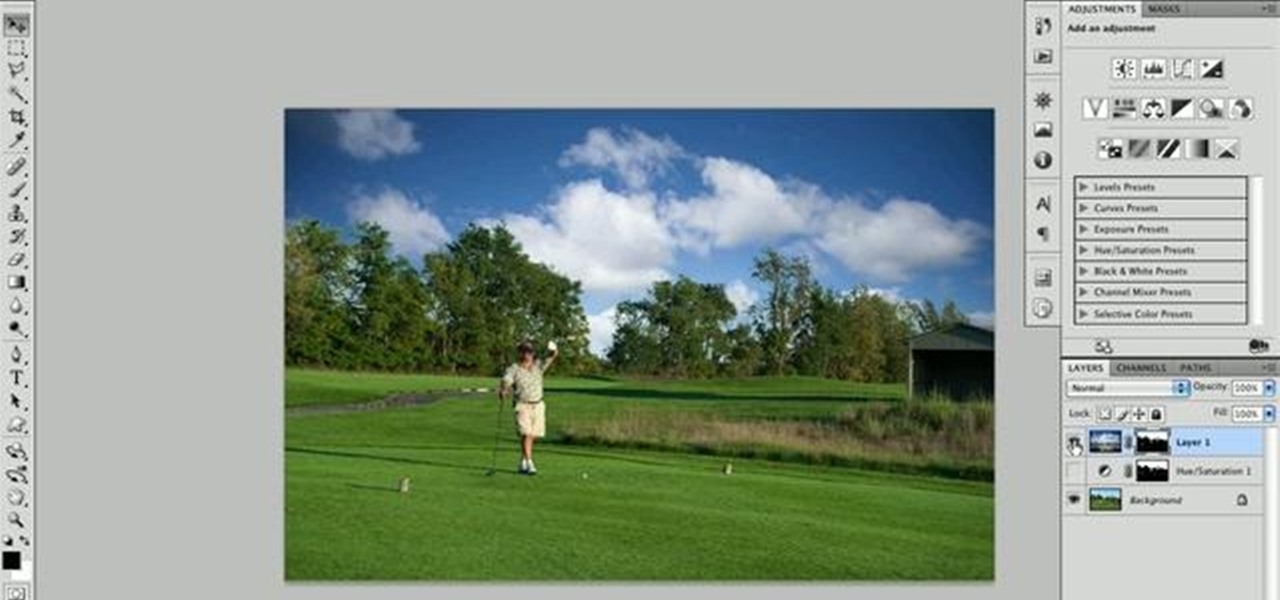
How To: Do sky replacement in Photoshop
Nick from Greyscale Gorilla shows you a few simple methods to replace a boring sky with one that is more visually interesting. Using various selection tools you can be your own manipulator.

How To: Design a chocolate effect in Photoshop
In this video you will learn how to create a chocolate effect using Adobe Photoshop. In order to do that, just follow these steps: Create a new file with 1000x1000 px. Then create a new layer, select the Shape Tool and create a heart with a brown color for the chocolate. Then add the same effects just like in the video in order to get the same result. The next step is to add the text. For the text use a large font and a light-brown color. If you correctly follow these instructions, the result...

How To: Design casino chips in Photoshop
ITStaff teaches you how to design casino chips in Adobe Photoshop. You start off with a white or grey circle which will be the chip itself. You need to start decorating this so you create five trapezoids and space them equally from one another. Give them a dark red color. Next you create a red circle in the middle, touching the bases of those trapezoids. Add a crown or a symbol created or from the Custom Shapes menu. You also need to create a value so type in a number and add the dollar sign ...
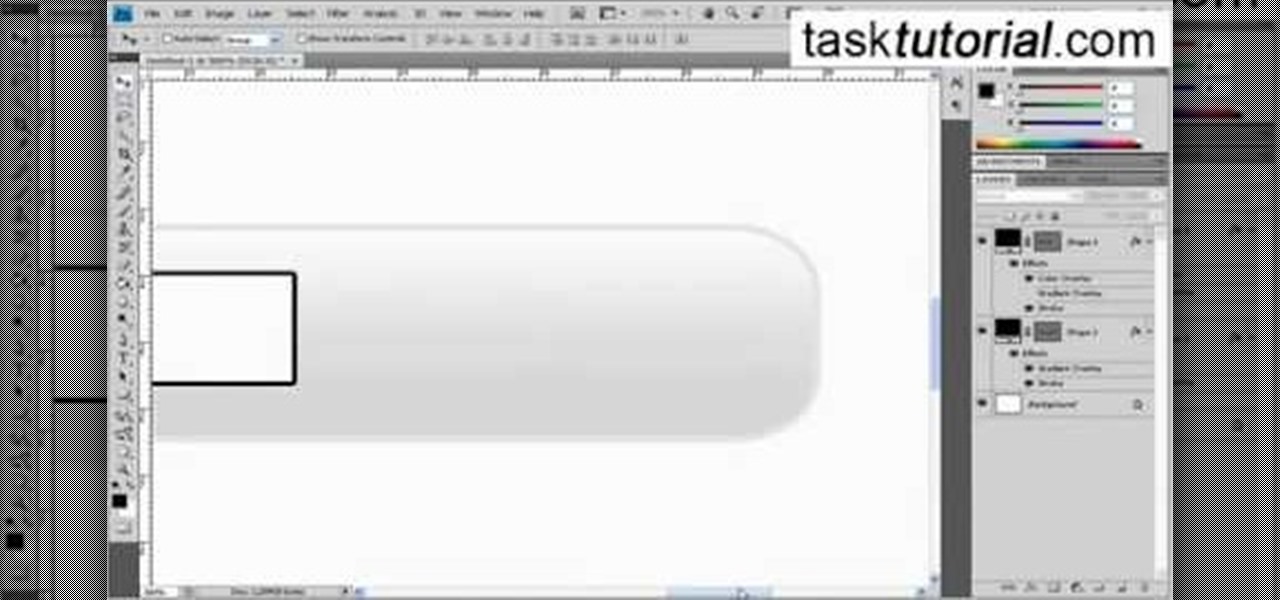
How To: Create a search bar in Photoshop
This video shows how to create a search bar in Photoshop. To begin creating a search bar you must select the template and start with a black page. The following step include choosing the color you wish to apply. The instructor explains that you must manually make your tool bar by hand and the pixels set to option five. The final step includes turning on grade in to show the program that what you are creating is an actual tool bar.
How To: Design a video game military logo in Photoshop
Call of Duty? Nope. SOCOM: U.S. Navy SEALs? Nah. Battlefield: Bad Company? Think again. This isn't any video game on the market, this is your own video game, well… your own video game logo - military-style.
How To: Make a colorful abstract background in Photoshop
CreativeIceDesigns teaches you how to make a colorful abstract background using Adobe Photoshop. Go to File - New and make it 1280 x 720 pixels. Make the background black. Use the Lasso tool to make a star shape and fill it with white. Go to Filter - Blur - Radial Blur, amount 100%, zoom best. Go to Filter - Radial Blur. Then Filter - Stylize - Find Edges. Press CTRL + I to invert. Go to Filter - Distort - Twirl - 300 and press OK Duplicate this layer. Go to Filter - Distort - Twirl and choos...

How To: Create a dreamy effect in Photoshop
The video shows us how to create a dreamy effect in Photoshop. Firstly load the image in the Photoshop and then unlock the layer by double clicking on the layer, press unlock and OK. Now make sure your background and the foreground are black and white respectively and if it’s not then press D and it will reset. And then go to filter, click on distort and select diffuse glow. Here you put graininess as zero, glow amount as 6 and clear amount as 19 and press OK which will make the glow with lig...
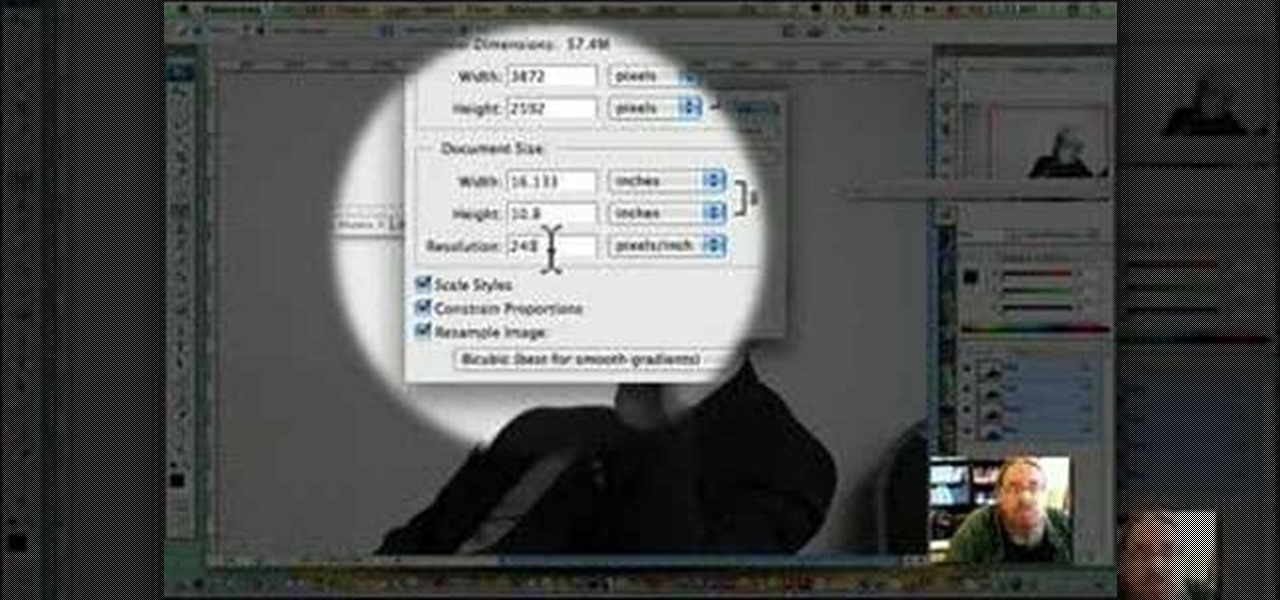
How To: Use Photoshop to resize an image
This video will show you how to resize an image using Photoshop. Select the image you would like to resize and follow these steps: See what size your image is by clicking on "image" and "image size". Play around with your resolution, and see what happens. Uncheck the "Resample" option and not how your pixel dimensions stay the same. Select the size you want your image to print, and check the "Resample" option. If you click on "print size" you will be able to see the actual print size on your ...
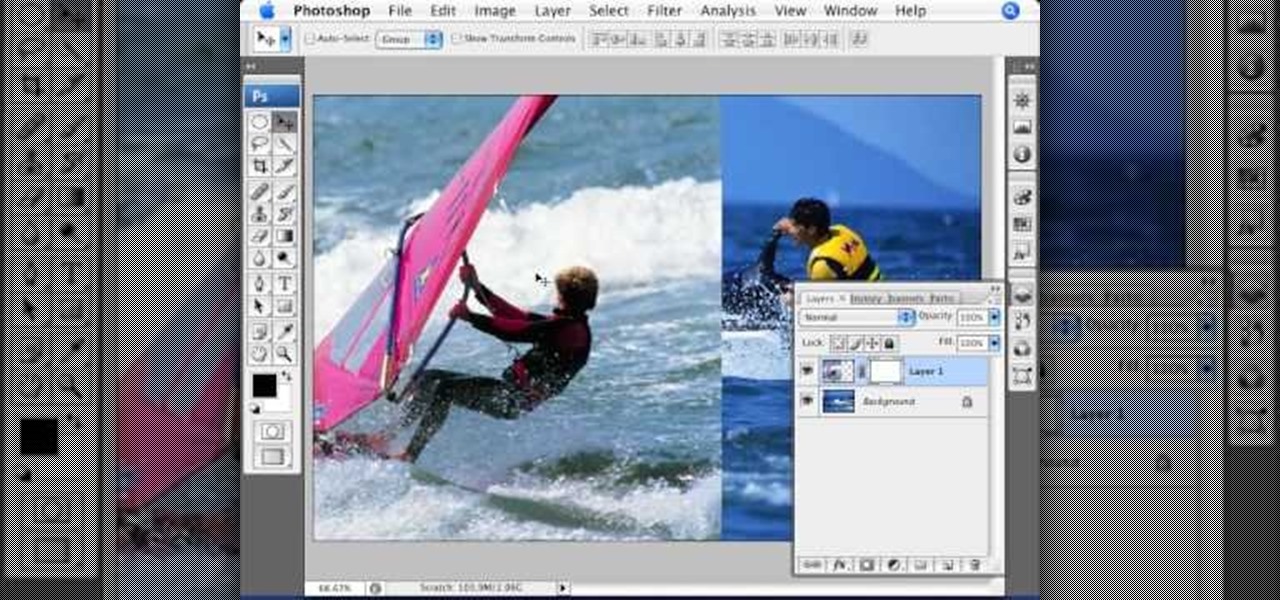
How To: Blend images together in Photoshop
This video tutorial by photoshopuniverse teaches you how to blend two images seamlessly using Photoshop. For this you need two or more images that need to be blended together. Using the move tool in Photoshop move one image over to the other image. Open the layers window and make a layer mask as shown and select the gradient tool making sure the colors are white on black and connect the two images as shown. Using the brush and the opacity at 50% reveal the parts of the image that need to be c...
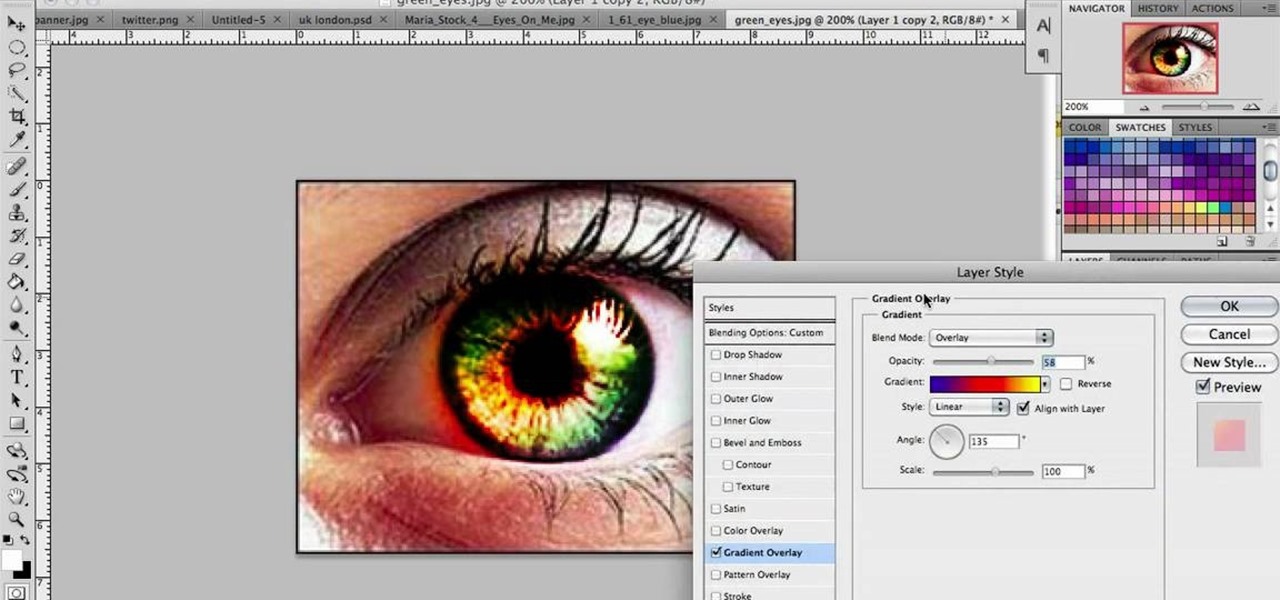
How To: Make cool green eyes in Photoshop
In this video we learn to make green eyes in Photoshop. According to this video, it is very simple to change the color of eyes and make beautiful eyes. First, we zoom in on the eye and with the help of the pencil tool. We select the border of the eye. Then we right click on the selected portion and select "make selection," then using Ctrl + C we copy the selected portion and use Ctrl + v. We can paste the selection on the right hand side. Then, on copied layer we select the gradient. After, o...
How To: Simulate snow in Photoshop
Learn how to simulate snow in your photograph in this video tutorial by photoshopuniverse. For this you'll need a photo depicting winter scenery. Add a new layer, fill it in with black, go to filer noise and add noise as shown using the given amounts. Go to filter effects and add blur to the layer. Go to images and adjust the levels to reduce the snow-flakes as shown. And add some motion blur to it. Change the blend mode to screen, duplicate the layer, rotate the new layer, apply the filter c...
How To: Create a lomography look in Photoshop
This video demonstrates a way to use the lomo effect on pictures in Photoshop. The effect makes colors stand out more, thus making the picture stand out more. The first step in adding the lomo effect is to change the color curve levels of the picture by going to Image > Adjustment > Curves in Photoshop. They should be changed very slightly, from a straight line to a slight "s" shape curve. After this, the gradient map should be changed to a black to white gradient. Finally, the mode of the ne...
How To: Create a transform effect in Illustrator
This video takes us through the procedure of creating a transform effect in Illustrator. First, choose a rectangular box and fill color in it. Input some text inside the box. The font and the color of the text can also be changed. Then position the text properly. Make a group of the shape and text. Now go to effect and choose transform. Transform is a very powerful effect which lets us create duplicates. Now select the number of copies, for example, one copy. Select preview. Now set the point...
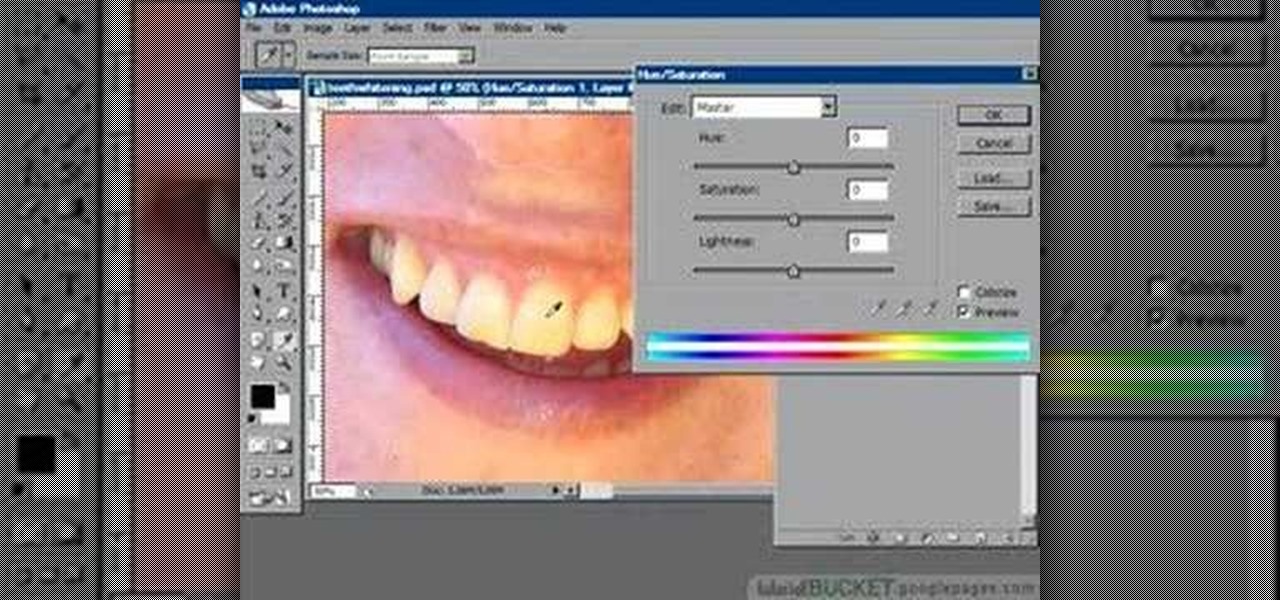
How To: Make teeth whiter in Photoshop
You know that you can edit almost anything in PhotoShop but did you know that you can make your teeth look dramatically whiter with just a few PhotoShop tweaks? Watch this video to learn how to select the teeth that you want to whiten and then how to adjust the hue and saturation of your teeth. Teeth tend to give off a yellow cast in photos even if they are not yellowish in person. You will need to leave a little bit of the yellow to keep your teeth natural looking.
How To: Use white balance & automation in Photoshop
In this Photoshop tutorial the instructor shows how to automate white balance. Normally there is a good chance that a group of photos were taken in a particular environment and if there was a white balance defect it would have affected all those pictures. So you will need to automate white balance correction to apply it to all those pictures at the same time. Take a group of photos which has white balance so that you can apply the technique on them. To do this go to Window actions and create ...
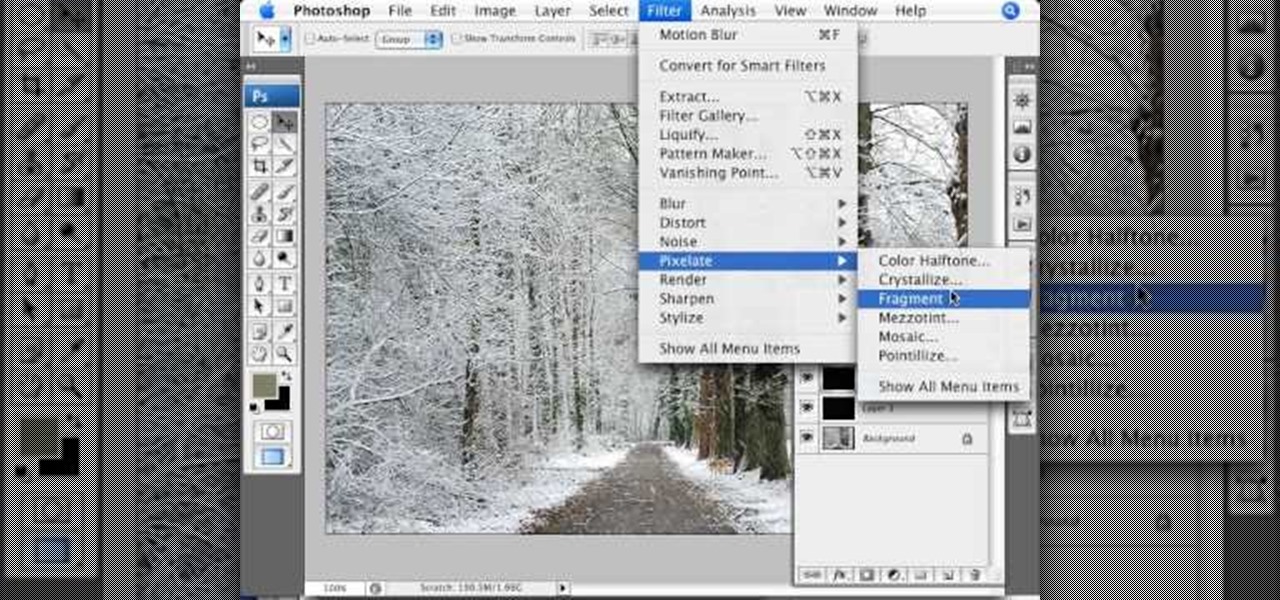
How To: Create a digital pixel effect in Photoshop
Ever wondered about those digital effects in advertisements having some parts in pixels? Let's try it. Open Photoshop and take a picture. Duplicate its layer and on the new layer,select it and go to filters->pixelate->mosaic. Then you can mask the new layer with having some parts in blur and the other one's in focus or can use gradient. You can lighten or darken the mask layer for better output. This helps in creating unique styles and digitize your world.
How To: Do selective desaturation in Photoshop CS4
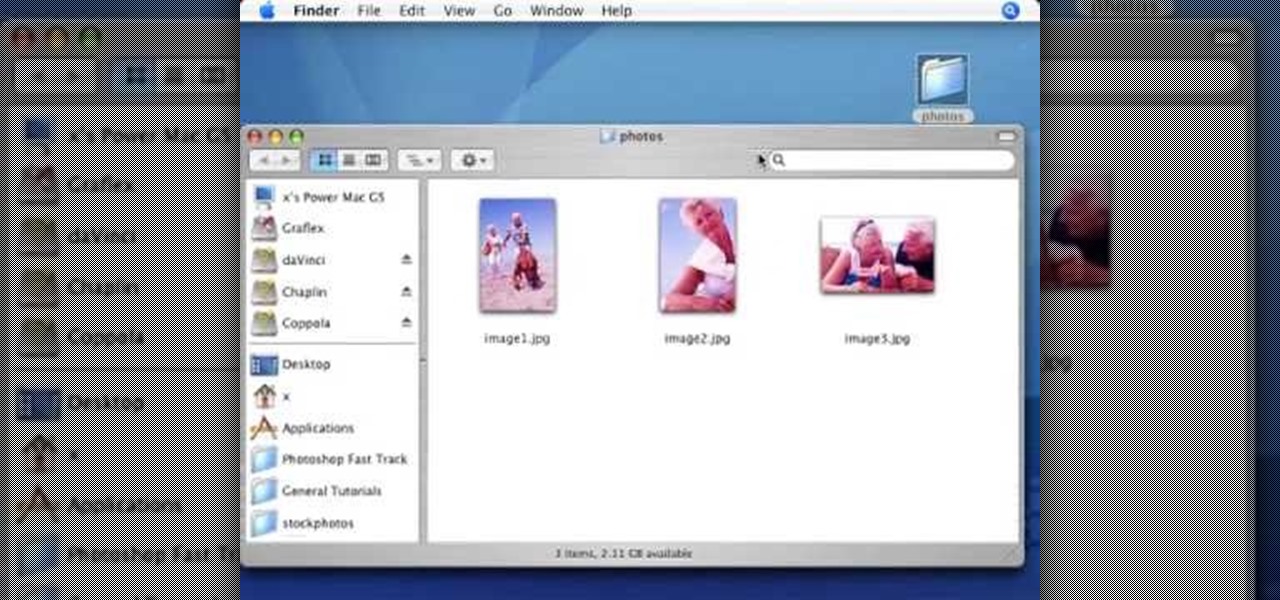
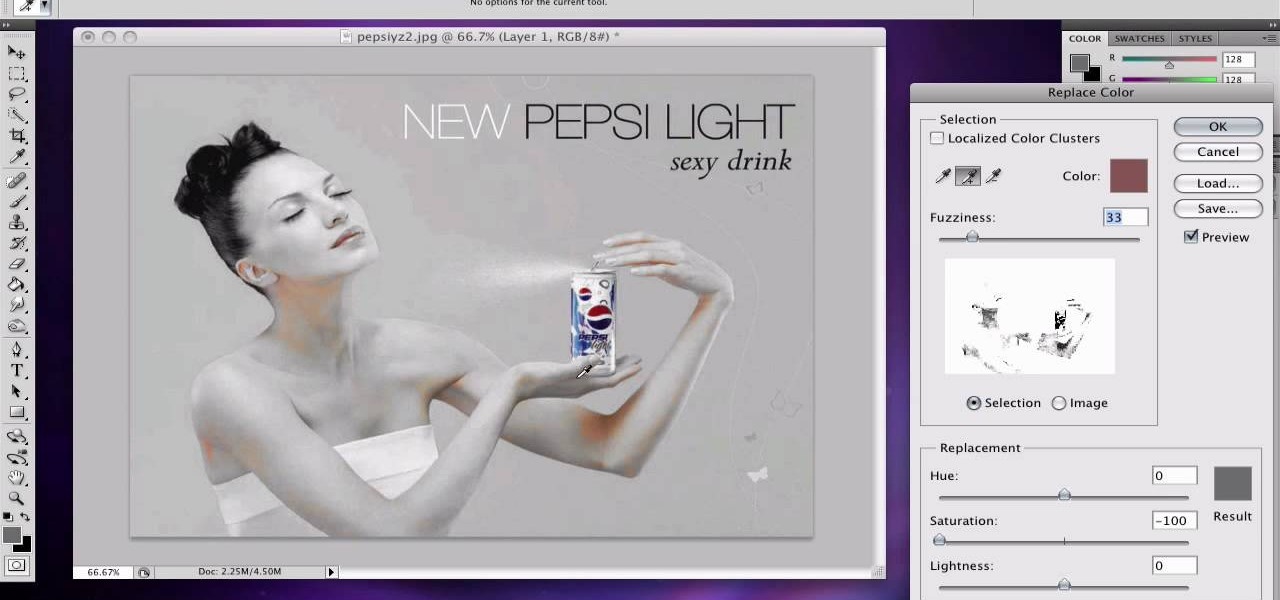
If you want to learn how to do selective desaturation in Photoshop CS4, you should watch this video. Go to File and choose Open. Open the file you want. Go to Image, select Adjustments, and then Replace Color. Select the second droplet or the droplet with a plus sign. Increase Fuzziness, say 106 but you need to decrease Saturation. Set Saturation to -100. Click on the image except for the selected part that you want to have a color. Decrease Fuzziness to know the parts that you need to click ...
How To: Make an animated MySpace banner in Photoshop CS3/CS4
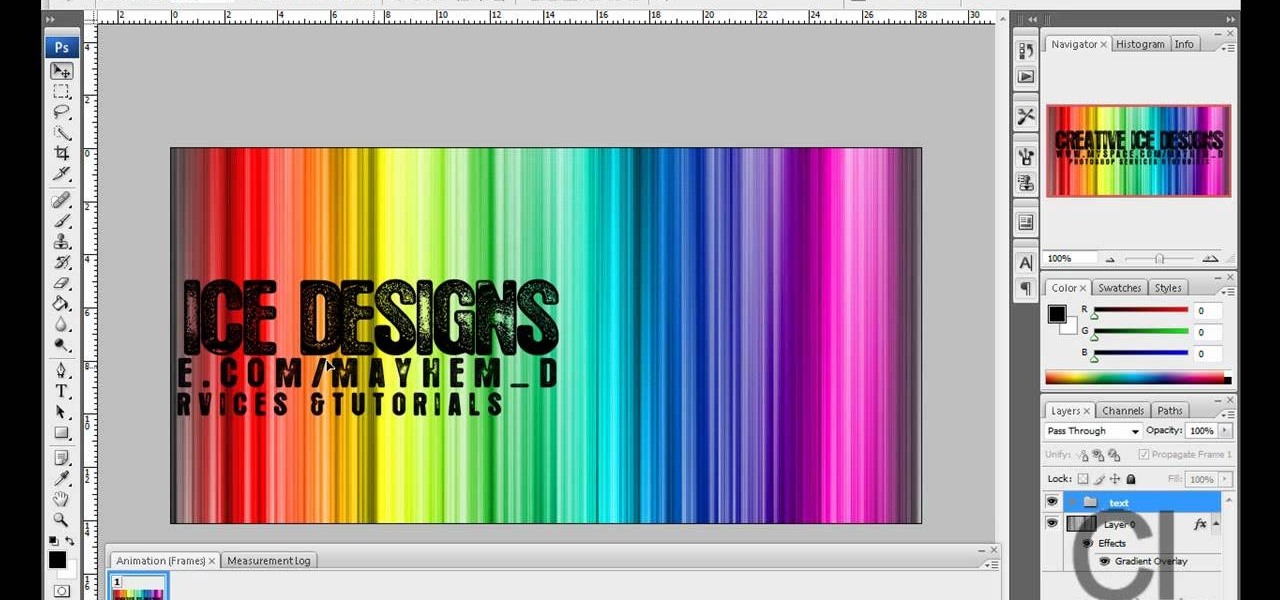
CreativeIceDesigns teaches you how to create an animated banner for MySpace using Adobe Photoshop. After you've finished your static banner in Photoshop, go to Animation. You must be using Frames for this. You can make a new empty frame after the original one and it will make the banner flash. You can also make a new frame and starting from the old one create a movement. You set the speed and the delay. Select both frames and select Tween. In the end you need to go to File - Save for web and ...
How To: Create a speech bubble in Photoshop
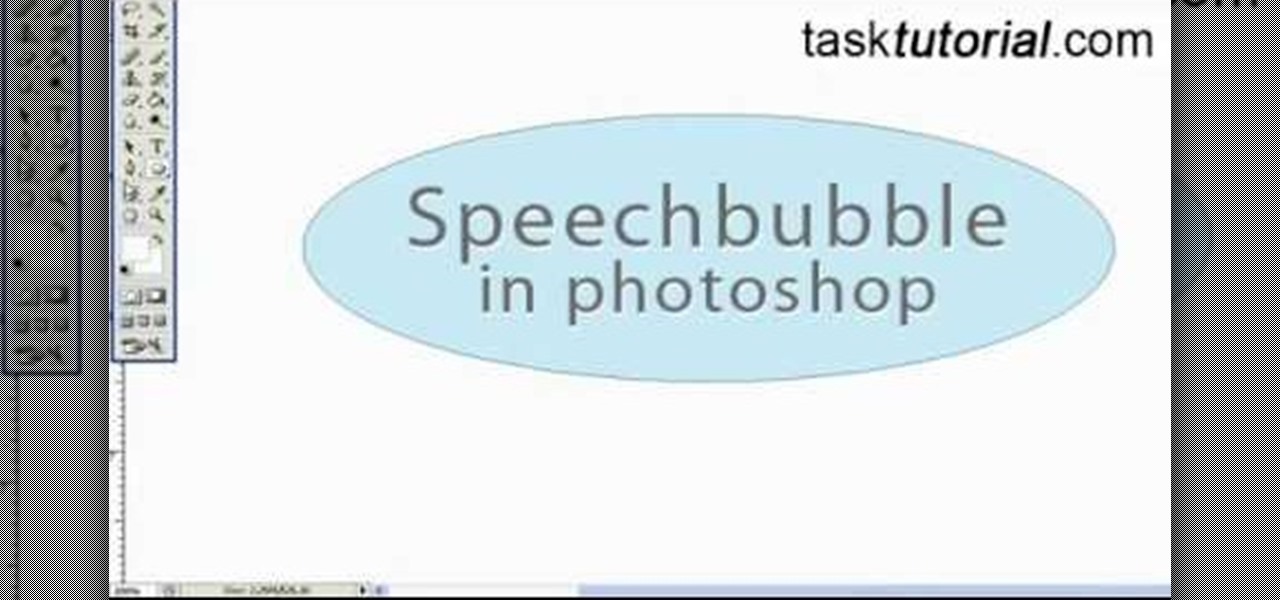
In this Photoshop tutorial video from Tasktutorial, the host leads you through the process of creating a speech bubble in Photoshop. As you watch this video and follow along with the host, you will learn how to create a speech bubble, like they use in the comics. You will also learn how to add color and blur effects to it, to give it a more three dimensional feel, as well as how to use the stroke effect to give it that comic book outline when you're done.
How To: Get free 3D models that come with Photoshop CS3
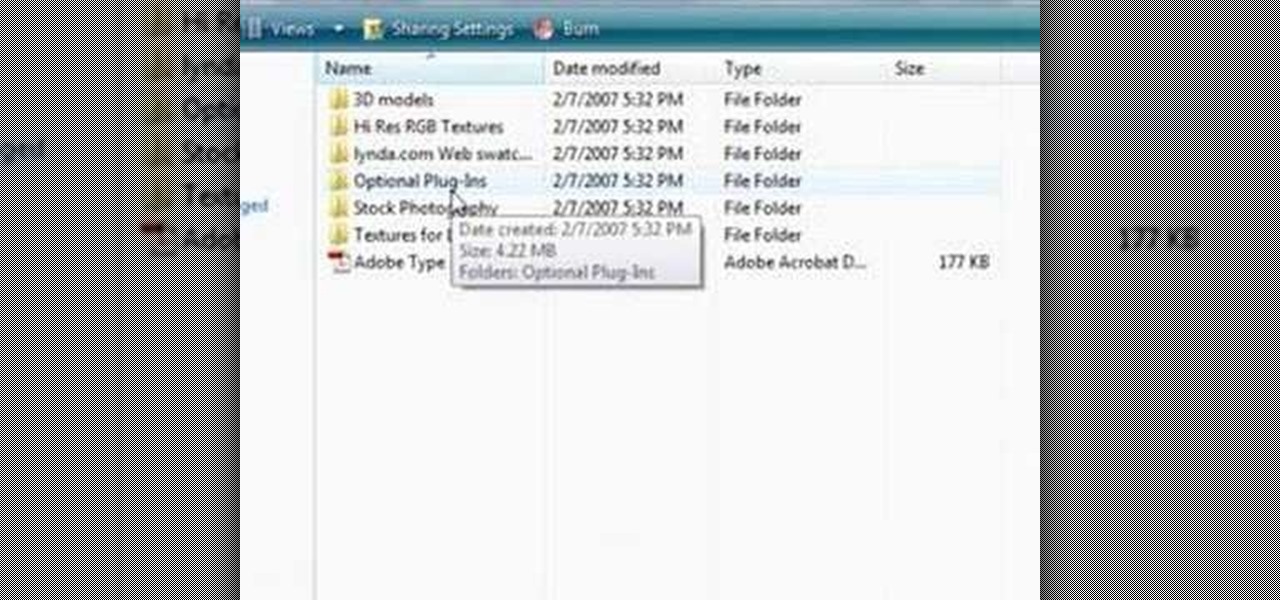
In this video, viewers learn how to create 3D models using Adobe Photoshop CS3. This is a fun and easy program that actually comes with many 3D objects for users to customize. To access these premade 3D objects, users must go to the Photoshop CS3 Content folder, select the Goodies folder and open the 3D models folder. Users simply select the model and easily open it up in Adobe Photoshop. This video will benefit those viewers who enjoy creating 3D images or animation.
How To: Add line frames in Photoshop
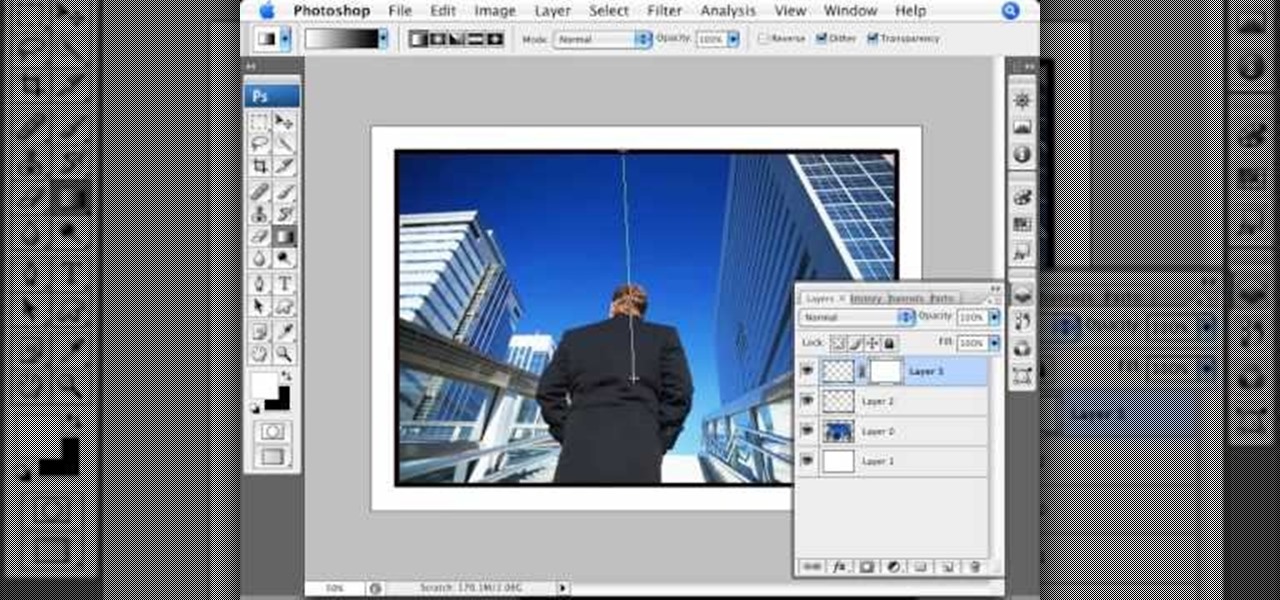
Don't know how to add some line frames in Photoshop? Well, this video teaches the viewers how to exactly add line frames, or borders for their images using Photoshop. First of all, change the background layer into a normal layer. Next, go to image size and add in some more pixels in order to allow room for the border. Next, add another layer and set it to transparent. Now select where you want your border to be, then go to strokes, and select a color. At this point, the viewer should have a b...
How To: Change a person's hair color in Photoshop
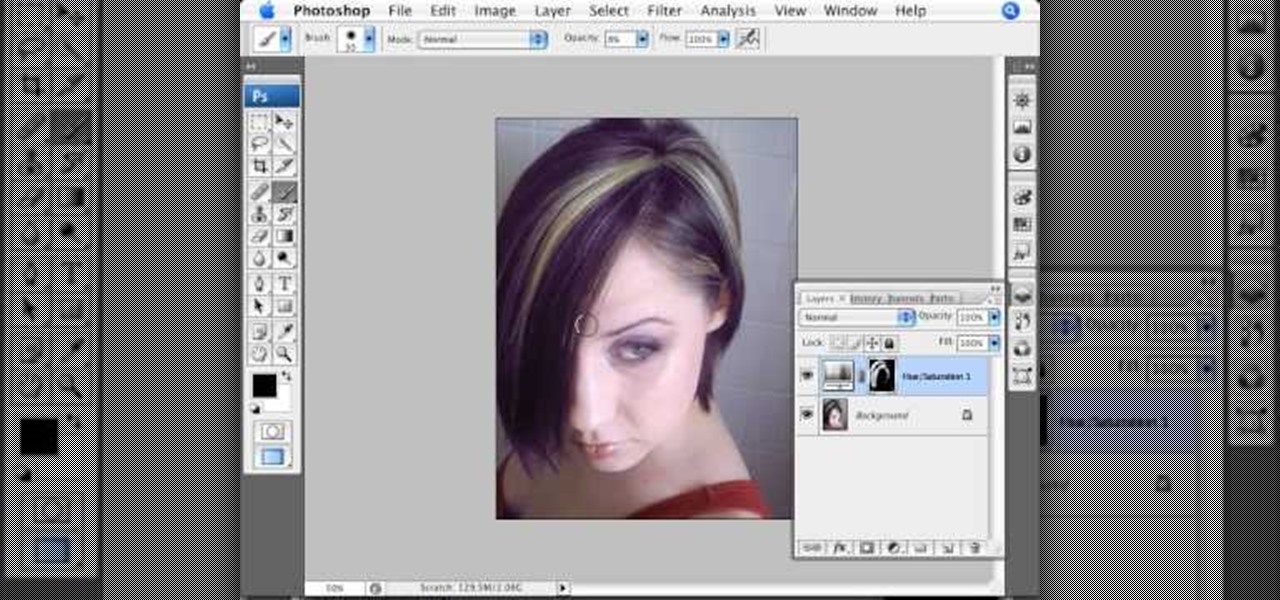
Photoshopuniverse will show you how to change a person's hair color in PhotoShop. You can achieve this by using hue and saturation adjustment layers and set to colorize. Set the saturation to about 50%. Go back to the background layer and select the color range select parts of the hair color, select the parts of the hair you want to change and with the eye dropper click it. Once the selection is made invert the selection the color will change. You can now change the hue to make it what you want.

How To: Make colorful glowing neon lines in Photoshop
In this video the instructor demonstrates how to make colorful glowing neon lines in Photoshop. To do this, open a new canvas in Photoshop of 1280 X 720 pixels. First make the background black. Add a new layer to it. On the new layer, using the pencil in the path mode, make a shape of a neon light, which is basically a curved line as shown in the video. Now go to the brush tool and set the hardness to 100. Now go back to the canvas, use the pencil, right click on the curve and select the stro...

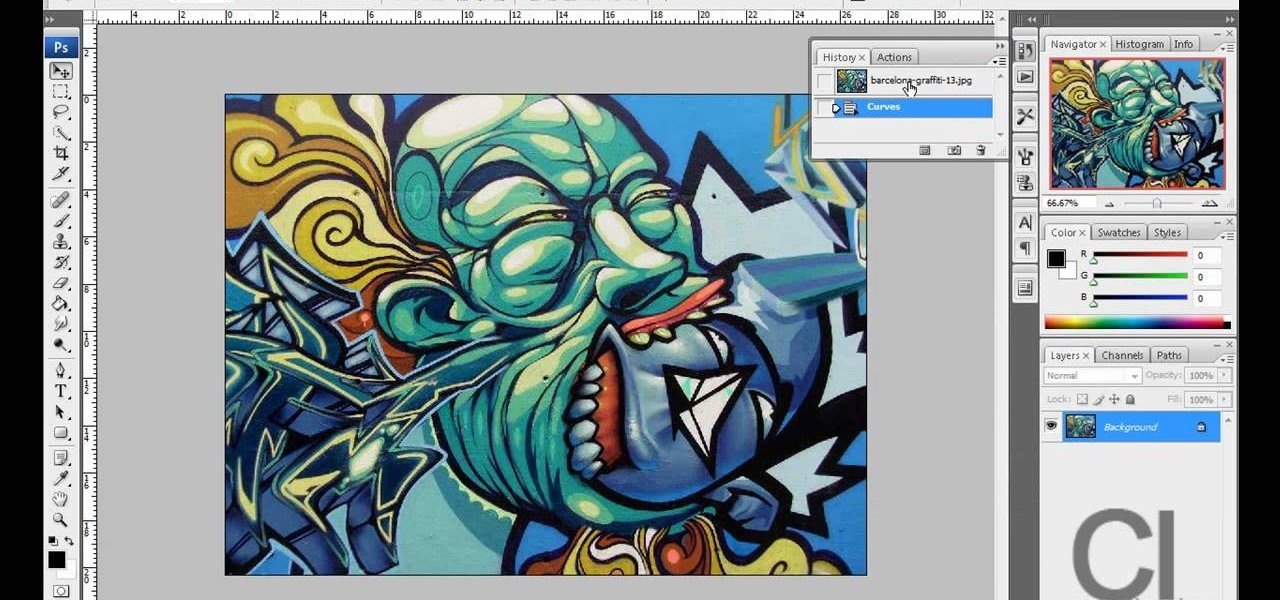
How To: Cross process your photos in Photoshop
Cross processing is a Photoshop version of slide processing. The result would be you get all these weird color shifts. For reasons best known to people who run the fashion magazines, this look became very popular in the 1990s. Start by adding in a curves layer. Add a new adjustment layer for curves. If you've never used curves before it is recommended that you take a curves tutorial first as for this effect we will need to adjust individual color channels. It is not difficult but if you don't...