

Photoshop How-Tos


How To: Apply a grain texture effect using Photoshop
In this how-to video, you will learn how to make grain textures in Photoshop. First, click add layer mask to an open image. Add a filter to this mask and by going to the texturizer option. Adjust the settings to your liking. Click okay to continue. The mask will make the texture transparent. Go to image adjustments and levels to adjust the intensity of the grain. Click okay to save the settings. Select the layer and then choose the color you want the grain to be. Make sure to lock transparent...
How To: Resize a basic image in Adobe Photoshop CS5
1. First of all you need to have a folder containing stock of various photos downloaded from the internet. The width of these images is ‘780’ and you need to resize them to ‘550’.
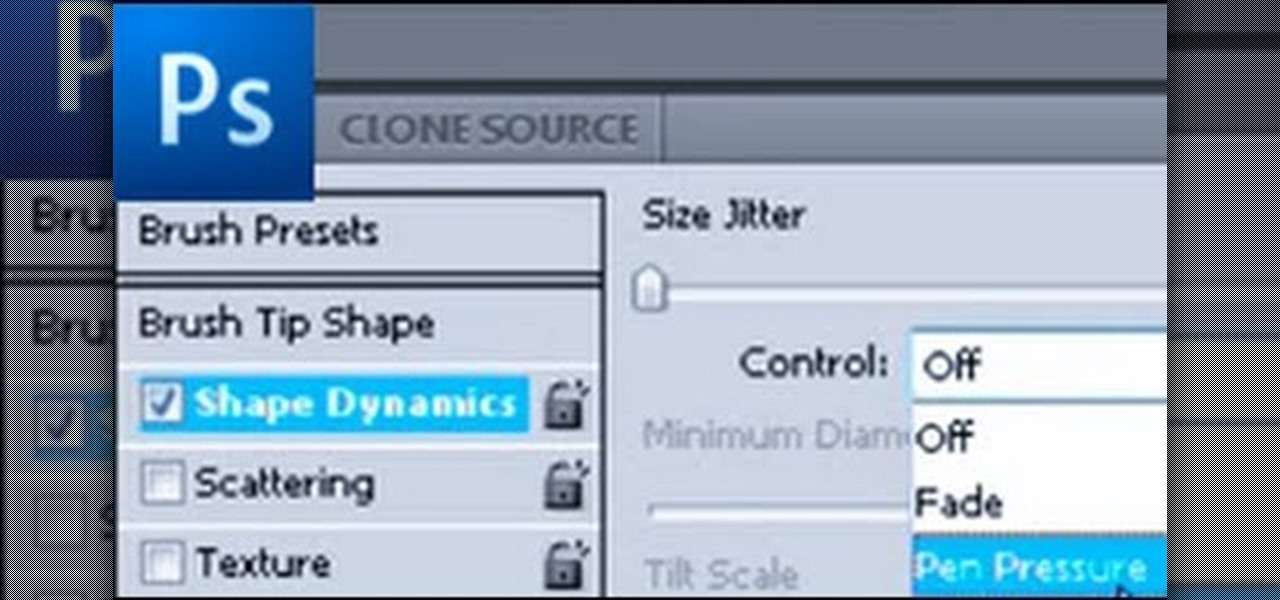
How To: Use a drawing pad in Photoshop
In this brief instructional video sponsored by River City Graphics, the host teaches you how to use the Whack-em Bamboo drawing tablet with Adobe Photoshop software. He begins by showing you how to change your pen's pressure, allowing you to get a thicker or thinner line depending on how how you push down on your pen. He also shows you how to change the color and make your pen give your project a beautiful color gradation, also depending on the pressure you apply to your pen. This video is ve...
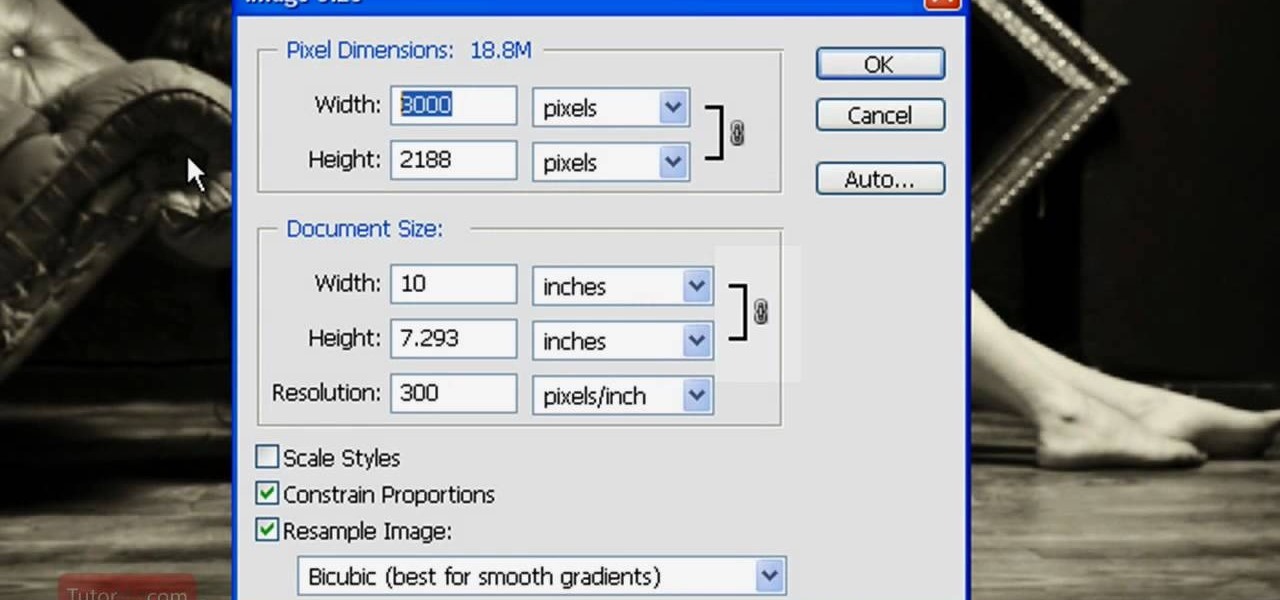
How To: Resize a custom image using Adobe Photoshop CS4
In this Software video tutorial you will learn how to resize a custom image using Adobe Photoshop CS4. Select your image. Click on ‘image’ tab and select ‘image size’ from the dropdown menu. In the ‘image size’ box you can change the height and width pixels. But, if you check the box ‘constrain proportions’, then when you change one pixel dimension, the other will automatically change. Similarly, for resizing drop shadows proportionately, check the ‘scale styles’ box. The ...

How To: Make a real 3d text in Photoshop
This video shows how to make a real 3d text in Photoshop. First open up Photoshop. Create a new document File > new. Then select width then OK. Fill the background with black. Then go to the text tool and write whatever we want. Choose a font with fat letters. Right click on the text layer and go to "Blending options". Then edit the text in our way. We can create a Gradient Overlay, Contour, Stroke and Outer Glow. We can add any effect we want. Again right click on the text layer and click "R...
How To: Make a glossy Vista wallpaper in Photoshop
This is a video tutorial that is showing its audience how to make a glossy Vista wallpaper in the program Photoshop. The first step is to open Photoshop. Photoshop is a very large program so it might take a few minutes to open fully. The second step is to go to file open and open up your wallpaper folder that is on your computer. Choose one of the images and click okay. Then you should select different parts of the wallpaper that you chose and use the elliptical tool and the paint brush tool ...
How To: Text with paths using Photoshop CS3
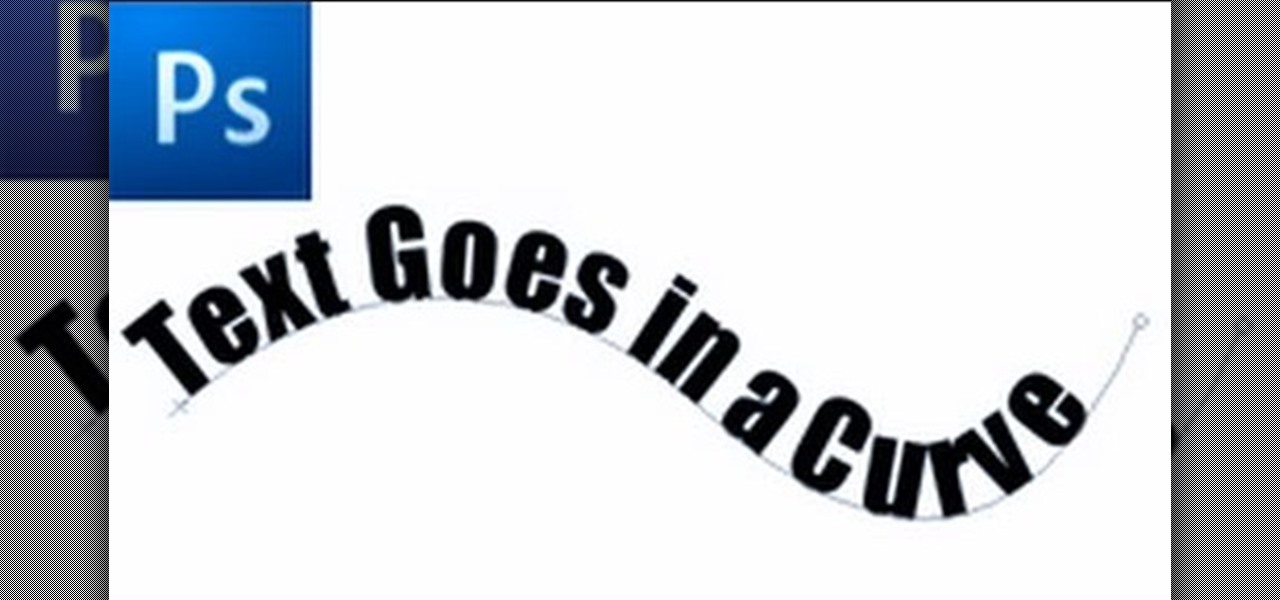
First of all select the 'pen' tool from the side bar. Now select the 'paths' box from the top screen. Now make two different points to make a curve and then make a third point to make another curve as shown. Now select the 'text' button. Now change the 'color' of the text to ‘black’. Now run your cursor over the path till it ‘changes’. Then click. Now you can actually ‘type’ on this path. Type in "text goes in a curve". This shall be written on the curved path that you have just m...

How To: Apply digital tattoos using Photoshop
In this video tutorial, viewers learn how to apply a digital tattoo using Adobe Photoshop. Begin by adding the image and tattoo image into the program. Then drag the tattoo image over the image. Now in the layer menu, change Normal to Modify. Now re-size the tattoo image to a preferred size (PC: Control and T, Mac: Command and T). Now right-click the tattoo image and select warp. Form the image so that it is perpendicular to the skin and decrease the Opacity. This video will benefit those vie...
How To: Make something stand out in a black and white photo
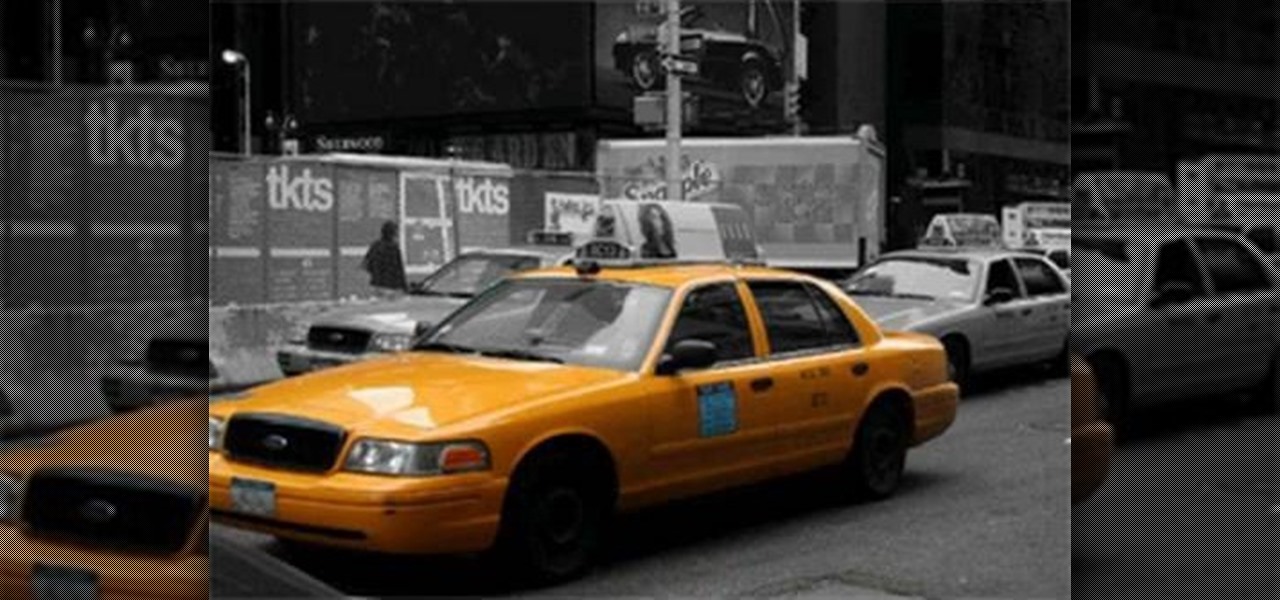
This video shows us how to turn parts of a color photo into black and white and keep the colors for the parts we choose. Start by choosing the polygonal asso tool in the tool box. Now create borders for the parts of the image that you want to keep the colors. Hold the ALT key while clicking to draw borders around a second or third object. Once all the borders are created, right click on your selection and click "select inverse". Now go to "image menu, highlight "adjustment", and then click "b...
How To: Create a glossy logo in Adobe Photoshop CS4
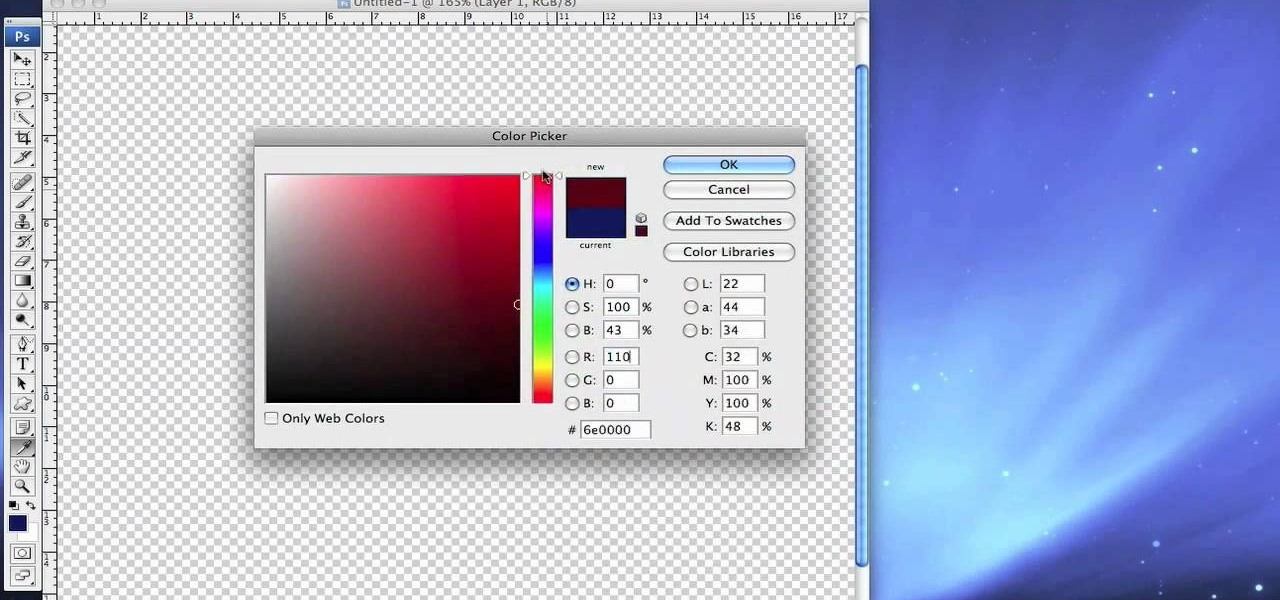
This video is a tutorial on creating an Icon Logo in Photoshop Cs4. Go to File and open a new document. In the Layer option, set up a new layer and give it a name. Using the pen tool, create a shape for your logo, it can be anything you like. When you have the shape you want, right click and select Make Selection. Now you can fill the shape with a color. Press ctrl+U for the Hue/Saturation option to get the exact color that you want.

How To: Create a rainbow effect on your photos using Photoshop
In this how to video, you will learn how to create a rainbow effect in your photos with Photoshop. First, open the image you want to edit in Photoshop. Next, edit the hue and saturation. Make sure to desaturate the drawing. Next, create a new layer. Select a brush and choose a blue color. Make sure in the new layer that color is selected. Color the top part of the image. Next, select a purple or pink color and color the middle part. Choose a yellow color and color the bottom of the middle par...

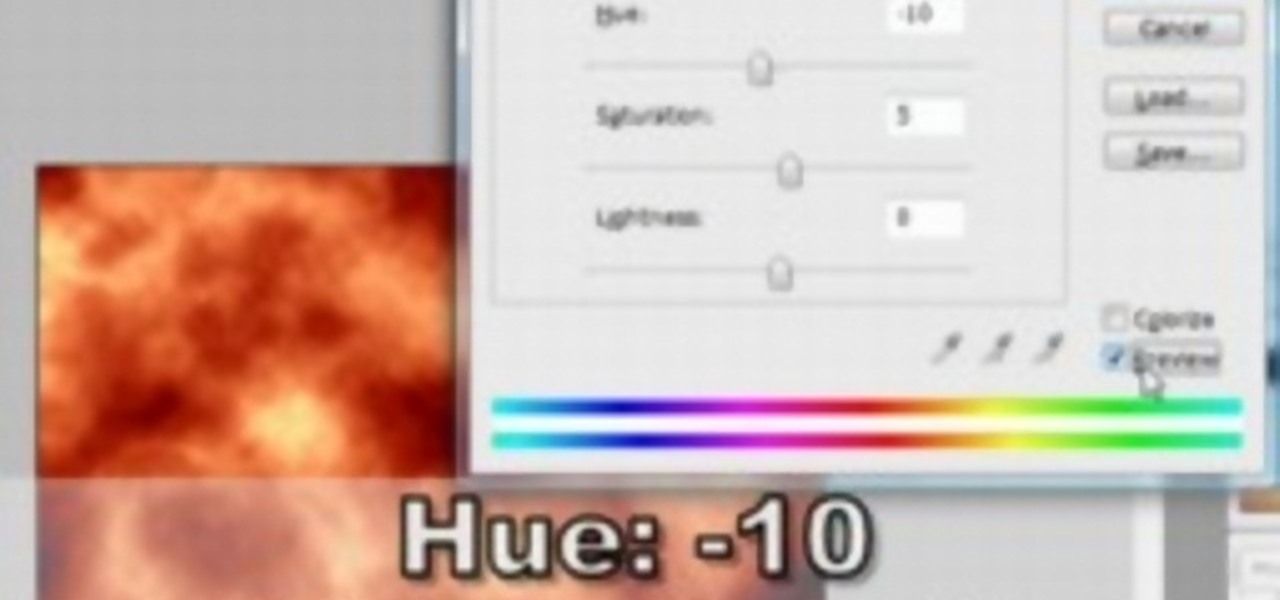
How To: Make real flame text in Photoshop
In this video tutorial, viewers learn how to make a real flame text in Adobe Photoshop. Begin by opening a flame image in the program and select the text tool. Type in the text and position it over the flame. Now go to Select and click on Load Selection. Once the selection is created, delete the letter. Then select the marquee tool. Right-click above the selection and select Feather. Now create a new sheet and fill it in black. Using the move tool, drag the selection to the new sheet. Go to F...
How To: Make a rotating SWF logo in Photoshop
This video shows how to make a rotating SWF logo in Photoshop. Choose any desired logo that will be used later in the SWF file. Save the logo to the desktop. Use any kind of editing pogram. Make sure we only have what we want showing the area coloured with small squares is invisible. Open any version of Adobe Flash. Create a new "Actionscript 2" file. Then set workspace size to 240X320 and background color to match the picture we choose before. Make sure we select Flash Lite 2.0. Then go to F...
How To: Change the color of your hair in Photoshop
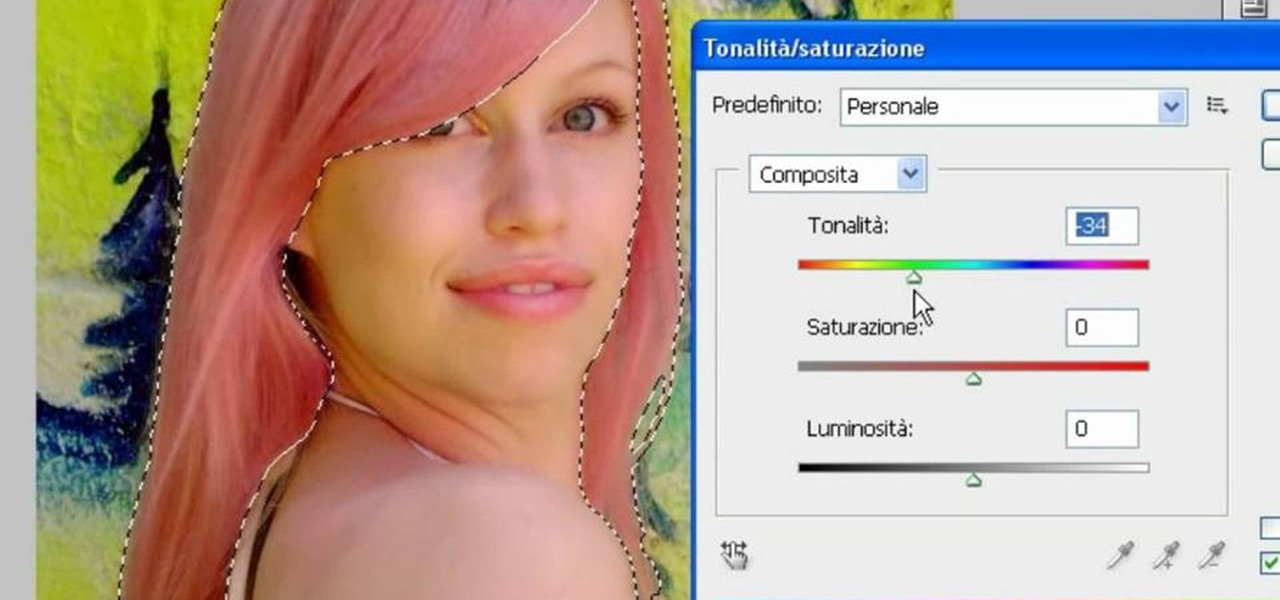
In this video, we learn how to use PhotoShop to change hair color.. First, select the mask tool inside PhotoShop. Now, zoom in on your picture and brush the hair that you want to change the color of. Zooming in and using smaller or bigger brushes will help you be more precise. After this, zoom out and press on the mask tool to create your selection. Then, select the marquee tool and right click and choose "inverse selects". Now, click on "image", "regulations", then "tonality/saturation". Now...
How To: Make a favicon for your site in Photoshop CS3
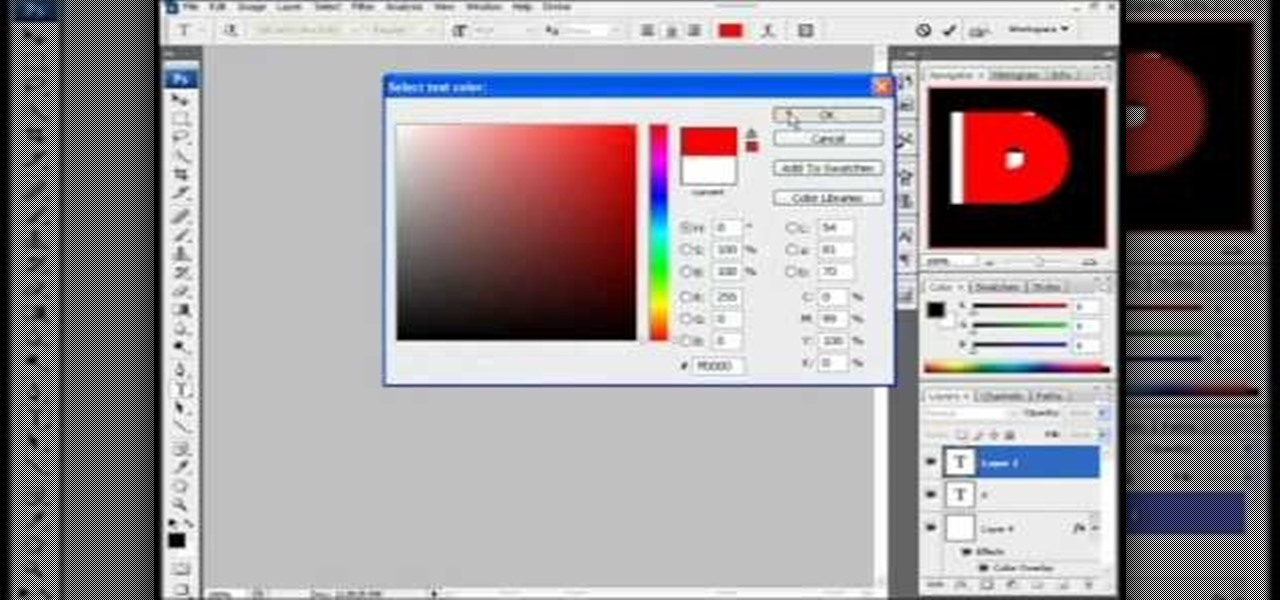
In this Computers & Programming video tutorial you will learn how to make a favicon for your site in Photoshop CS3. A favicon is a little symbol that shows up on url bars and also on browser tabs. Open a new project in Photoshop by pressing ctrl+N. Select height and width to 64 pixels and click OK. Now open the title tool and type in whatever you want. In the video, it is ‘F’. Open the background layer and do a color overlay of black. Now change the color of the title to white so that it ...
How To: Remove date and time stamps from your photos
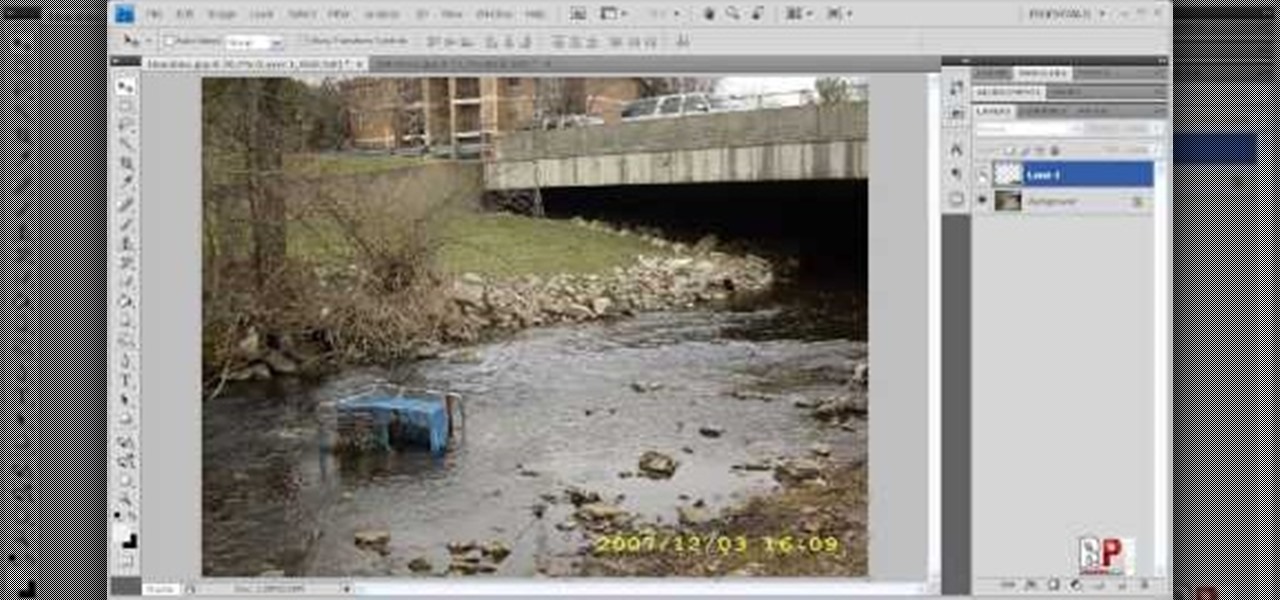
There are various ways to remove the timestamp on your photos using Photoshop. You can use the crop too and crop out the photo, but then you'll lose parts of the photo as well. You can use the patch tool, and draw a border around the date, then drag the date to another area, let go and press ctrl+D. The time will disappear and the area will be patched up with surrounding colors. Another method is to use the spot helium brush tool, and simply just brush over the text, and the spot helium brush...
How To: Make cool text floating in water using Photoshop
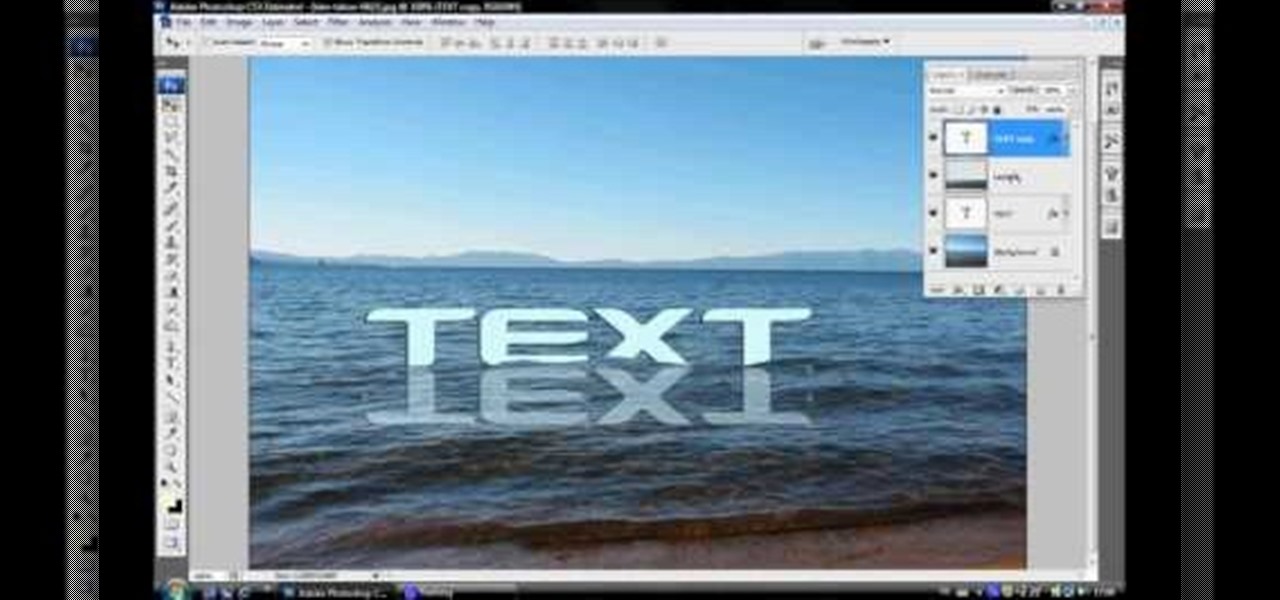
In this video tutorial, viewers learn how to make floating text on water. Begin by importing the water image into the program. Begin by selecting the polygonal lasso tool in the toolbox and select the top of the water. Once you have made the selection, right-click on it and select Layer via Copy. Then select the text tool and type in your text. Create a contour to make the 3D and give the text a light color. Then place Layer 1 over the ext layer and use the selection tool to place it behind t...

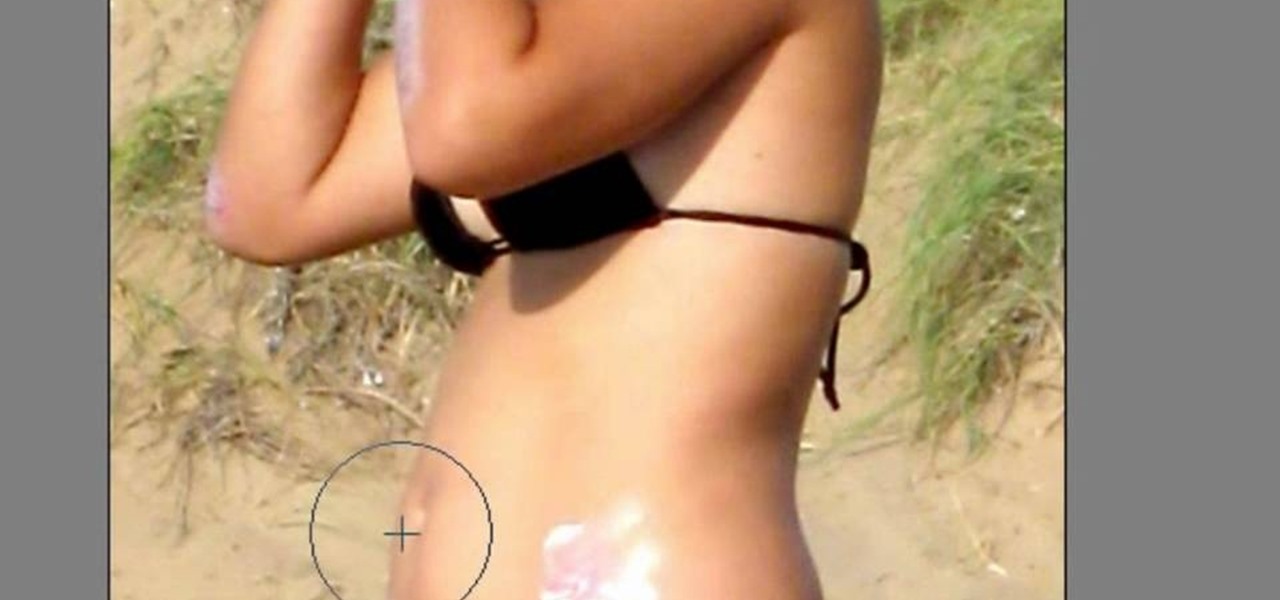
How To: Remove acne using Photoshop
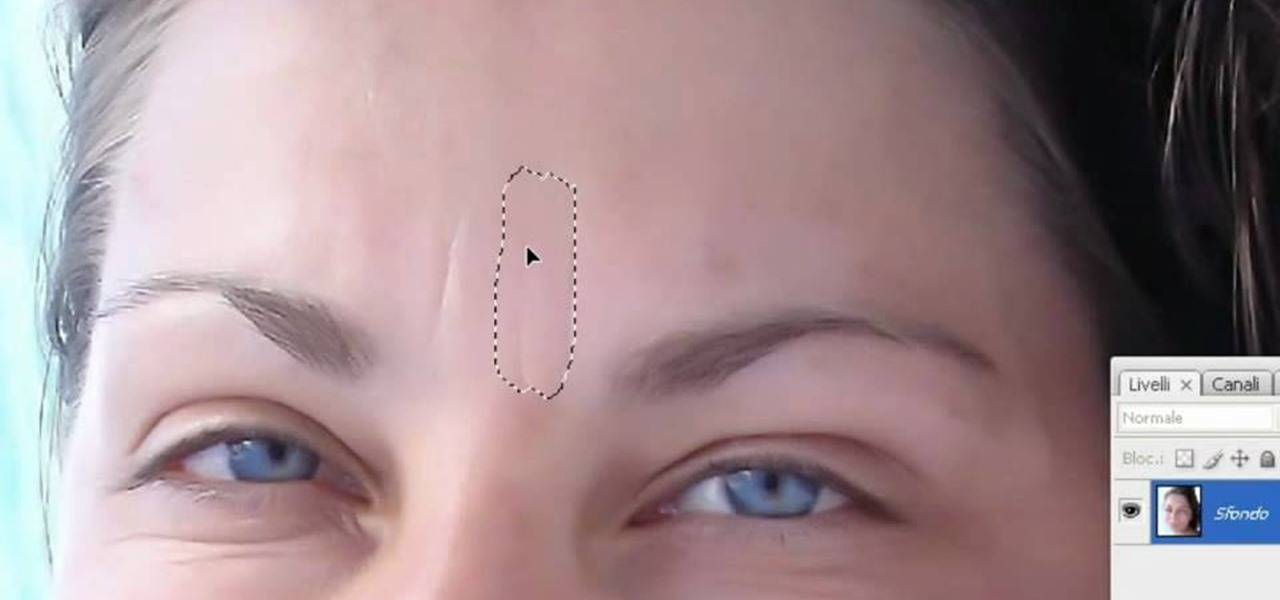
In this how to video, you will learn how to remove acne with Photoshop. First, open the image you want to edit in Photoshop. Go to the left column and select the healing brush. Next, set the brush size and find a part of the image that is clear. Hold alt and click. Next, start clicking on the areas that you want to remove. As you can see, the spots are replaced with the color that you chose earlier. Keep on doing this until the image has been completely healed. This video shows you just how e...
How To: Make a GIF animation using Photoshop Elements
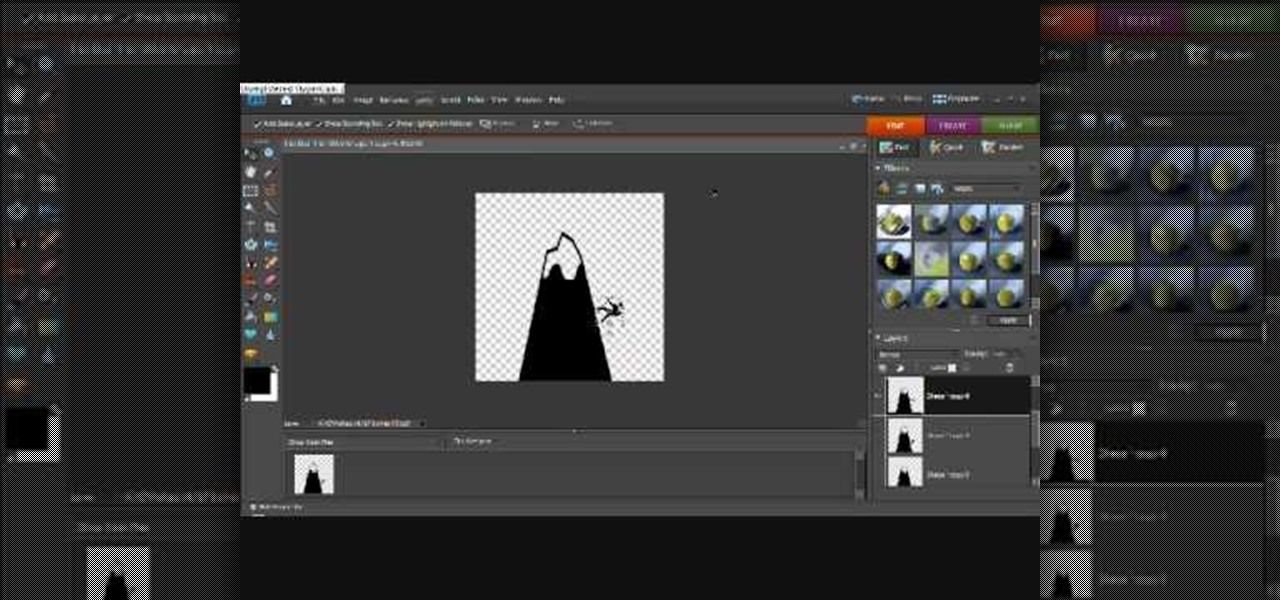
Want to know how to make a simple animated GIF in Adobe Photoshop Elements 7 (or any other version of PSE for that matter?). If so, you've come to the right place. This free software video tutorial will teach you how to start making your own custom animated GIFs in Photoshop Elements. For complete, step-by-step overview watch this how-to.

How To: Make a rainbow in Adobe Photoshop
In this how-to video, you will learn how to make a rainbow in an image. First, open the program. Make a new layer and go to the gradient tool. Change the style to the one that looks like a rainbow. From here, change the sliders that you have the colors of the rainbow selected. Once this is done, slide the rest of the sliders near the last color, which should be red. Save the gradient and click okay. Now, go to the bottom left hand corner until a plus sign shows. Click and drag until you get t...
How To: Smooth skin with noiseware plug-in using Photoshop
In this video tutorial, viewers learn how to smooth skin with noise-ware plug-in using Adobe Photoshop. Users will need to first download the plug-in to be able to use it from the menu of the filters. Now modify the values of Noise Level Adjustment and Noise Suppression. Max the Luminance and set the other values to 50%. Click on the preview from above to see the difference. Then use the filter a second time to make a stronger effect. Any small wrinkles can be eliminated with the patch tool. ...
How To: Draw flames using Photoshop
Drawing flames in Photoshop CS couldn't be cooler, and lucky for you it also couldn't be easier! In this tutorial, learn exactly how to create very cool looking fire in Photoshop in less than 5 minutes!
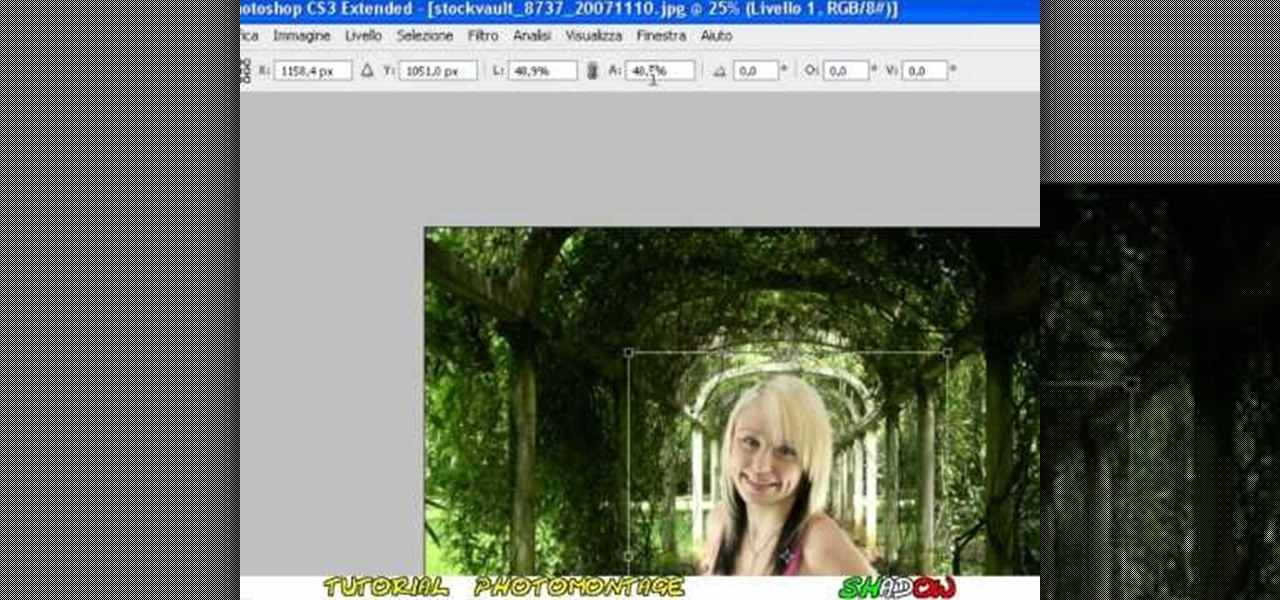
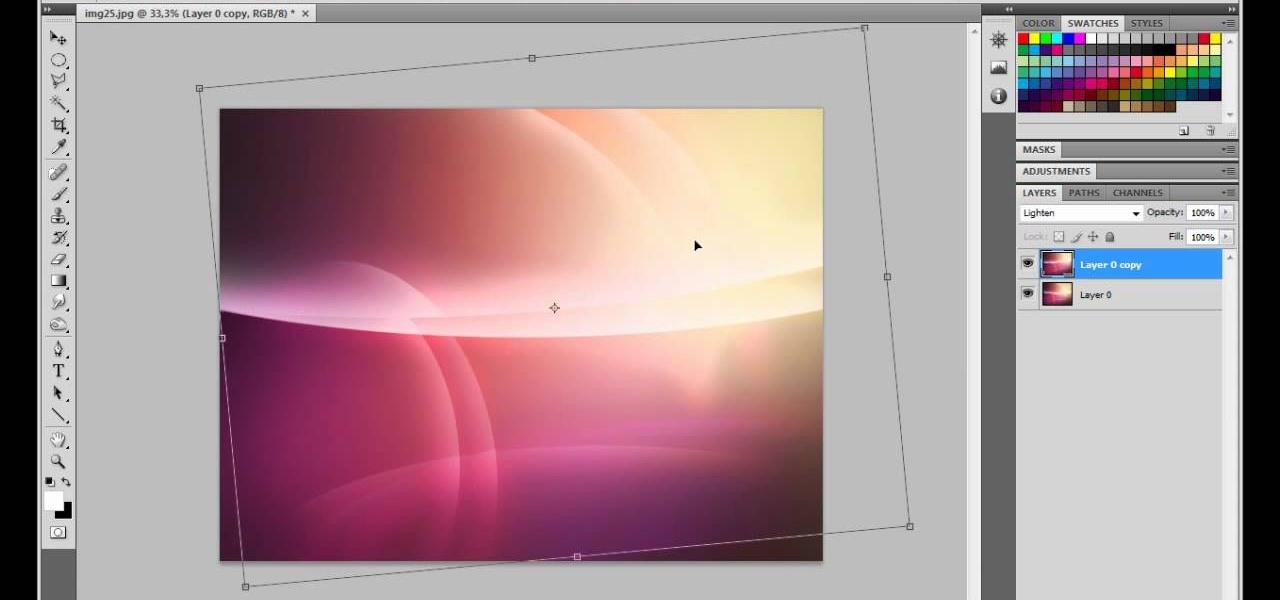
How To: Make an awesome photomontage using Photoshop
In this video tutorial, viewers learn how to create a photo-montage using Adobe Photoshop. Begin by inserting the images into the program. Then double-click on the montage image to unlock it and select the eraser tool to remove the background. Once the background is removed, select the move tool and move the montage image to the background. To modify the dimensions, go to Edit and select Free Transformation. Hold the Shift key to maintain the proportions. This video will benefit those viewers...
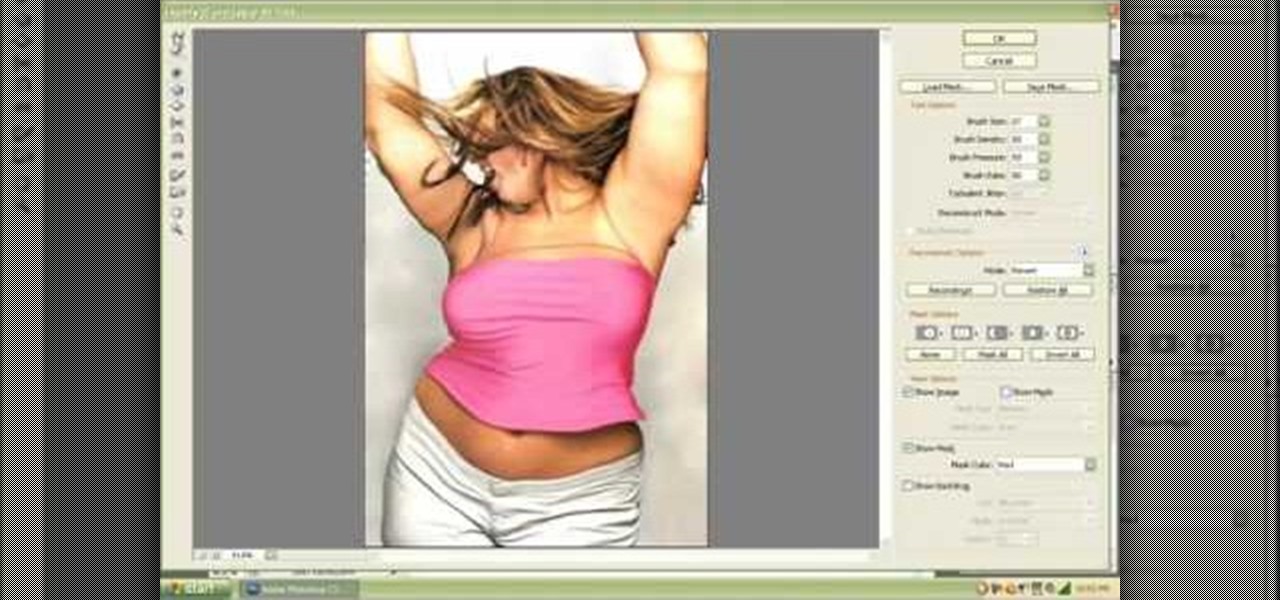
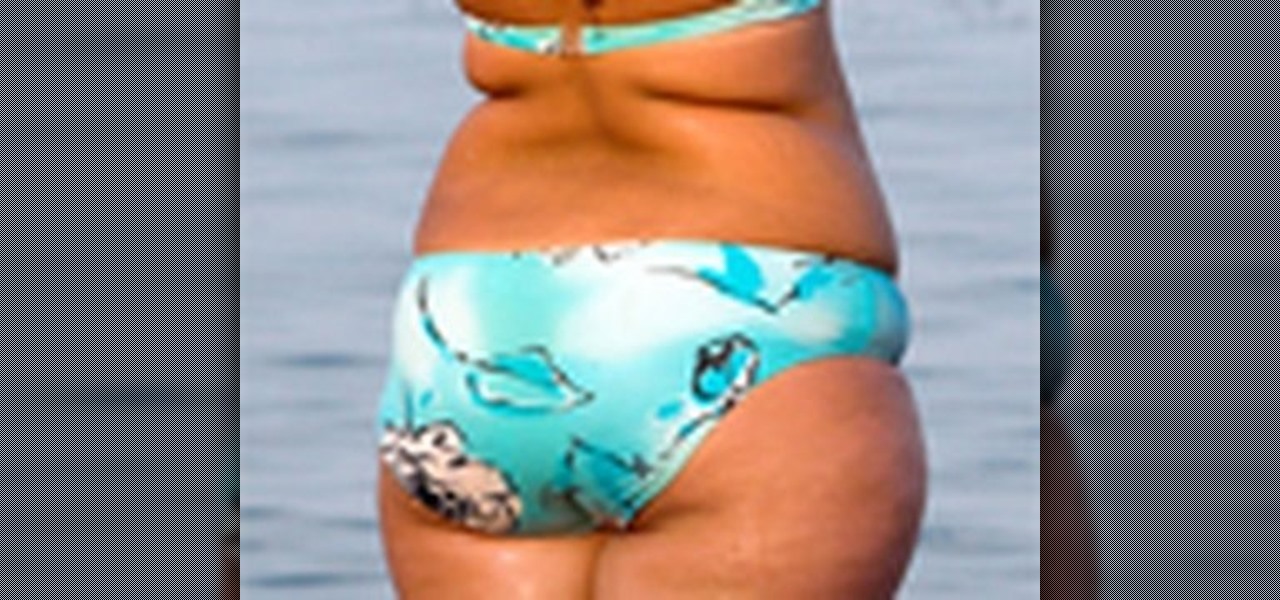
How To: Lose weight using Photoshop's liquify filter
In this video, we learn how to lose weight using the liquify filter on PhotoShop. Before beginning, open up PhotoShop and the image you want to adjust. First, click on "filter" then "liquify". Next, use the forward warp tool and adjust the size of the brush to the body part you want to change. click on the body parts to make them smaller. Push in the body parts you want to be smaller, pushing in small parts one at a time. If you do too much, the picture will become blurry and it will not look...

How To: Make a real glass orb in Photoshop
This tutorial is an on-screen demonstration on how to create a circle that looks like a glass orb using PhotoShop. First make the background black. Then using the elipse took, draw a circle, filled with light grey. Right click on the shape layer and click "Rasterize layer". Select the eliptical marquee tool and make a circle in the grey shape, a little ways in from the edge. Select the area and choose "Layer via cut", click on Layer 2 and delete. Click on Shape 1 and create a contour by choos...
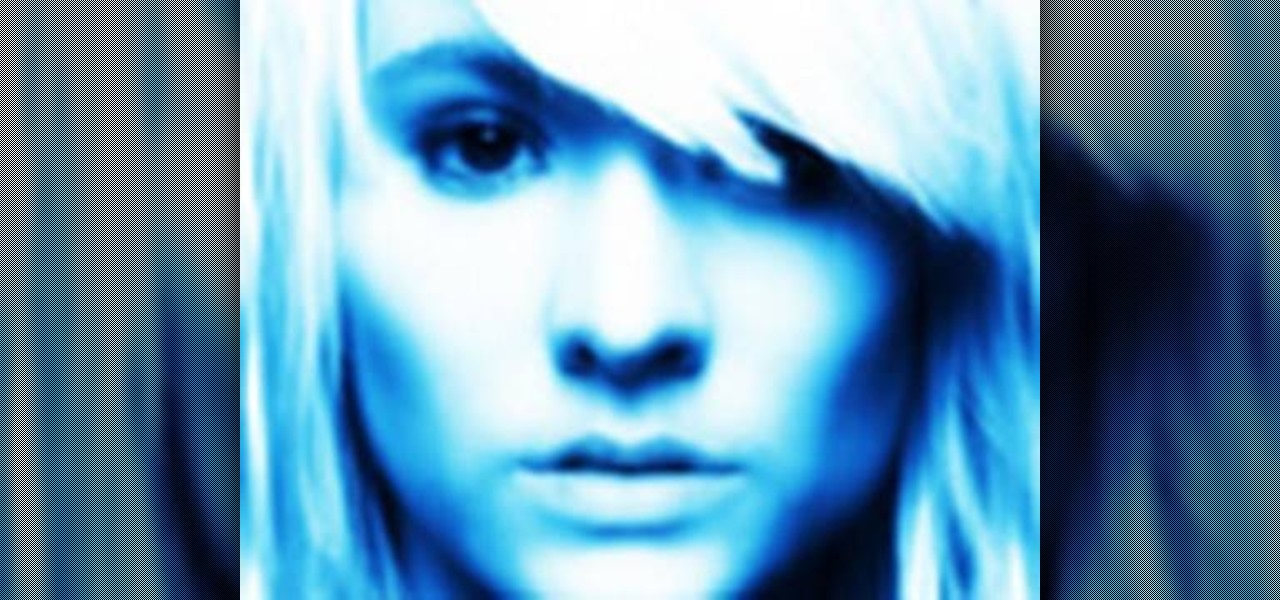
How To: Give a photo an icy chilled look using Photoshop
In this video, we learn how to created a chilled look on a photo using PhotoShop. First open up PhotoShop and open up the picture you want to change. First, duplicate the layer on the photo. Then press "control" then "u" and make the picture blue. Now, click "filter" then "blur" and add a small amount of blur to the photo. Now you can click on "overlay" and you can see the photo change. If you want to make it look more blue, duplicate the layer again and you will see more of a chill factor on...

How To: Bring more life into your photos using Photoshop
Clicks are made on "Image",then "Adjustments", followed by "Brightness/Contrast" ; contrast is set to 30 and brightness is set to 60 to add more light to the picture. "Adjustment", "Variations" are clicked in that order and both yellow and red are increased. "Filter", "Render", "Lightening Effects" are chosen in that order and a new window appears; within which the style is set to "Soft Omni". The brightness is decreased ;similar to the way it was increased, and contrast is increased to 60. T...
How To: Change your hair, car, and clothes color in Photoshop
This video demonstrates how to change the color of hair, dress, car or any thing of your choice using photoshop. This is really simple. Select the photo in which you need to change the color. Create a new transparent layer. Click on the brush tool and select a brush type with the right size required. For hair, you could use a brush with a fuzzy edge while sharp edges for clothes and car. Select the white color in the task bar. Click and drag carefully along the edges and fill in the area wher...

How To: Make glow effects using Photoshop
This photoshop tutorial demonstrated by Howard from tutcast.com, teaches you how to do amazing glow effects for your work and projects. Everything you need to know from the background you choose to use to editing out the leftovers. You can use any image that you choose to. Start out with the pen tool located on the toolbar on the most left of the screen. Create the initial layer for the glow by clicking now on the new layer icon located on the bottom right. Next, define brush by pressing the ...

How To: Make a copyright brush using Photoshop
In this Software video tutorial you will learn how to make a copyright brush using Photoshop. Open up Photoshop and open a new document by clicking ctrl+N. Create a new text layer on the right side and type in your text. Right click on the text layer > rasterize type. On the left side select the ‘rectangular marqee tool’ and draw a rectangle around the text. Go to edit > define brush preset. In the next box, give it a name and click OK. Then go to file > open and select a picture on which...
How To: Make a glossy apple logo in Photoshop
First create a new 800x600 document and fill it with black color. Then create a new Layer and add a white circle with the hard edge Brushtool Select the 'Eraser tool' and use the same brush (a bit smaller) to erase the inside of that circle. Rightclick an layer 1 and go to the blending options. Add a contour. Now you should have a simple ring. Create a new layer again, and drag a dark red/brown circle inside the ring. Open up the Apple Logo (download in discription). Resize/replace it. Rightc...
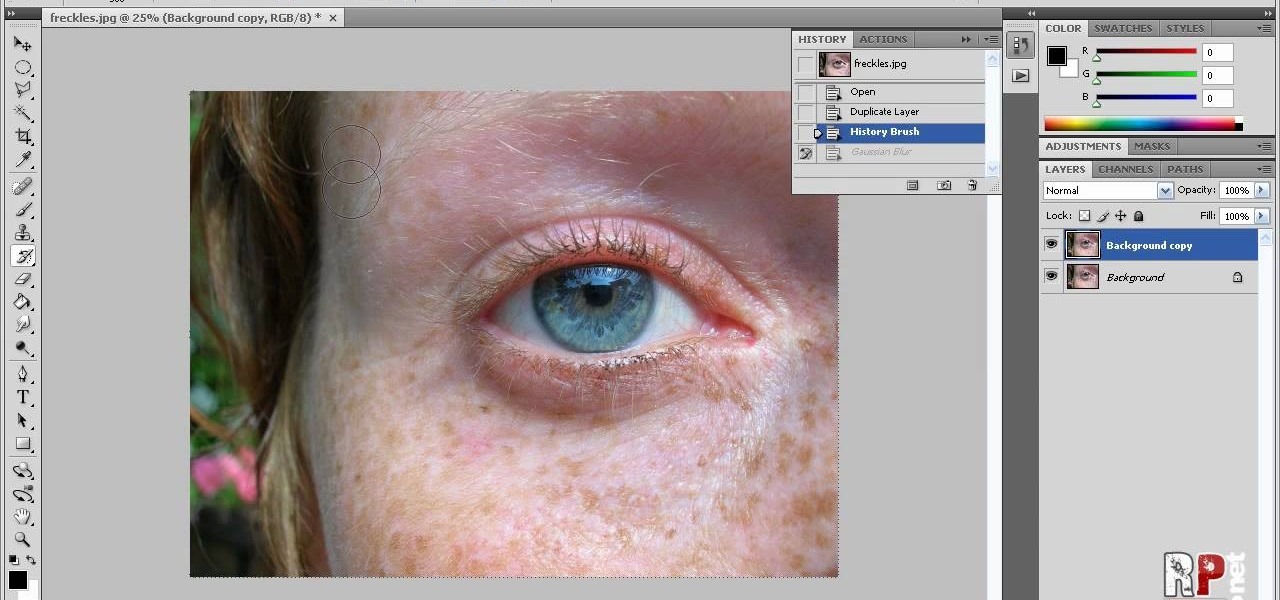
How To: Reduce freckles using Photoshop
In this how-to video, you will learn how to reduce freckles in Photoshop. This is useful for editing people who have a lot of freckles. First, open the file in Photoshop and copy the background layer. Apply a Gaussian blur to the layer. Adjust it so that the freckles are no longer visible. Click okay and then open up the history palette. Click on the duplicate layer in the history window. Set the source for the history brush. Set the mode to light. Next, paint over the freckles. Now the freck...
How To: Create iPhone app icons in Photoshop
Whether you want to create a custom icon for an iPhone app or simply ape the glossy style, with Adobe Photoshop, the process is a snap. And this free graphic design tutorial will walk you through the entire process. For more information, including step-by-step instructions, watch this handy designer's how-to.
How To: Photoshop neon text
Want to create neon-tube style text in Photoshop? It's easier than you might think. Watch this graphic designer's guide, which presents a full, step-by-step guide to accomplishing just that. For more information on how to create your own custom neon-style logos and headers, watch this free video software tutorial.
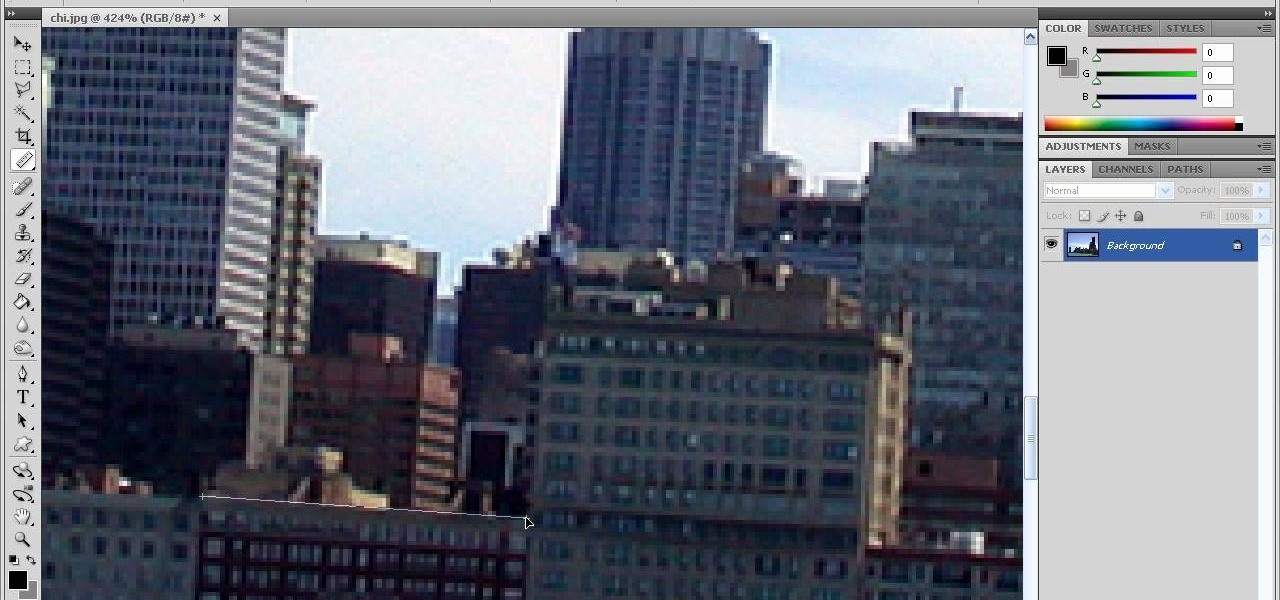
How To: Straighten your photos using Photoshop CS4
In this how-to video, you will learn how to straighten crooked photos in Photoshop. First, open the photo you want to straighten in Photoshop. Next, use the ruler tool under the eye dropper tool. Select it and zoom in to an area. Find a crooked line to straighten, such as a building rooftop or ground line of some sort. Click, hold, and drag. Next, zoom out. Go to image, image rotation, and arbitrary. Click okay and your image will be adjusted. Go to the crop tool and crop out the spaces. Hit ...

How To: Easily change backgrounds in Photoshop
In this tutorial, learn just how easy it is to enhance your subject by changing their backdrop. By changing the background of a photo you can place your subject in new and exciting places, and enhance the color of their skin and eyes with the right color pallette.
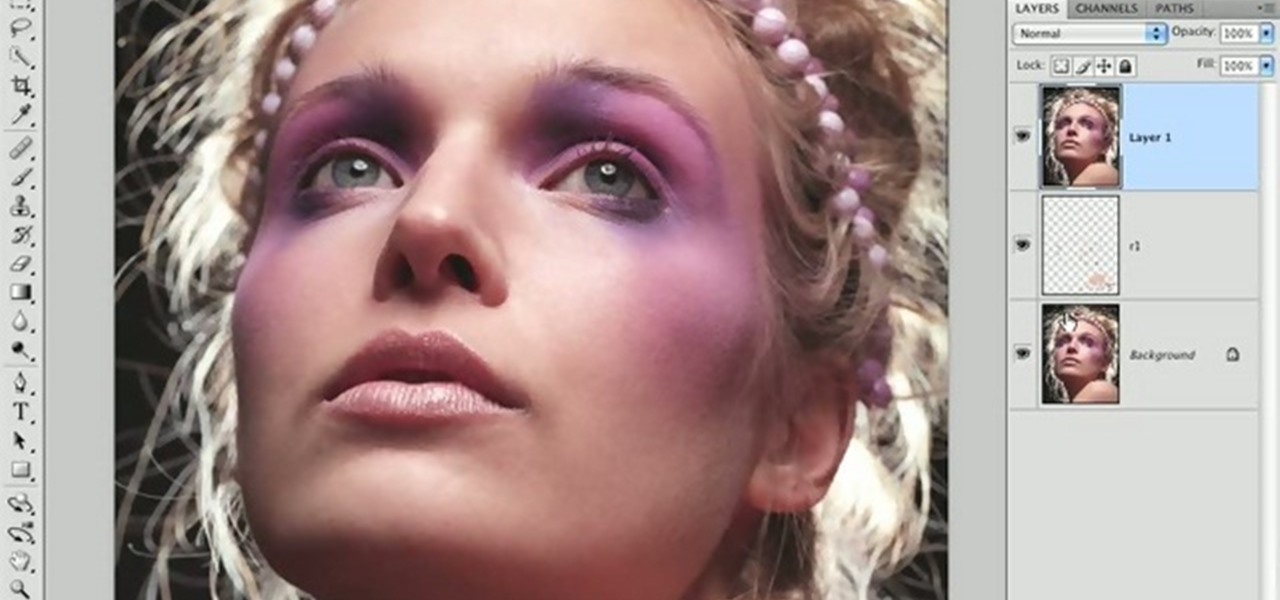
How To: Enhance skin texture and tone in Photoshop
Perfect skin is a big part of beauty. In this tutorial, learn how to enhance the natural texture and tone of your subject's skin in Photoshop CS. By enhancing your model's skin, you will give them a more luminescent appearance and make an overall better picture.
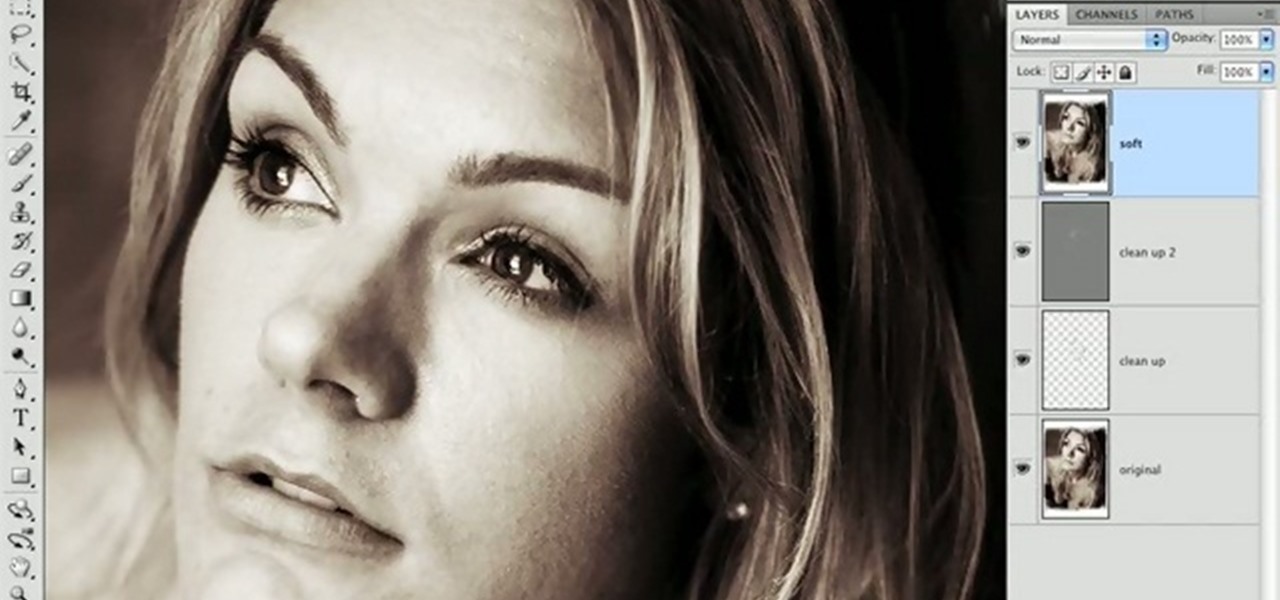
How To: Soften skin like a pro in Photoshop
If the subject of your photos has skin imperfections, it is very easy to fix this in Photoshop. If you do not have the time to do each individual blemish, or wish to simply give the skin an overall fresher look, check out this tutorial.

How To: Liquify an image using Photoshop
In this how to video, you will learn how to liquify an image using Photoshop. First, open the image in Photoshop. Next, go to filter and select liquify. Use the forward warp tool to press pieces of the photo. Use the reconstruct tool to bring the image back to the original state. The twirl clockwise tool can be used to twirl pieces in the photo. You can adjust the pressure to twirl more. The pucker tool can be used to push sections into the image. The bloat tool can be used to pinch sections ...
How To: Use shapes & stamps in Photoshop CS3
The shape stamp tool in Photoshop is similar to using old fashioned clip art. Shapes are extremely easy to access and you will get the hang of them quickly. These shapes can be used to enhance your existing photos or to create graphics like banners and icons. In this tutorial, you will learn exactly how to access and use the shape stamp tool in Photoshop CS3. You will no doubt have this down pat in no time and will soon be on your way to using stamps - just one of Photoshop's many helpful tools.