How-To Guides about Photoshop


how to
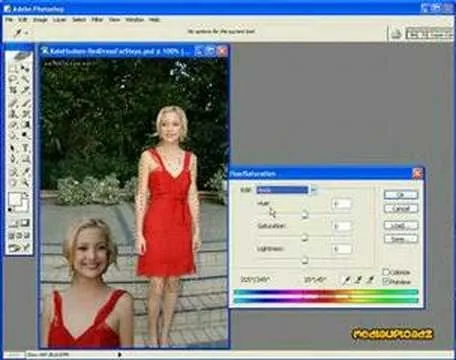
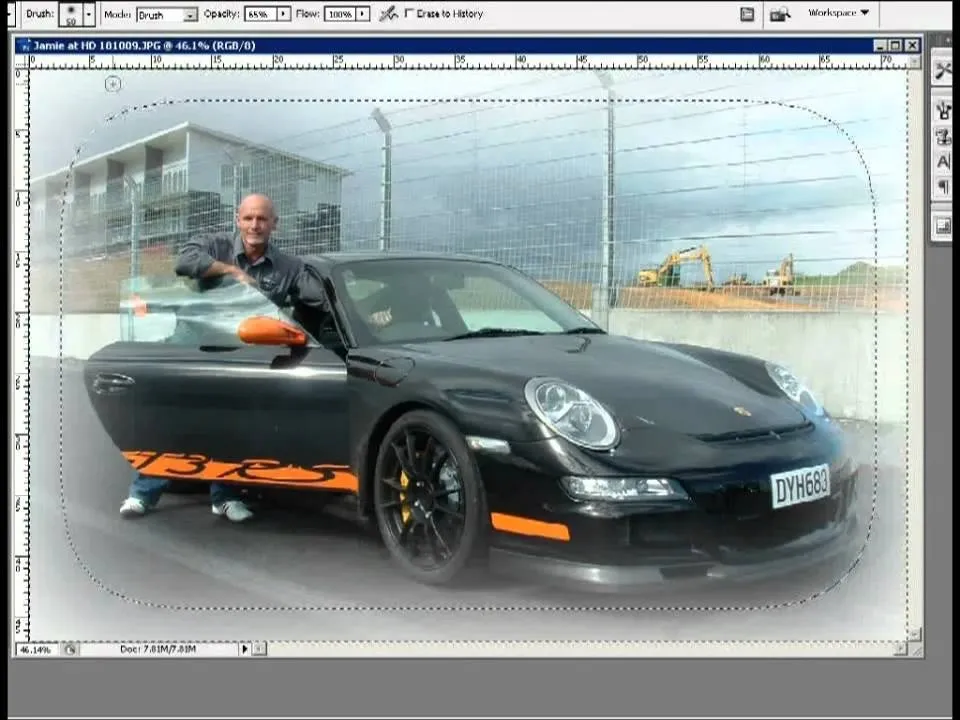
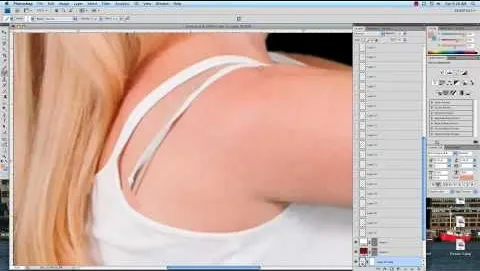
How to Unclothe People in Photoshop
how to
How to Make Someone Look Skinny with the Liquify Tool in Adobe Photoshop
how to
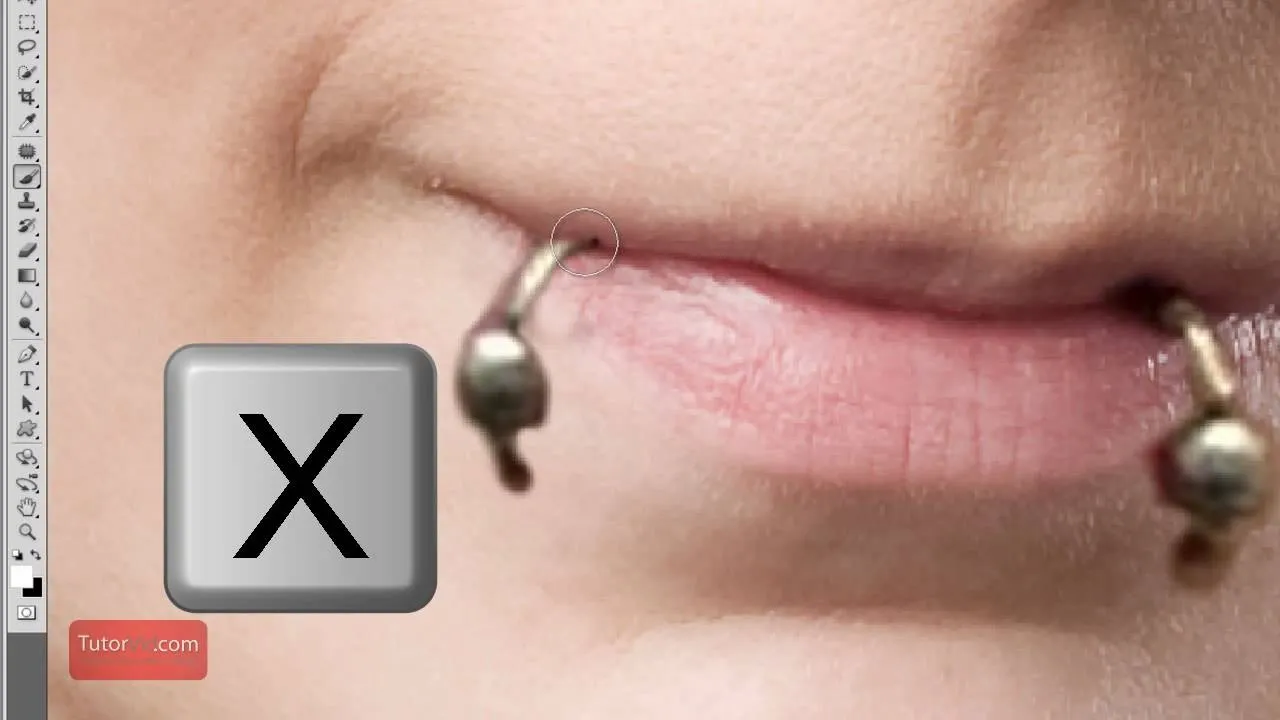
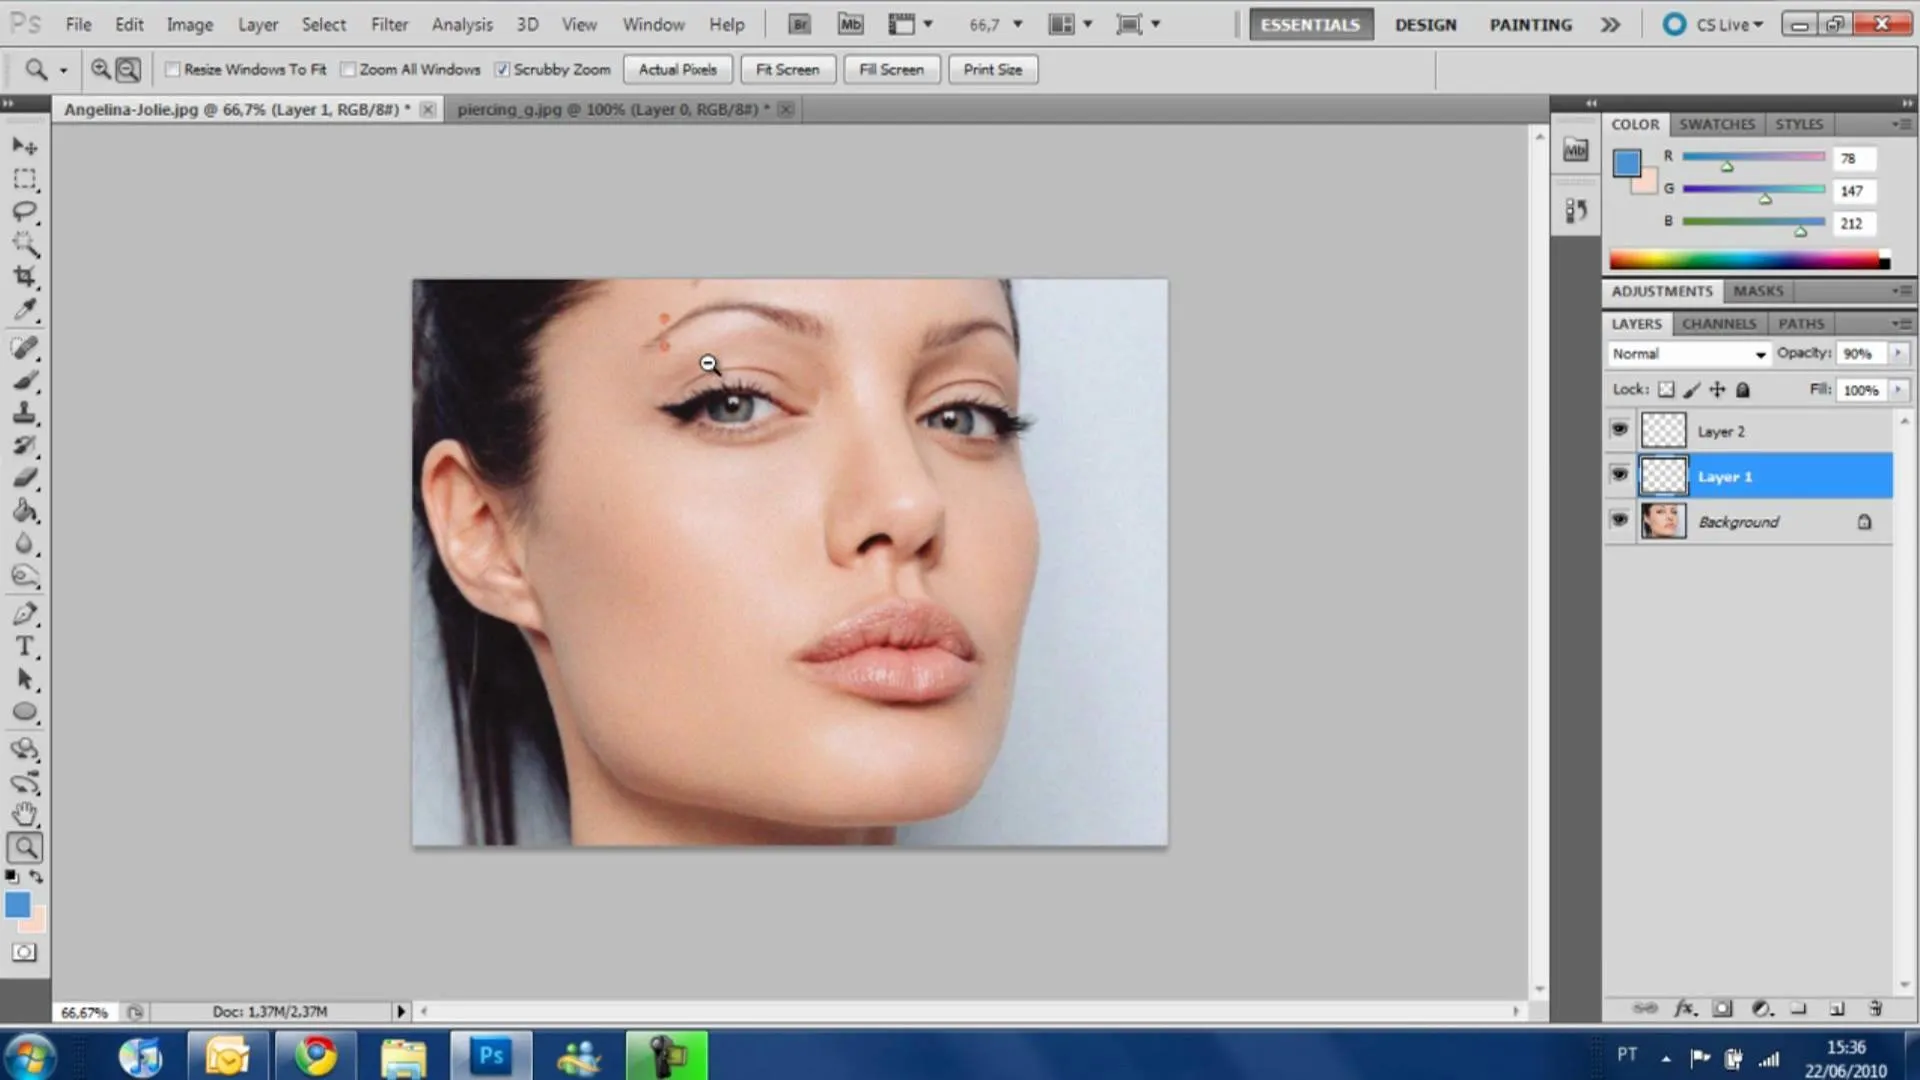
How to Bruise Someone in Photoshop


Featured On WonderHowTo:
Productivity & Shortcuts


Featured On WonderHowTo:
Music & Audio


Featured On WonderHowTo:
Augmented Reality


Featured On WonderHowTo:
Gaming